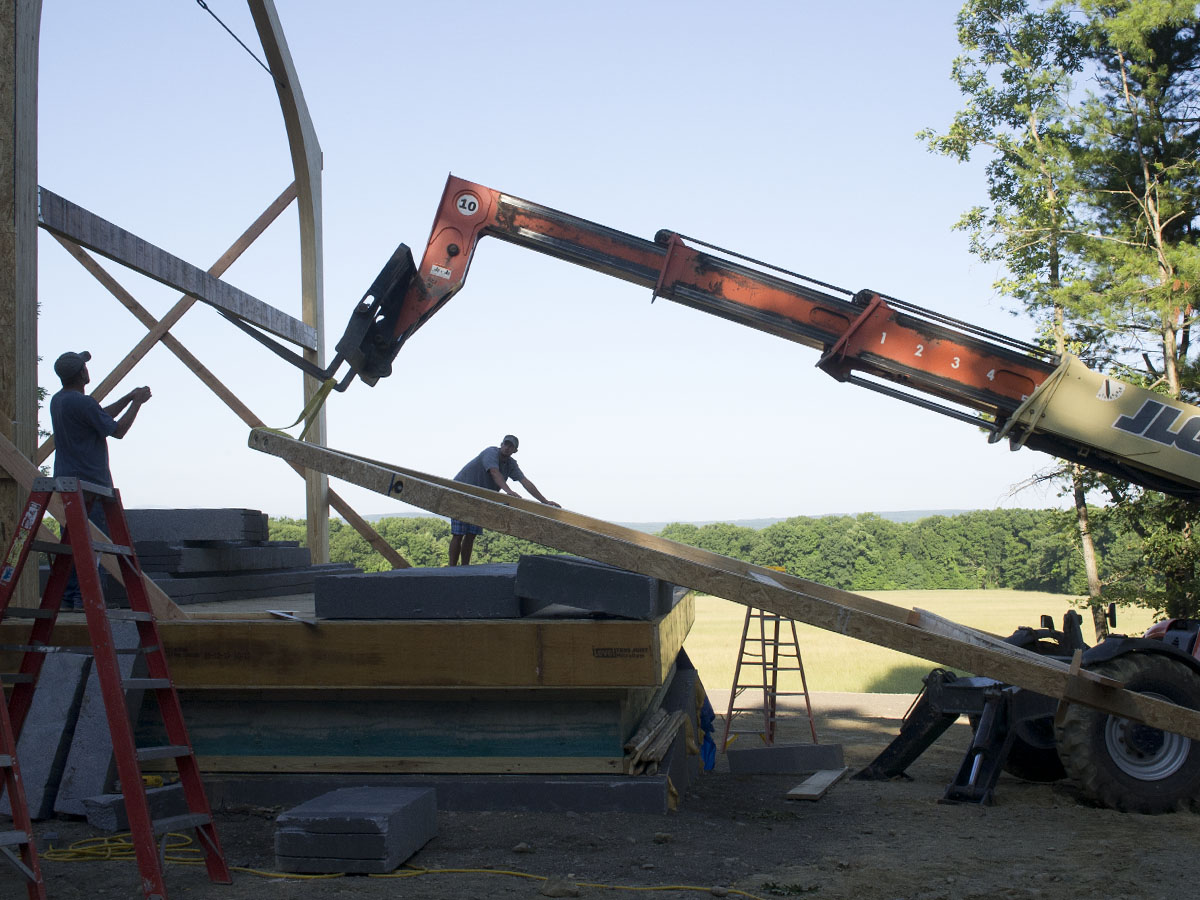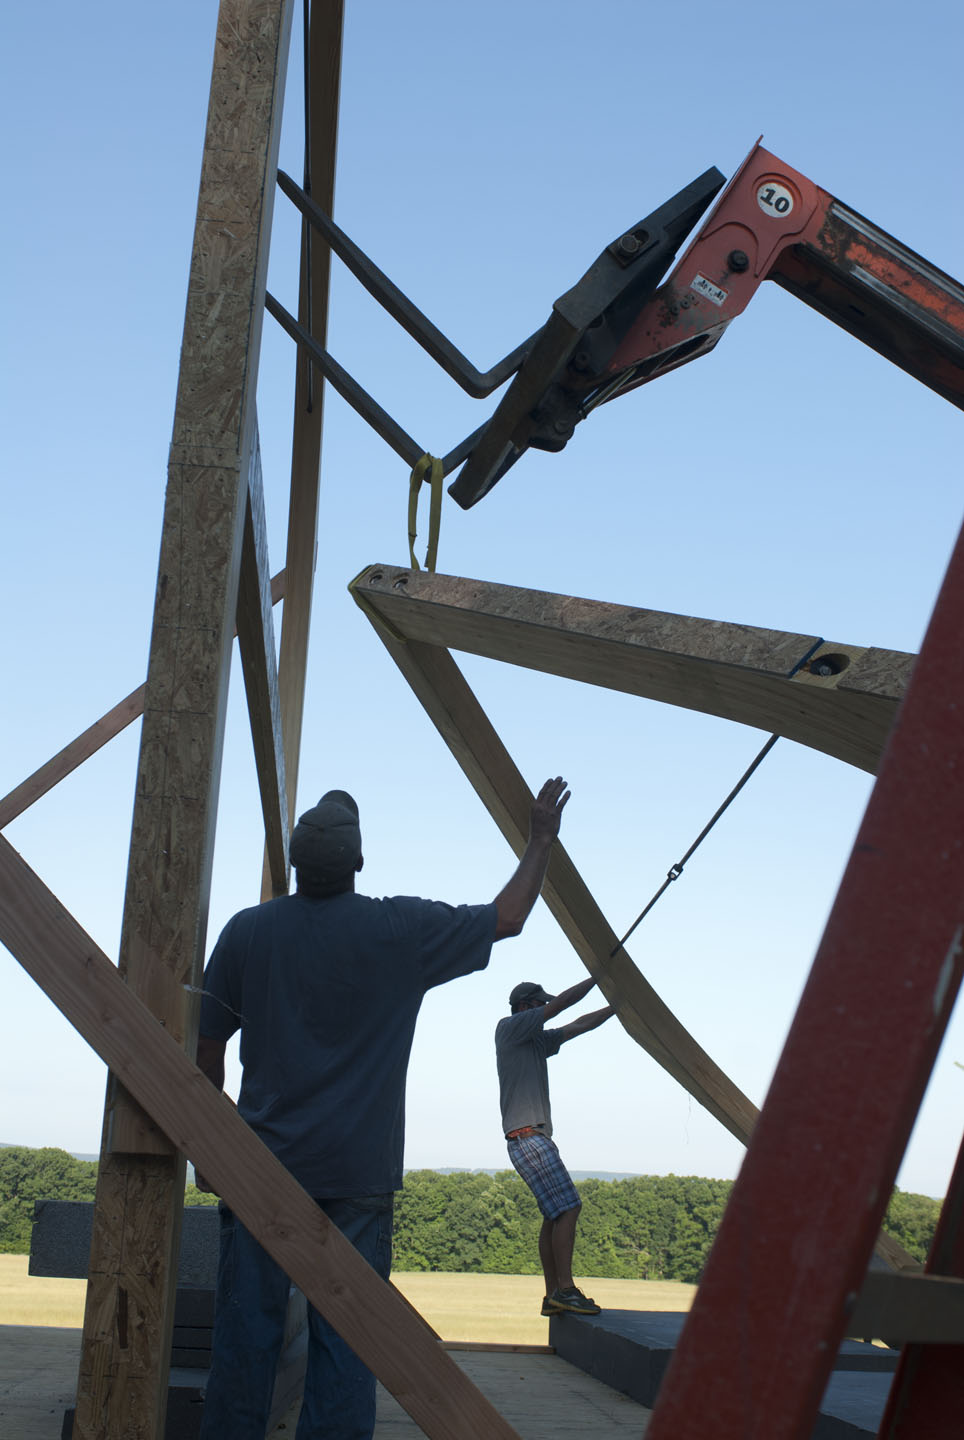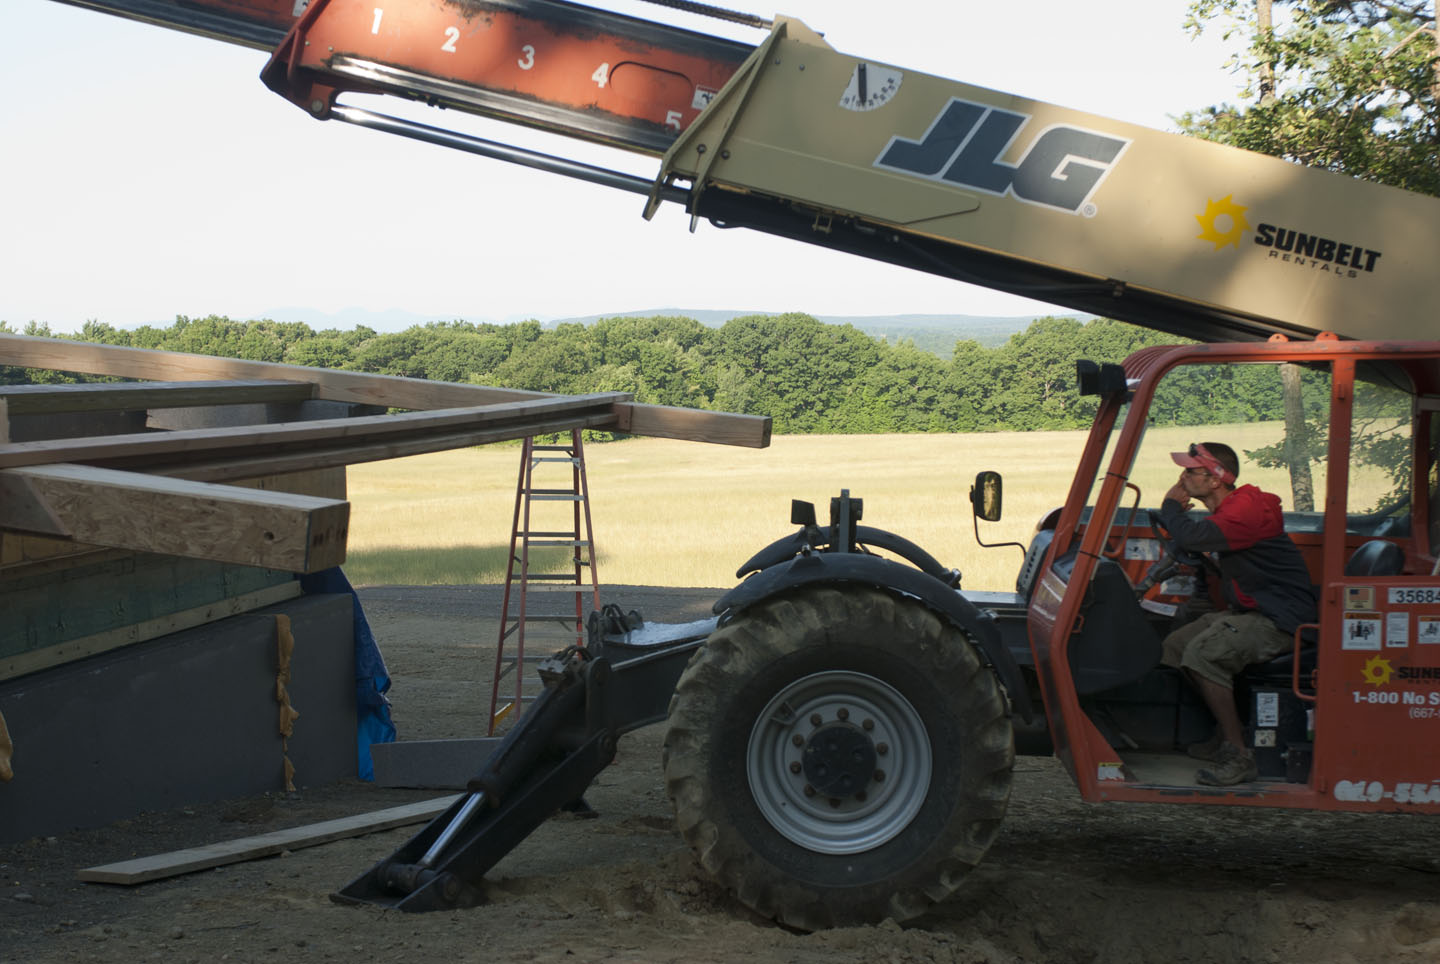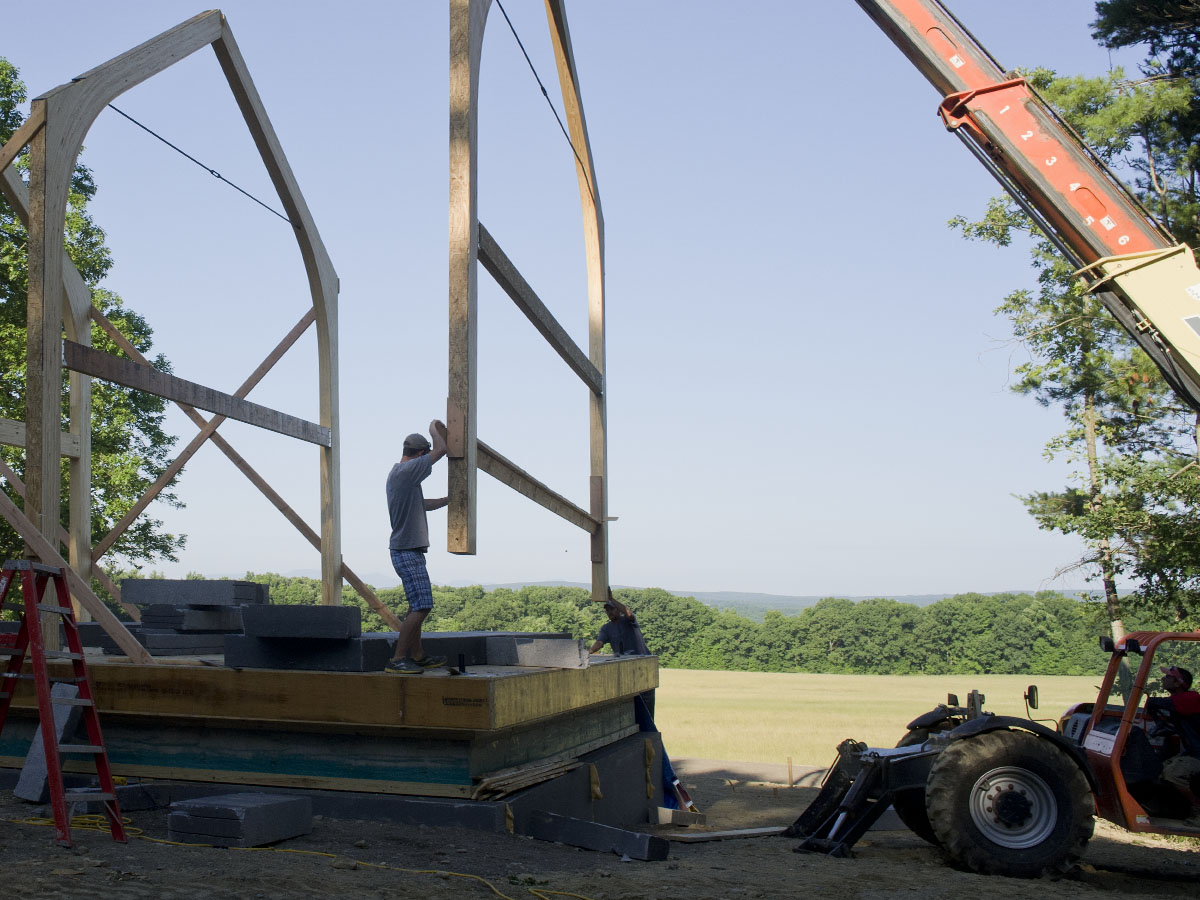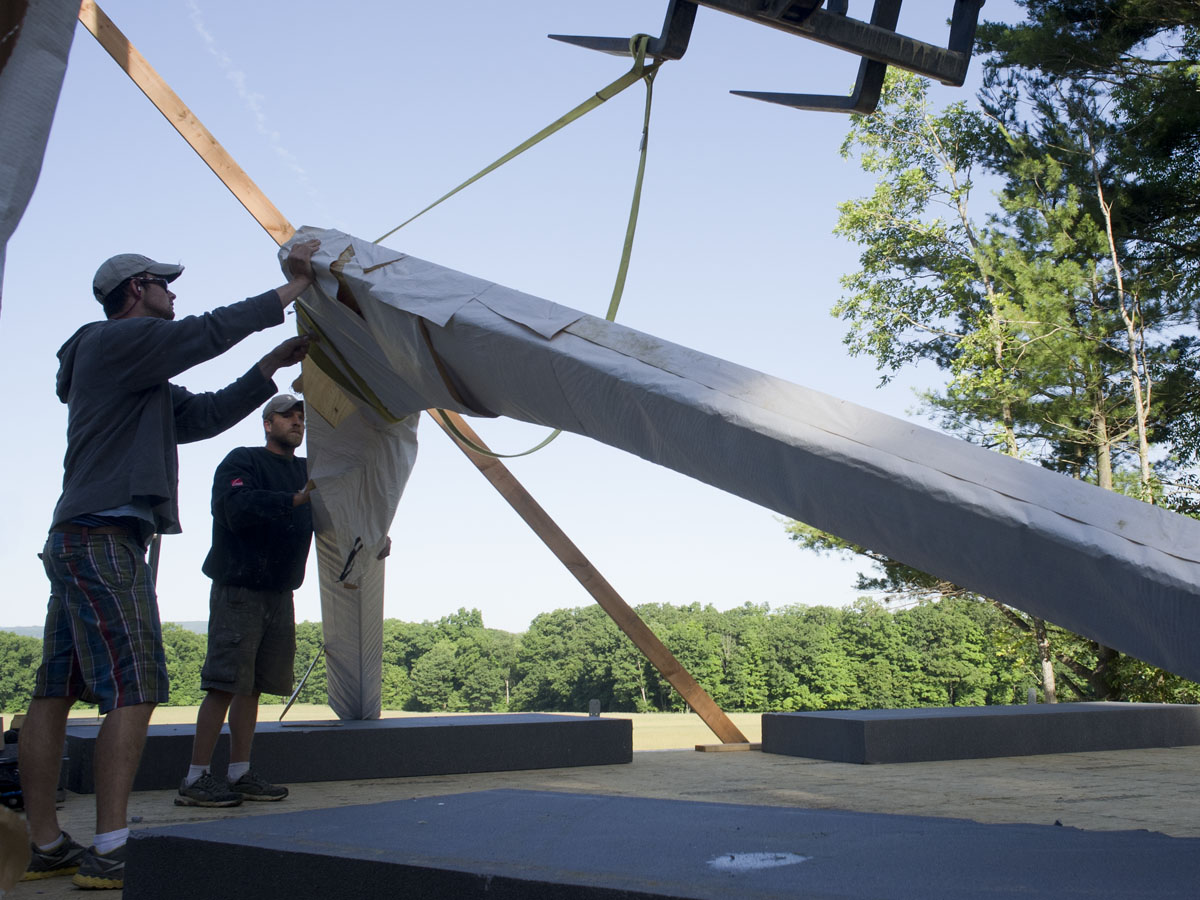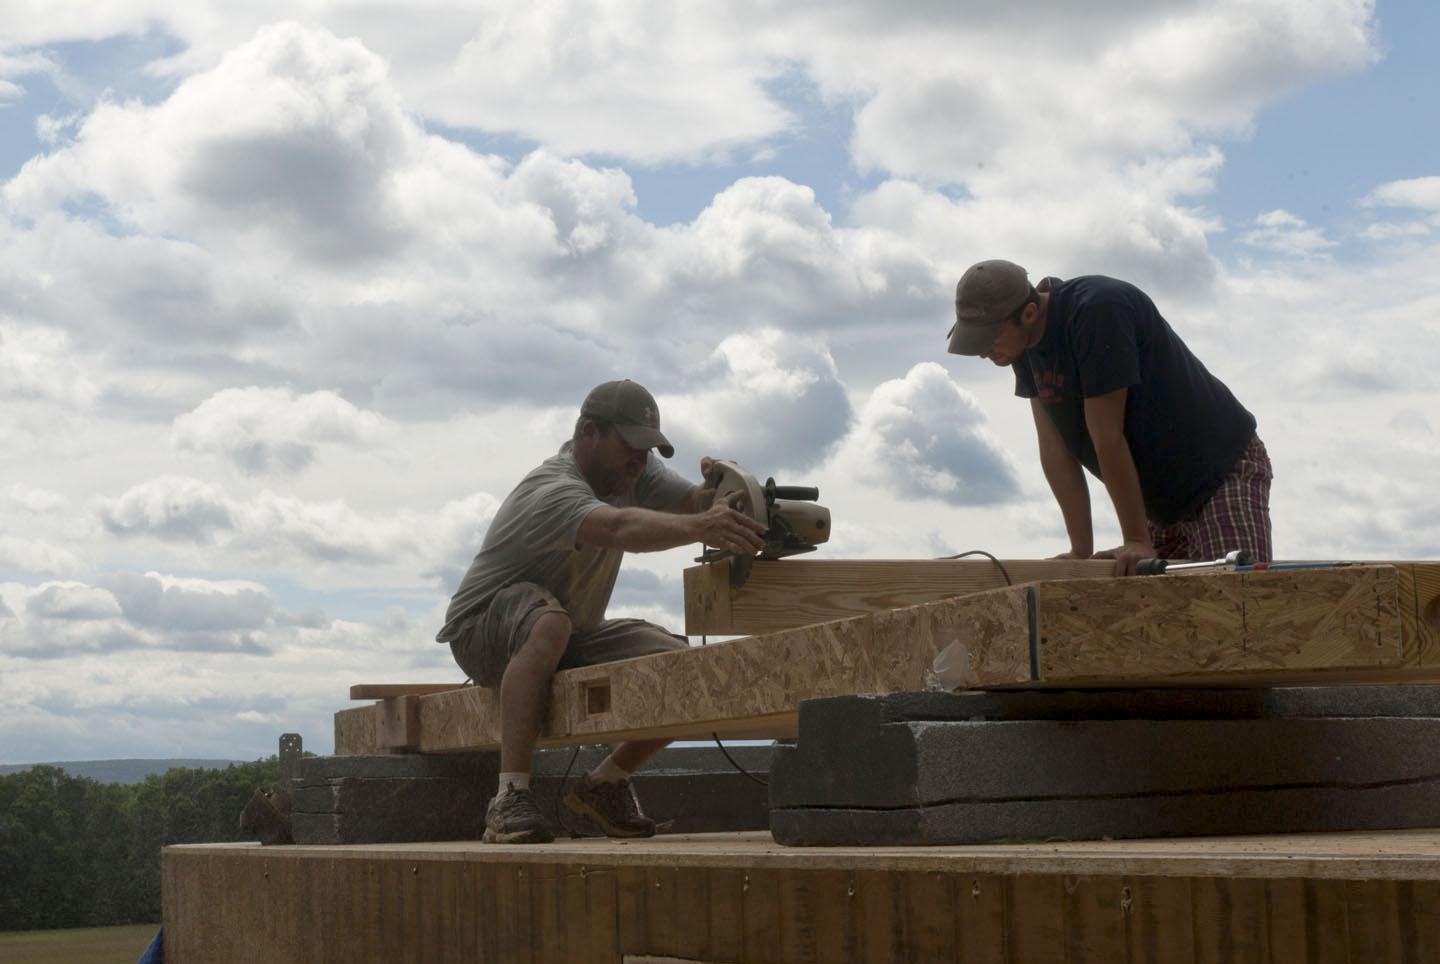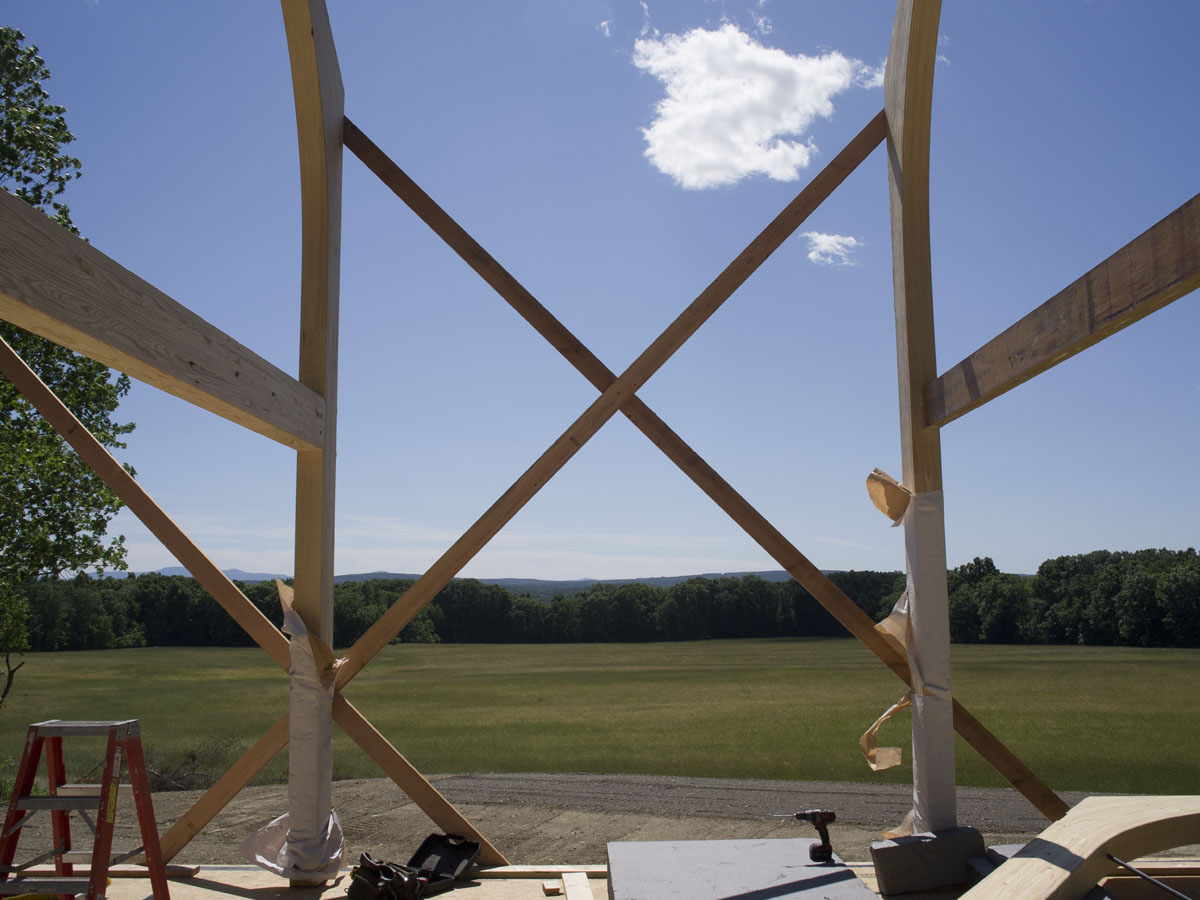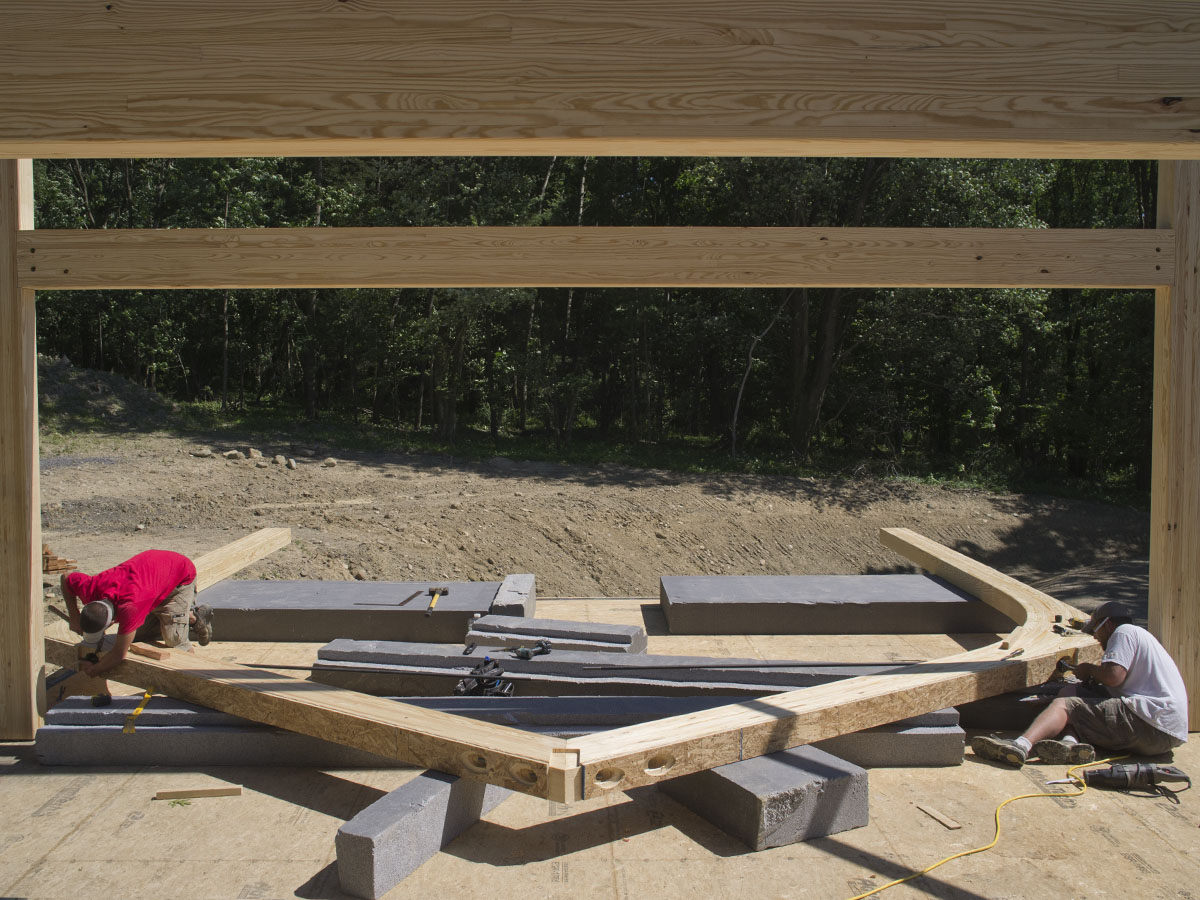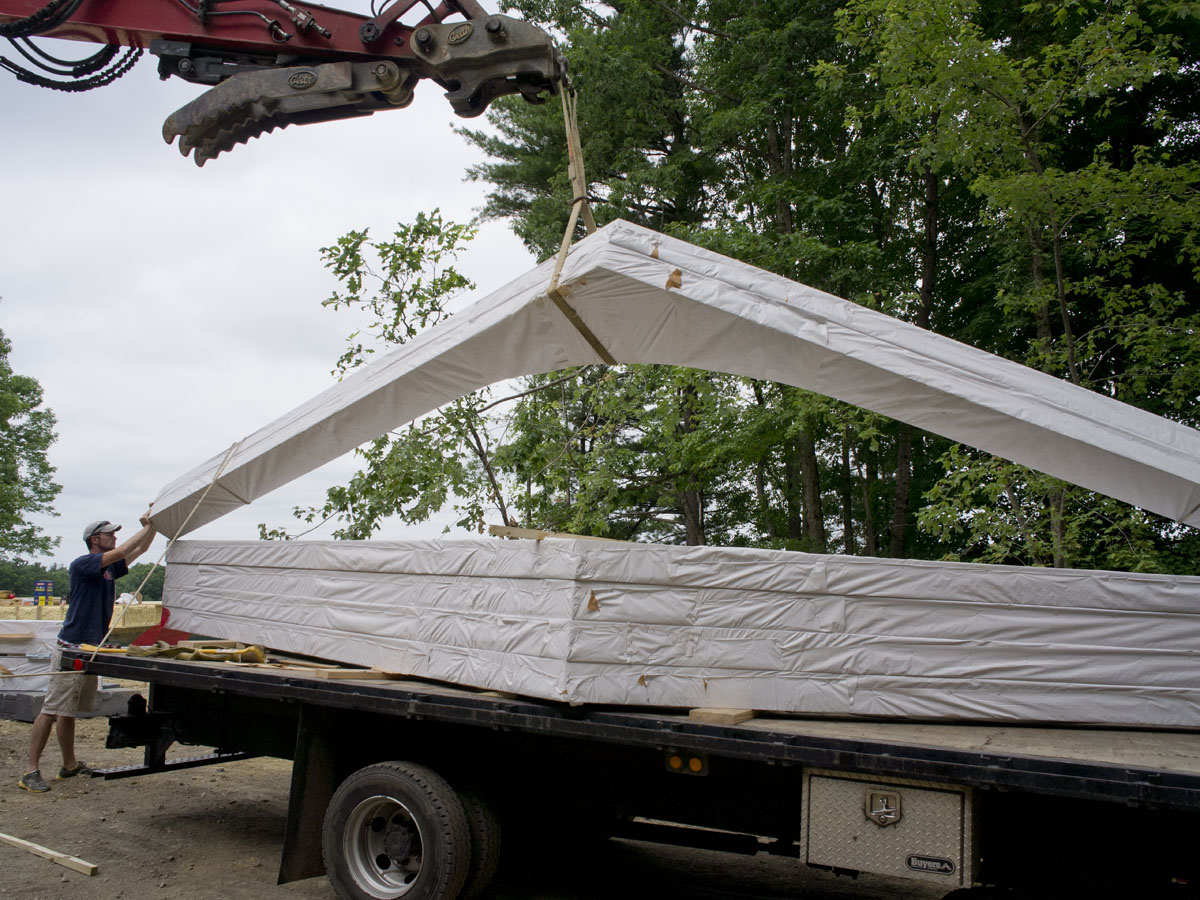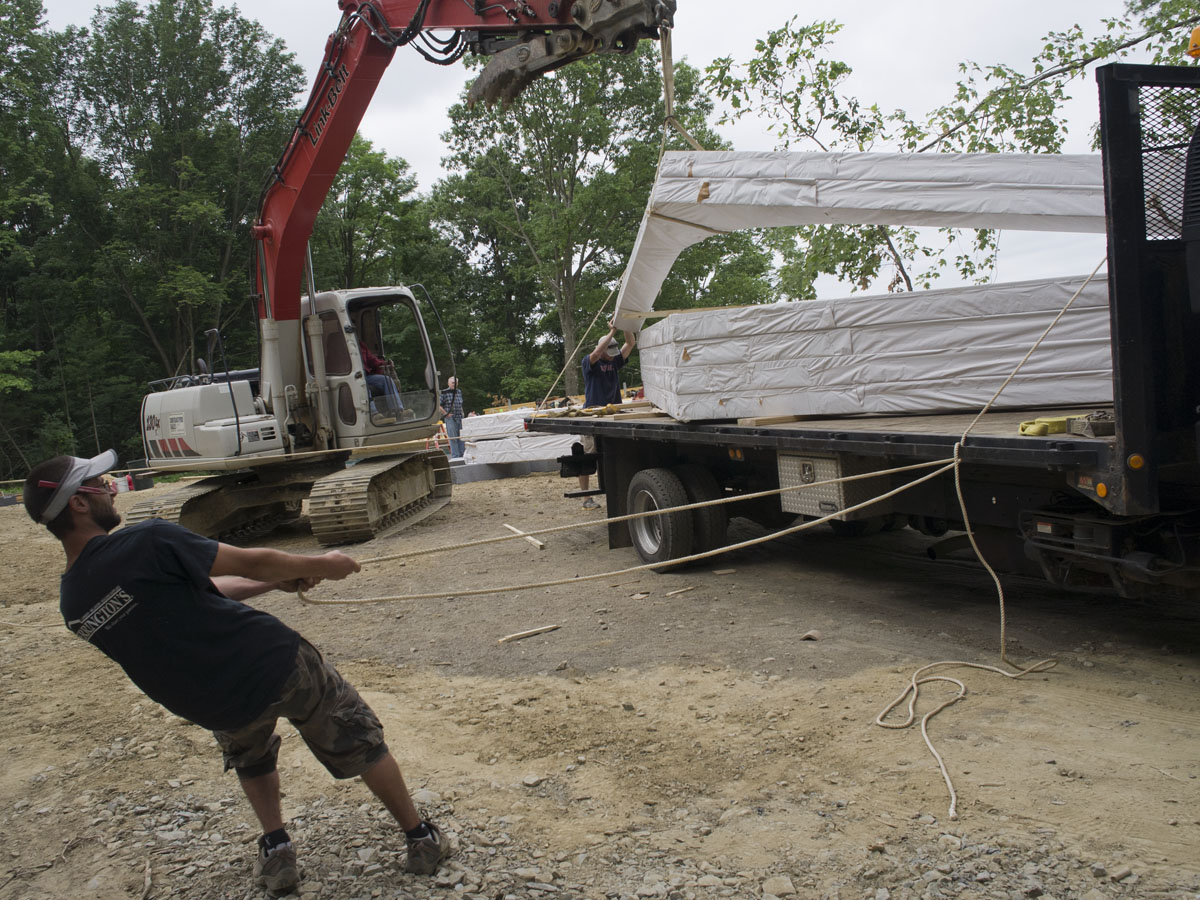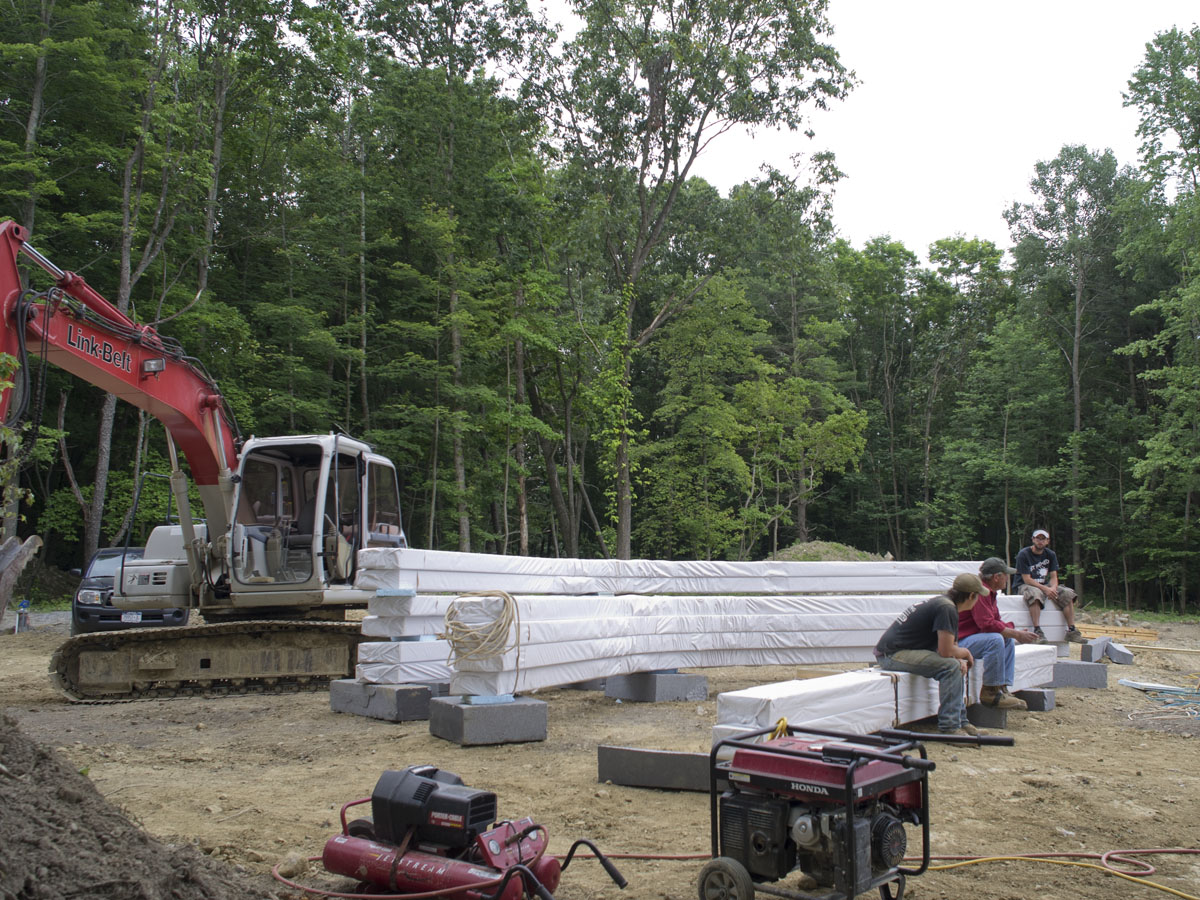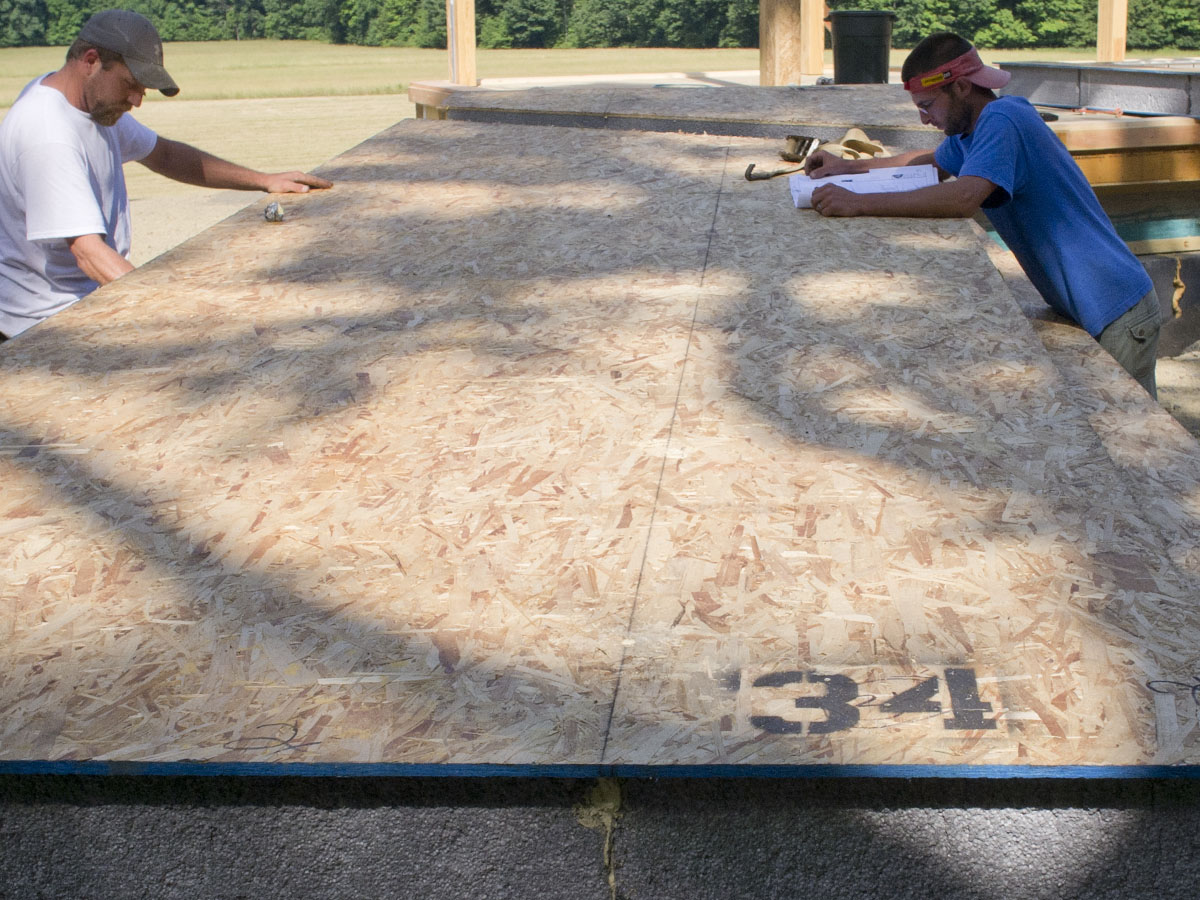
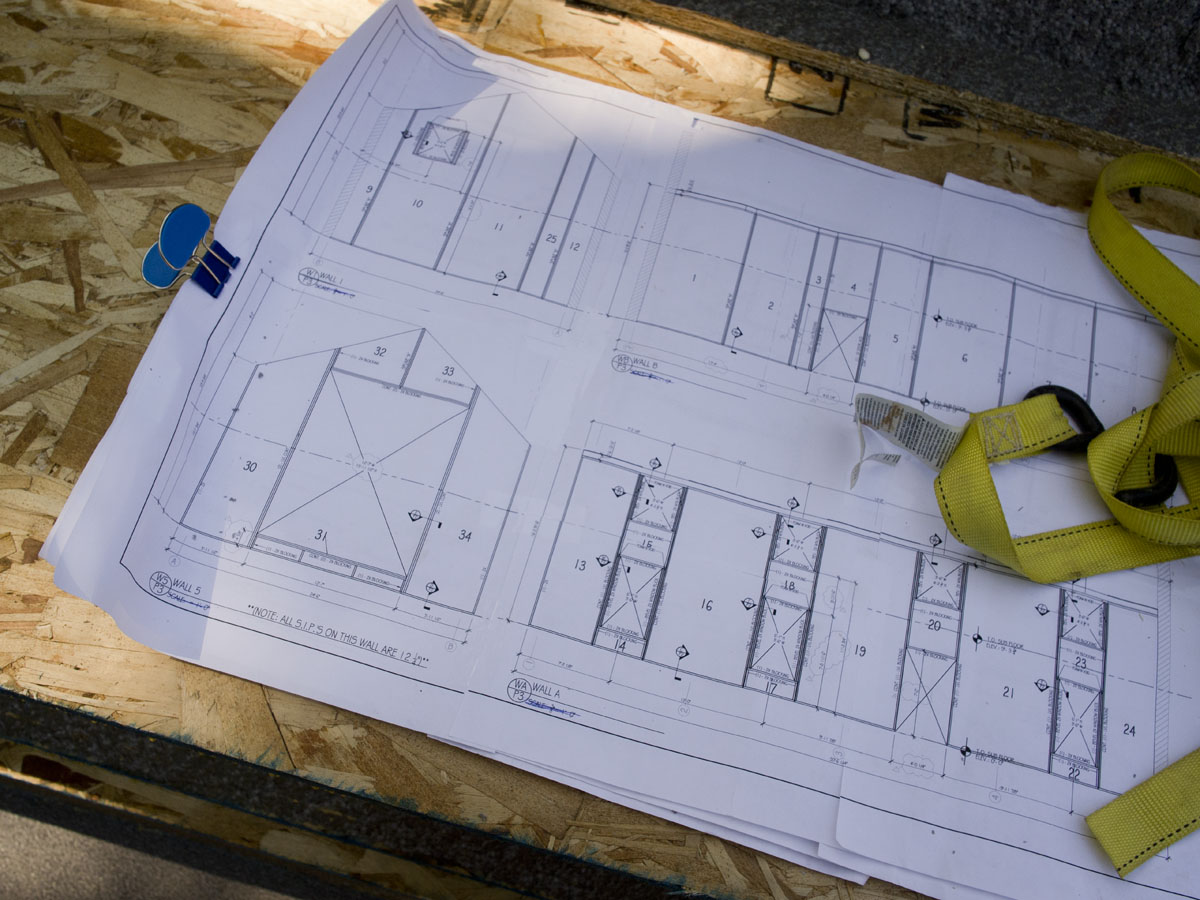
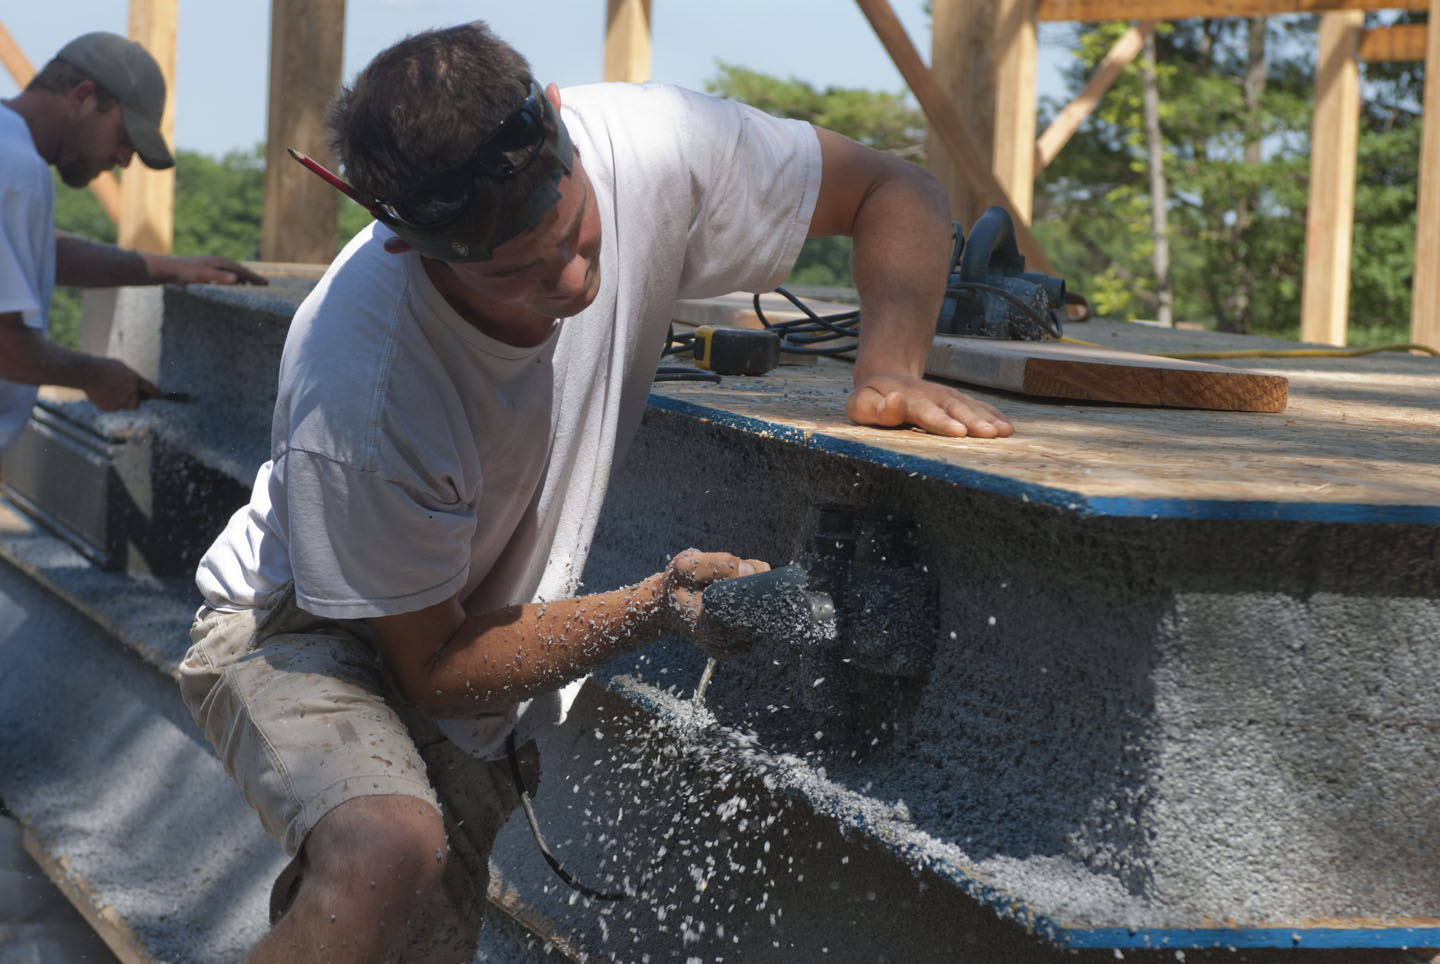
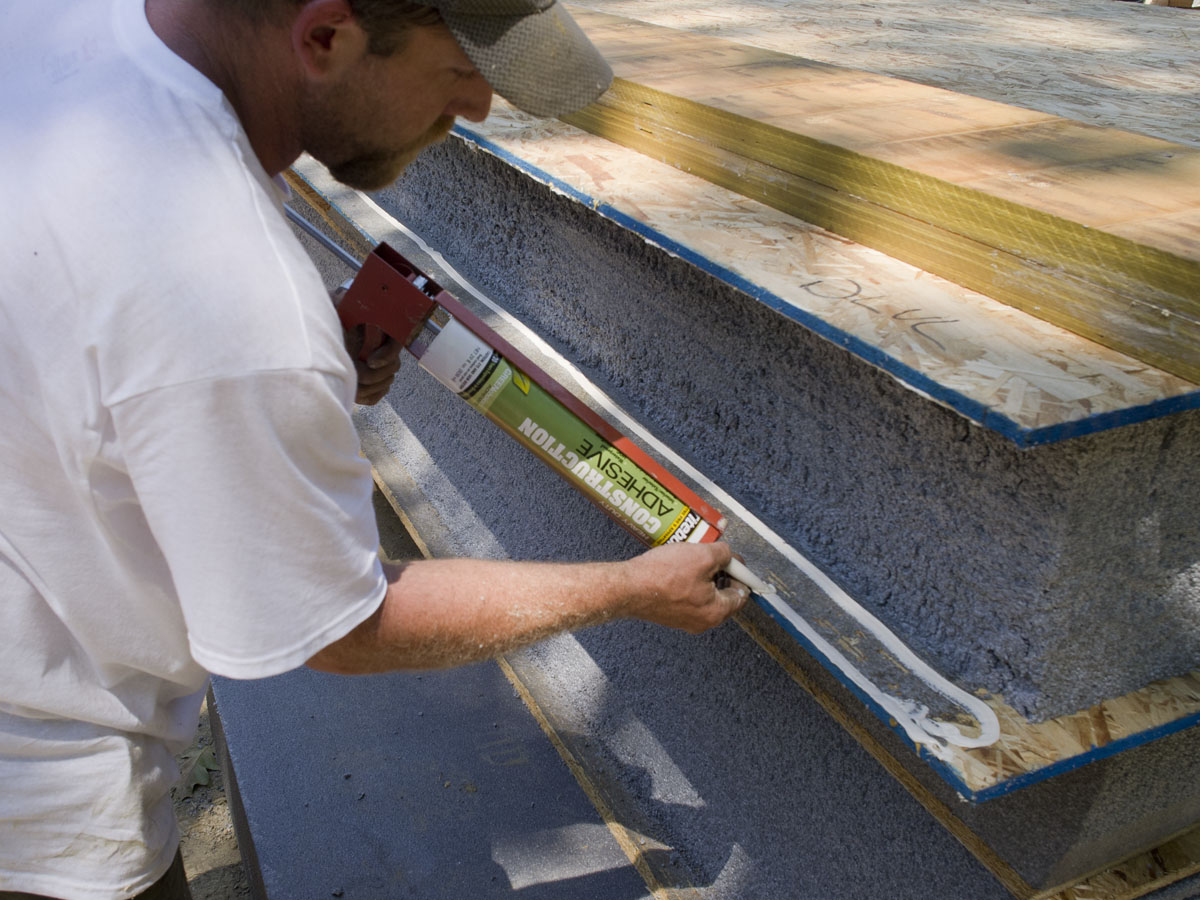
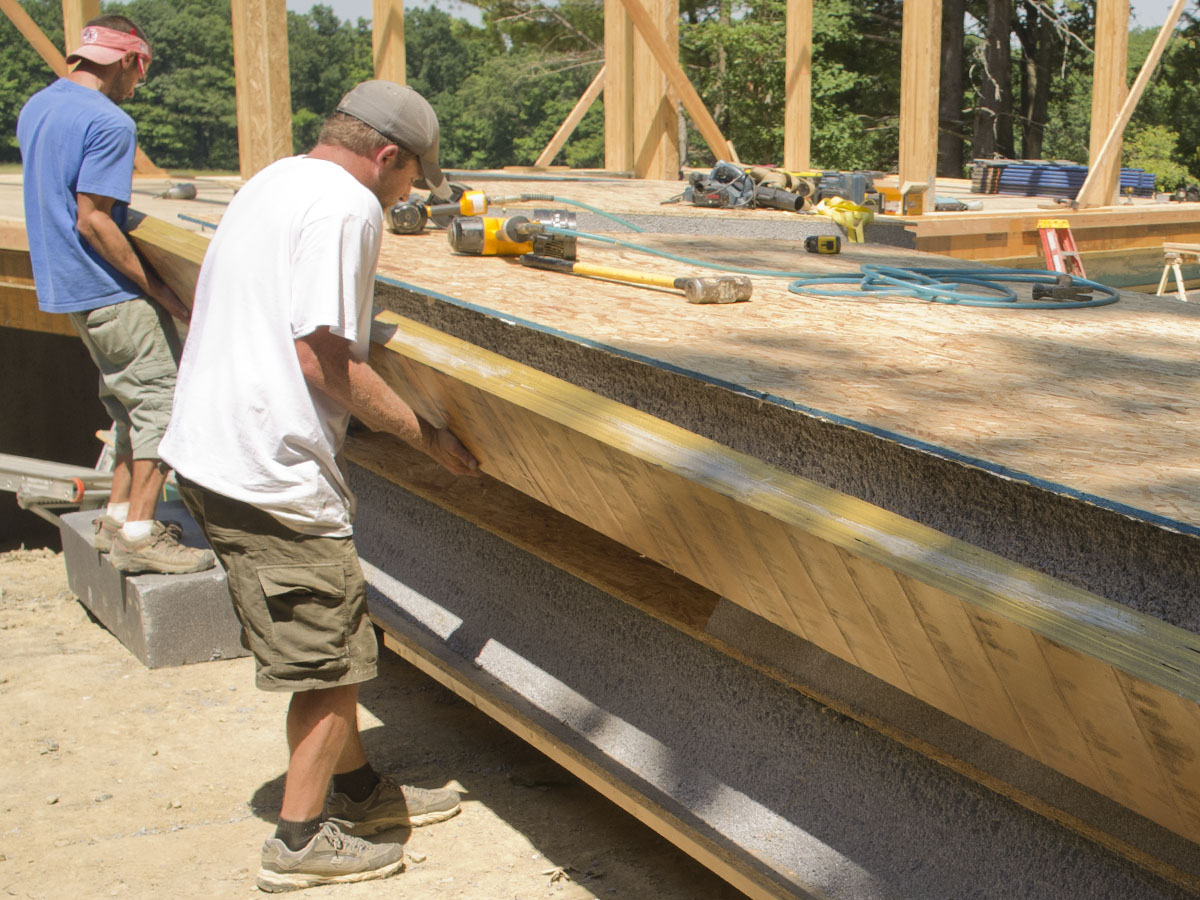
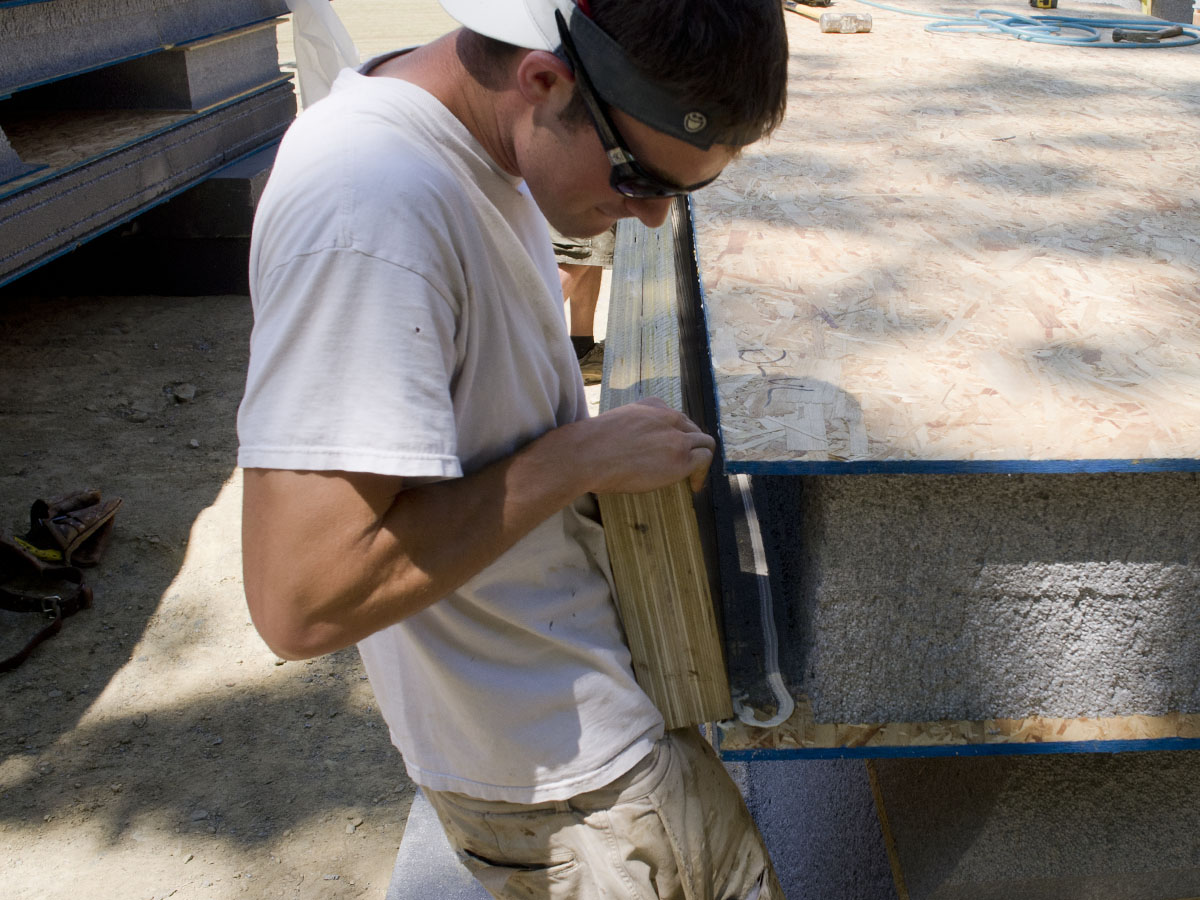
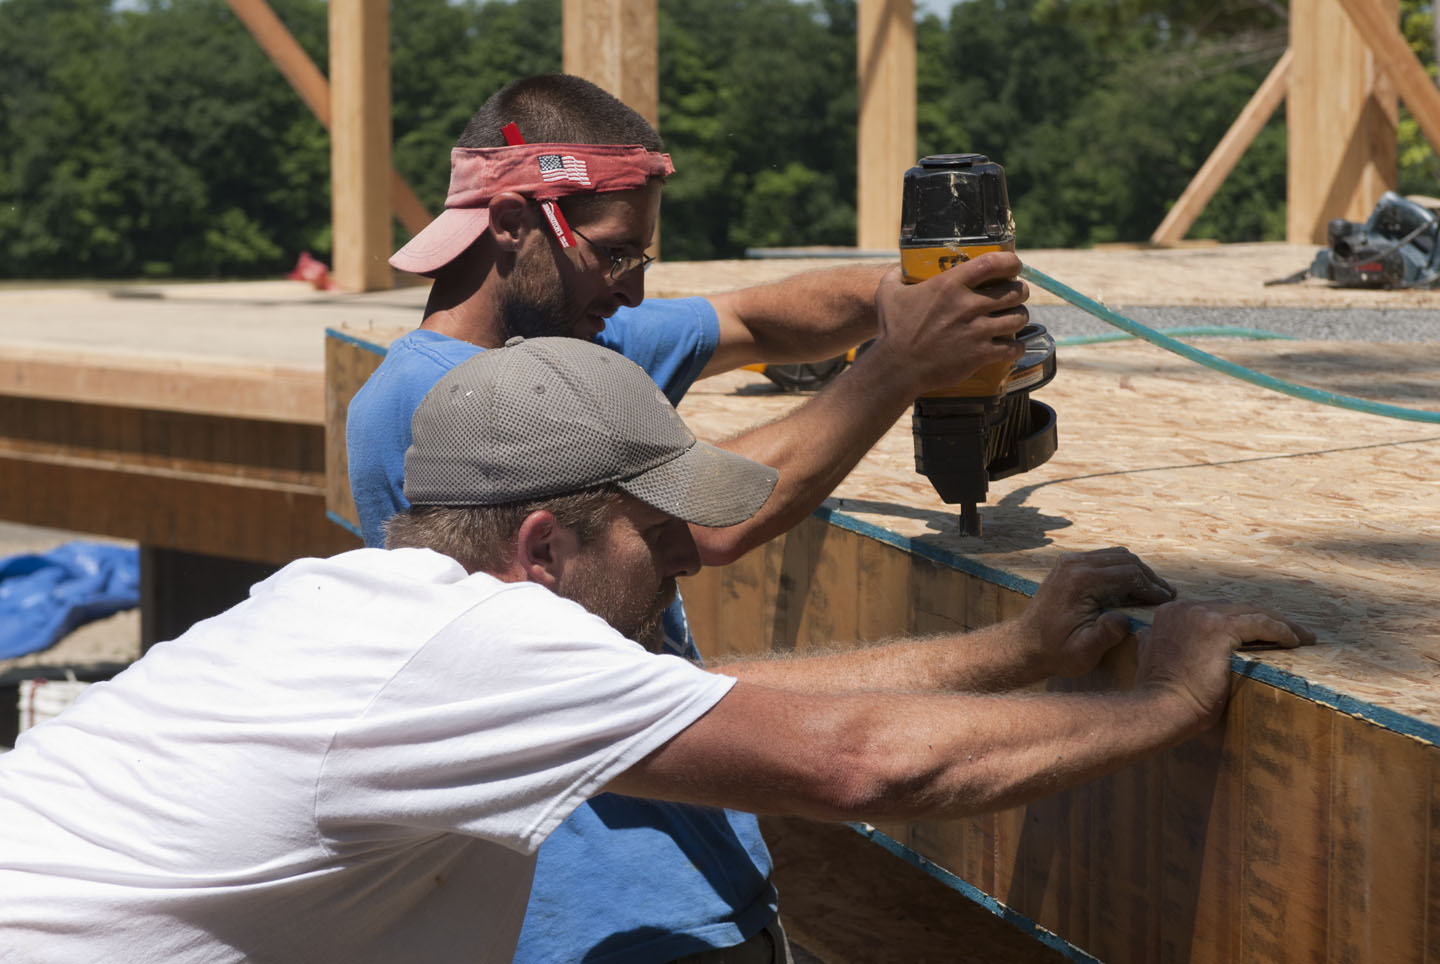
 The panels at the sunny South end are the first to go up. Before assembly, the panels are reinforced with LVL inserts along the edges that will frame and support the large Intus window panels. The side inserts finish the panels, providing structural support and the connection surface between adjacent panels. More: What are SIPs?
Category Archives: 2. Exterior Shell
Looking for gaps, engineer Jordan Dentz
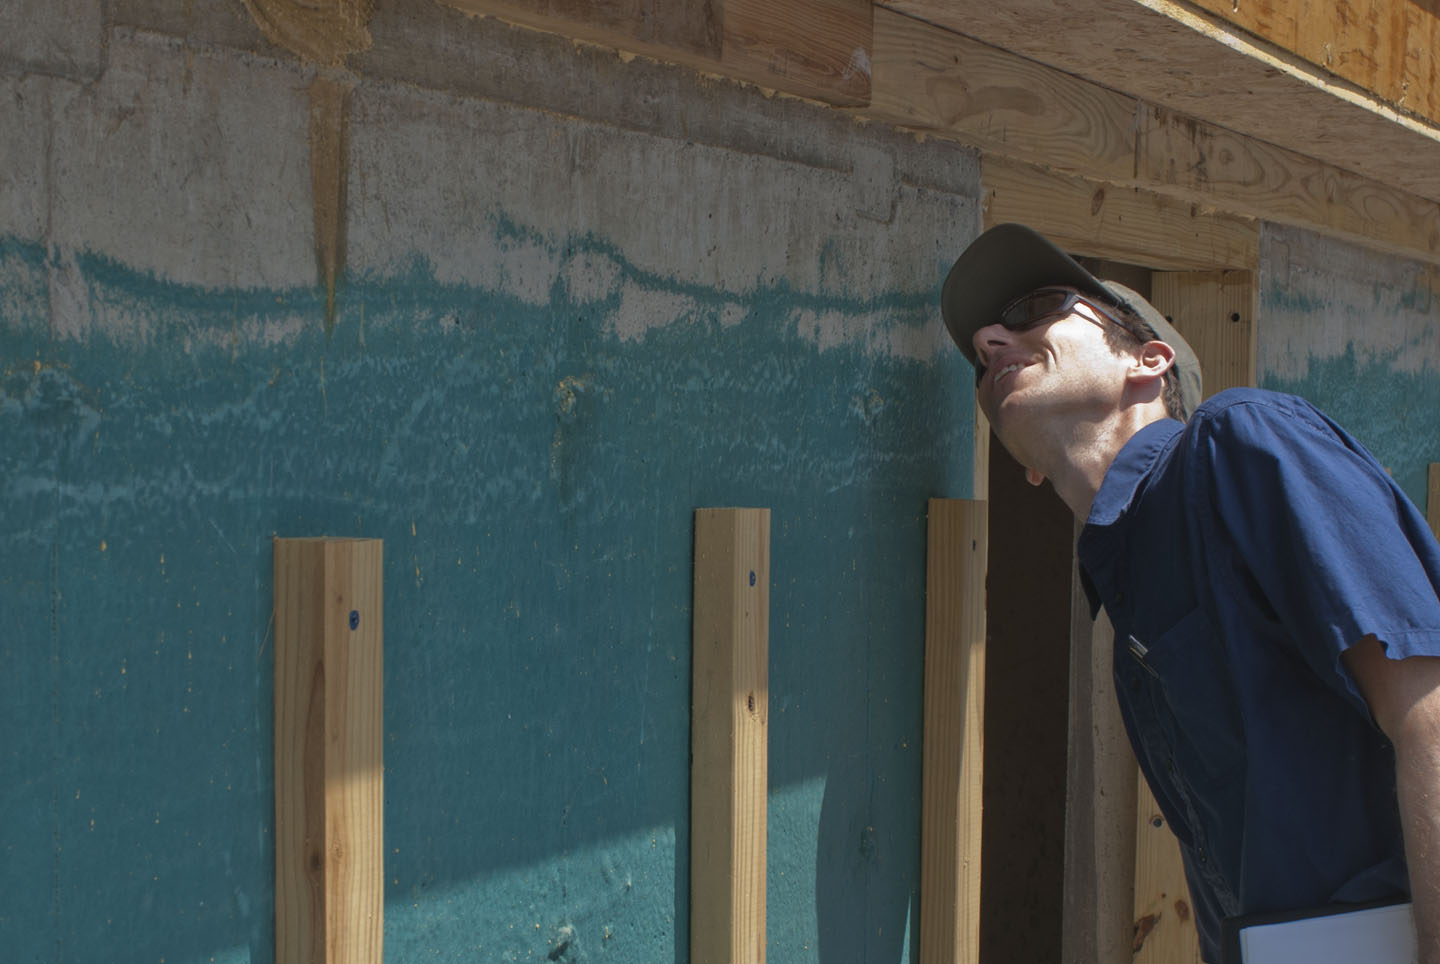 Expanding foam insulation fills a gap behind the deck soffit. Jordan, from The Levy Partnership, adds expertise in building science to our Passive House project.
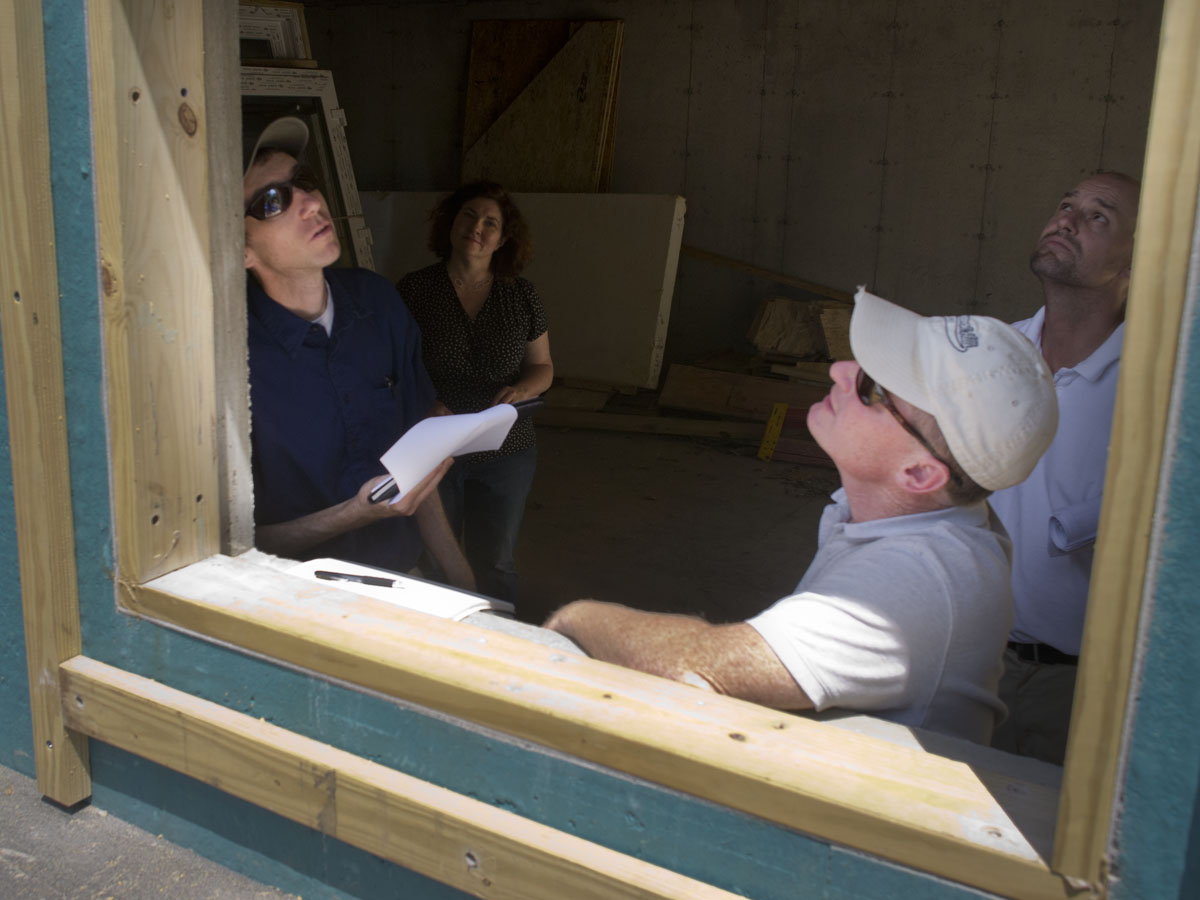 L. to R. – On his first site visit, consulting engineer Jordan Dentz meets with Susan, general contractor Bill Stratton, and architect Brian Marsh of Dennis Wedlick Architect.
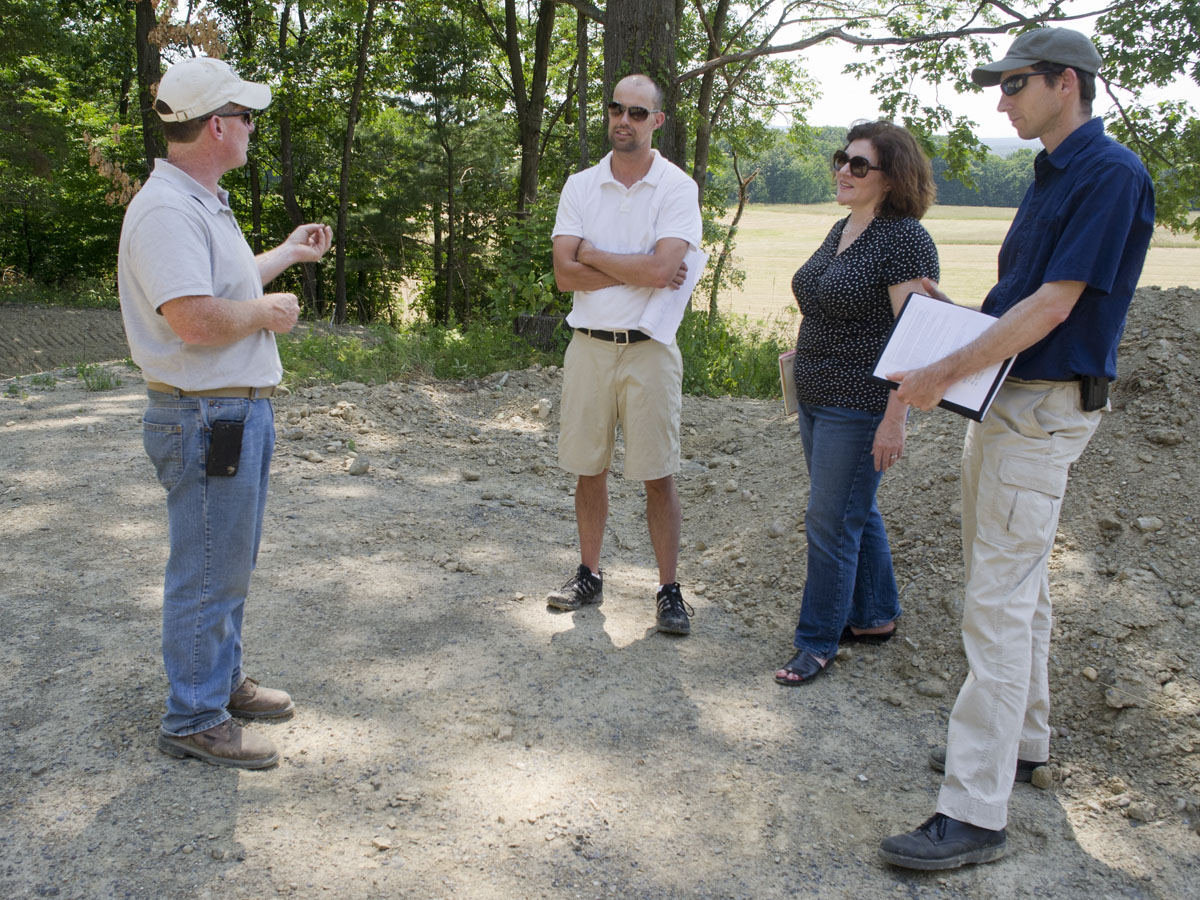 Bill Stratton updating the group on construction progress. Next week should be good weather for raising the SIPs onto the glulam structure.
Heavy lifting when the windows arrive
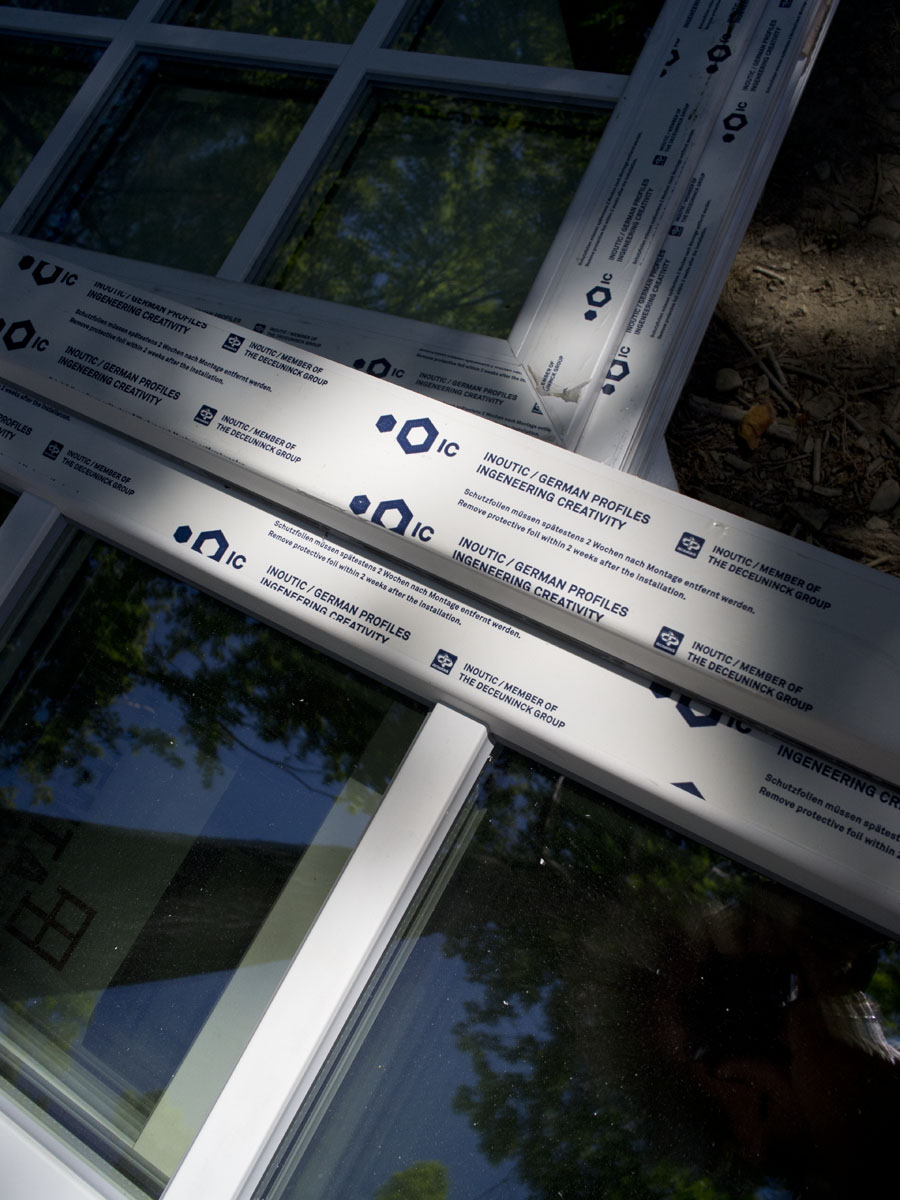
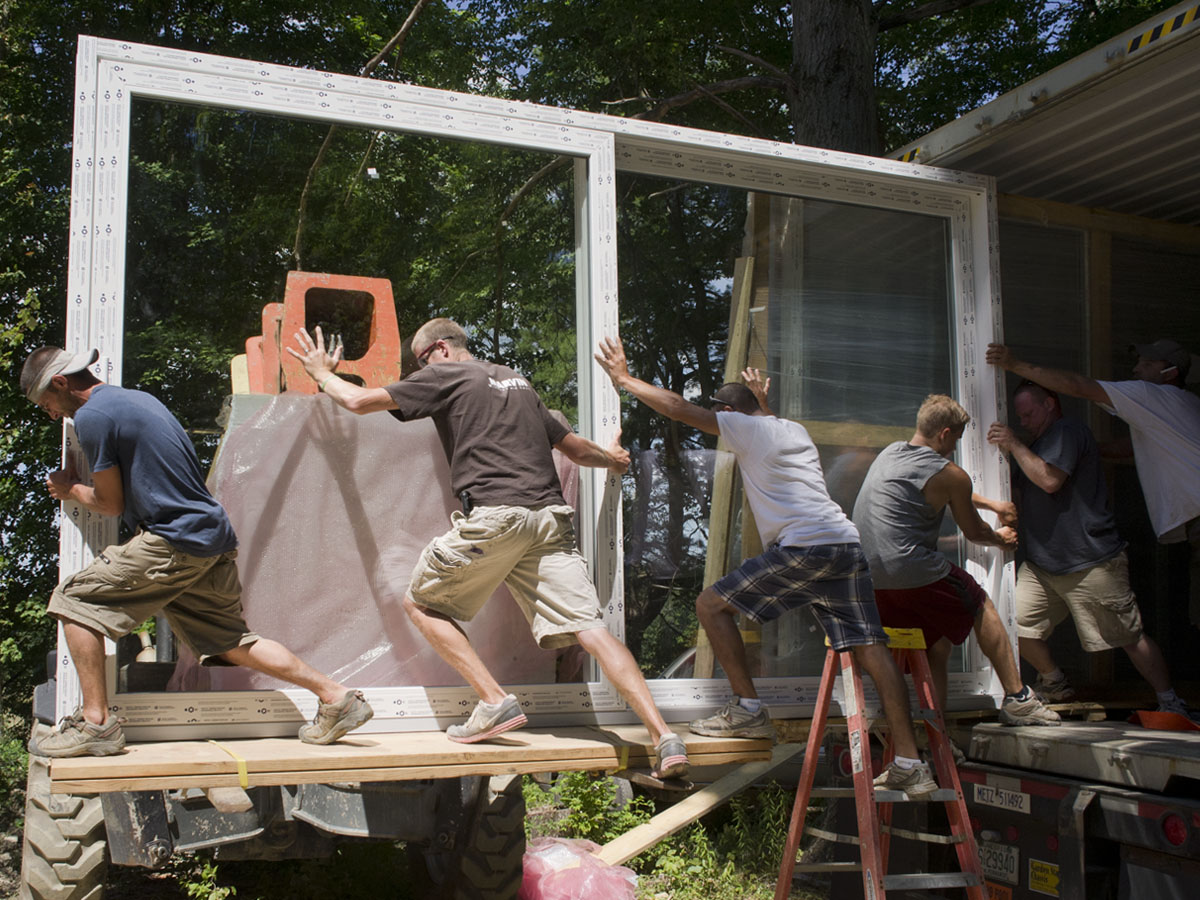 It takes six men to lift the triple-pane sliding glass door. The windows arrived in a shipping container filled in Lithuania, where Intus windows are manufactured.
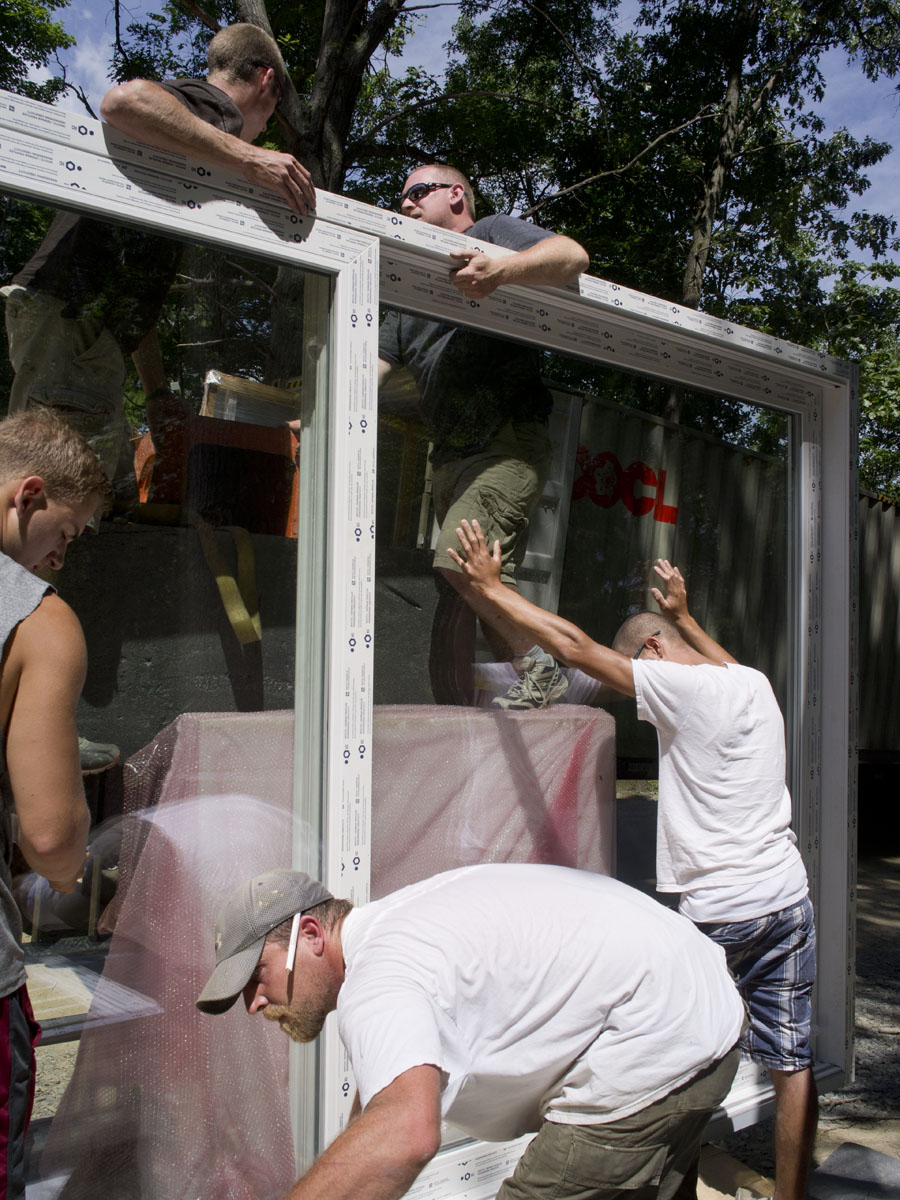
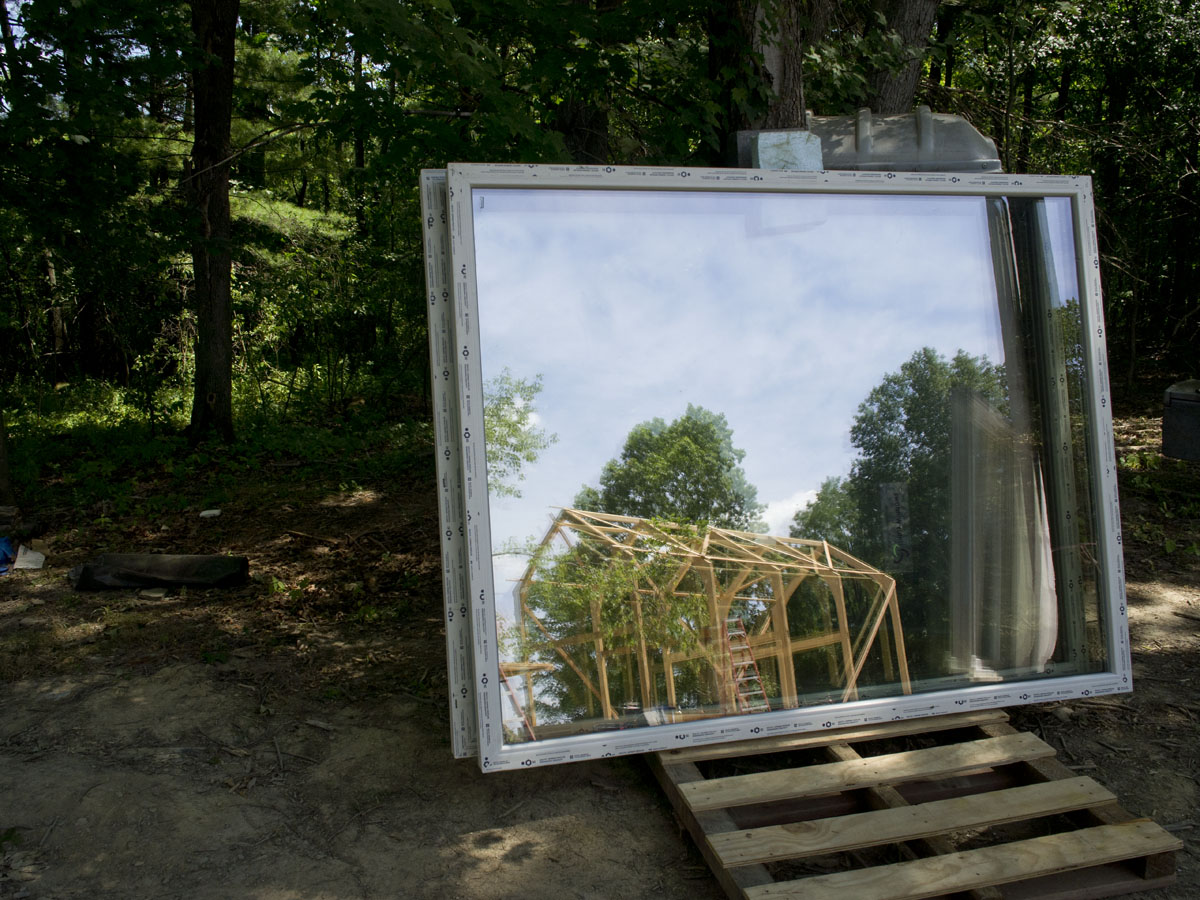
 Four of these large windows will fill the wall on the Southern exposure.
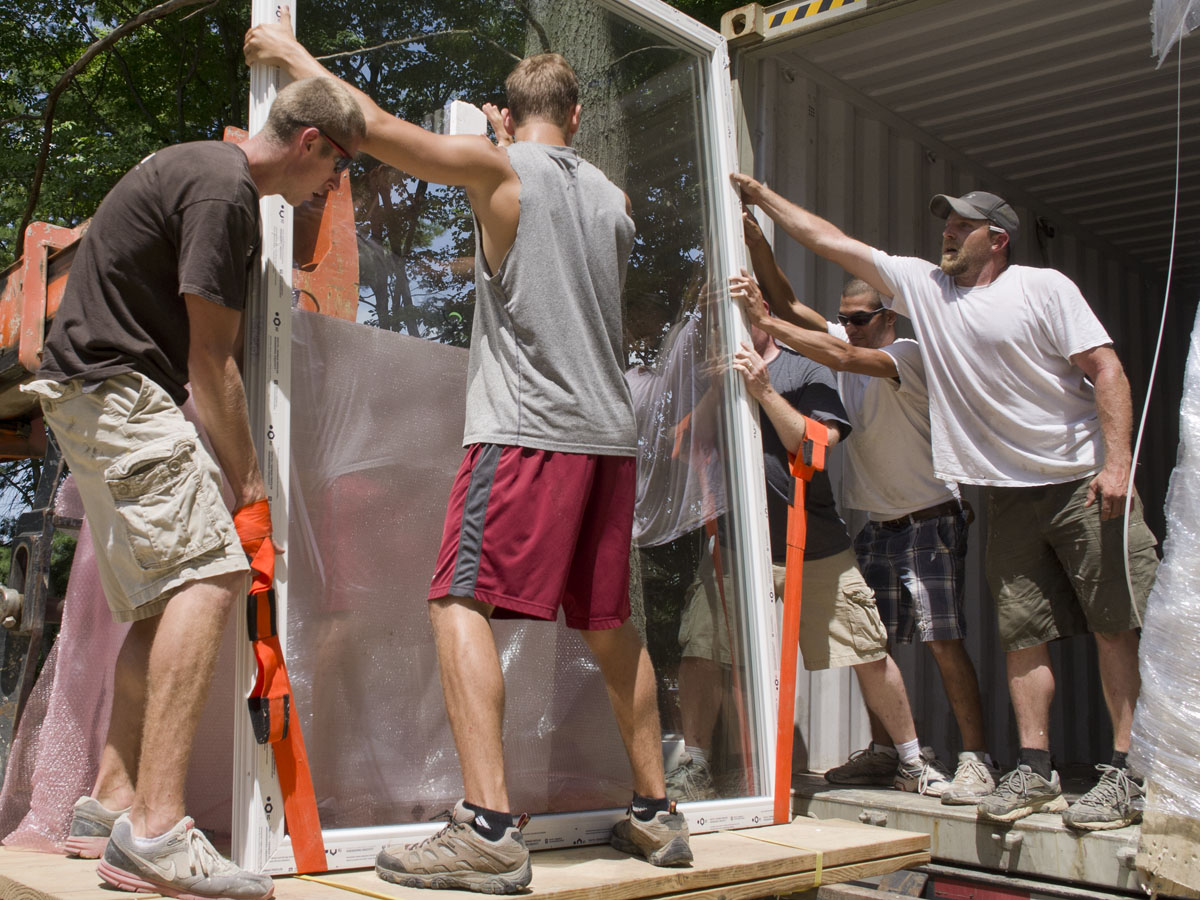
 The shipping container is elevated on a truck, and there’s no loading dock.
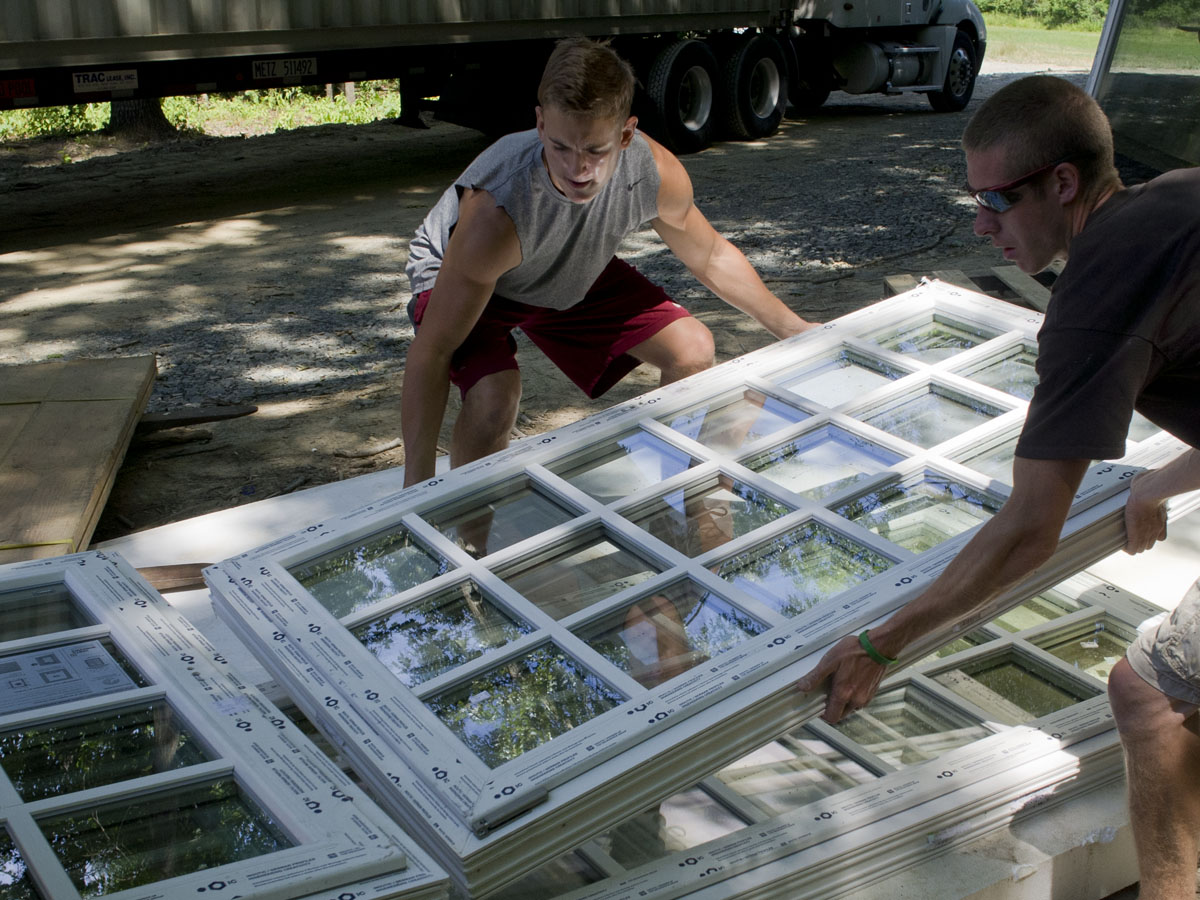
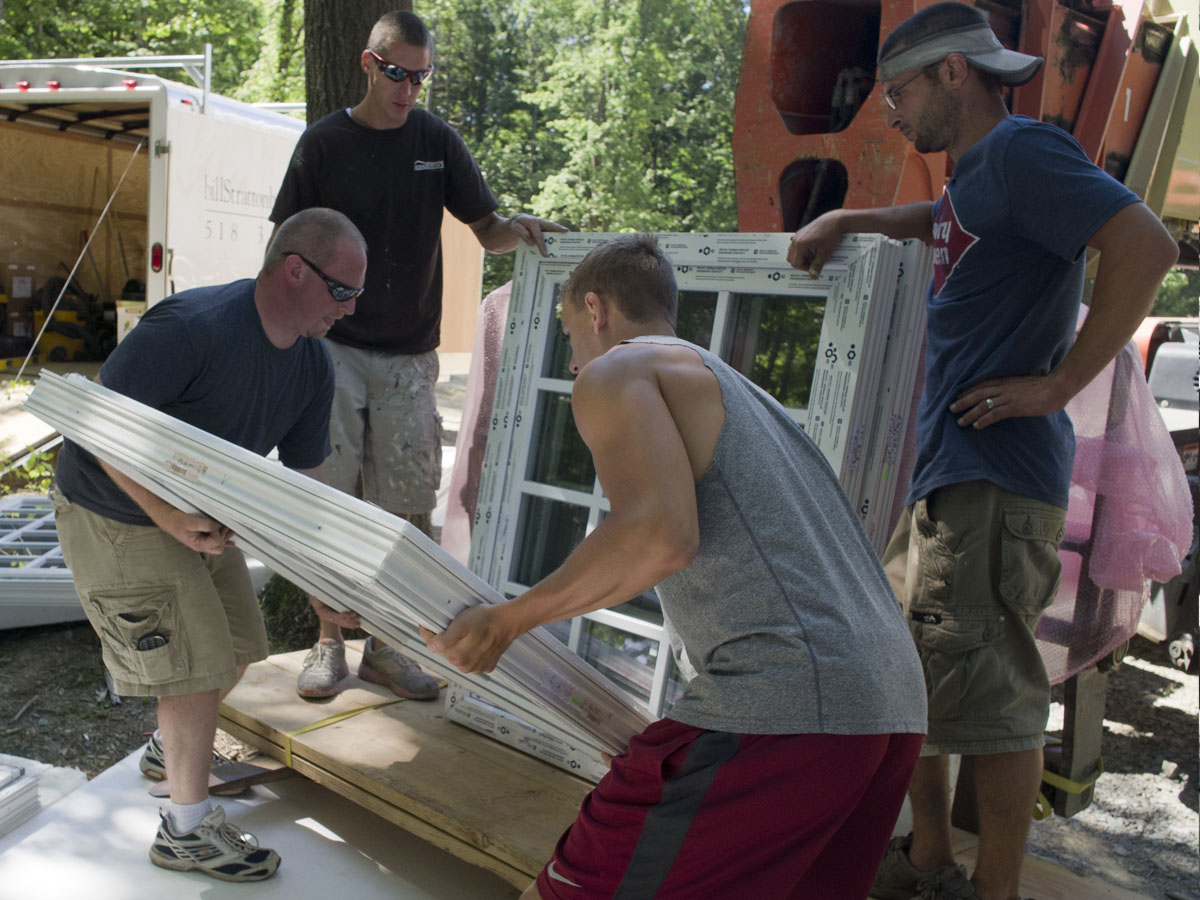 Even the smallest windows are very heavy, requiring two people to lift them.
SIPs arriving from Vermont Timber Frames
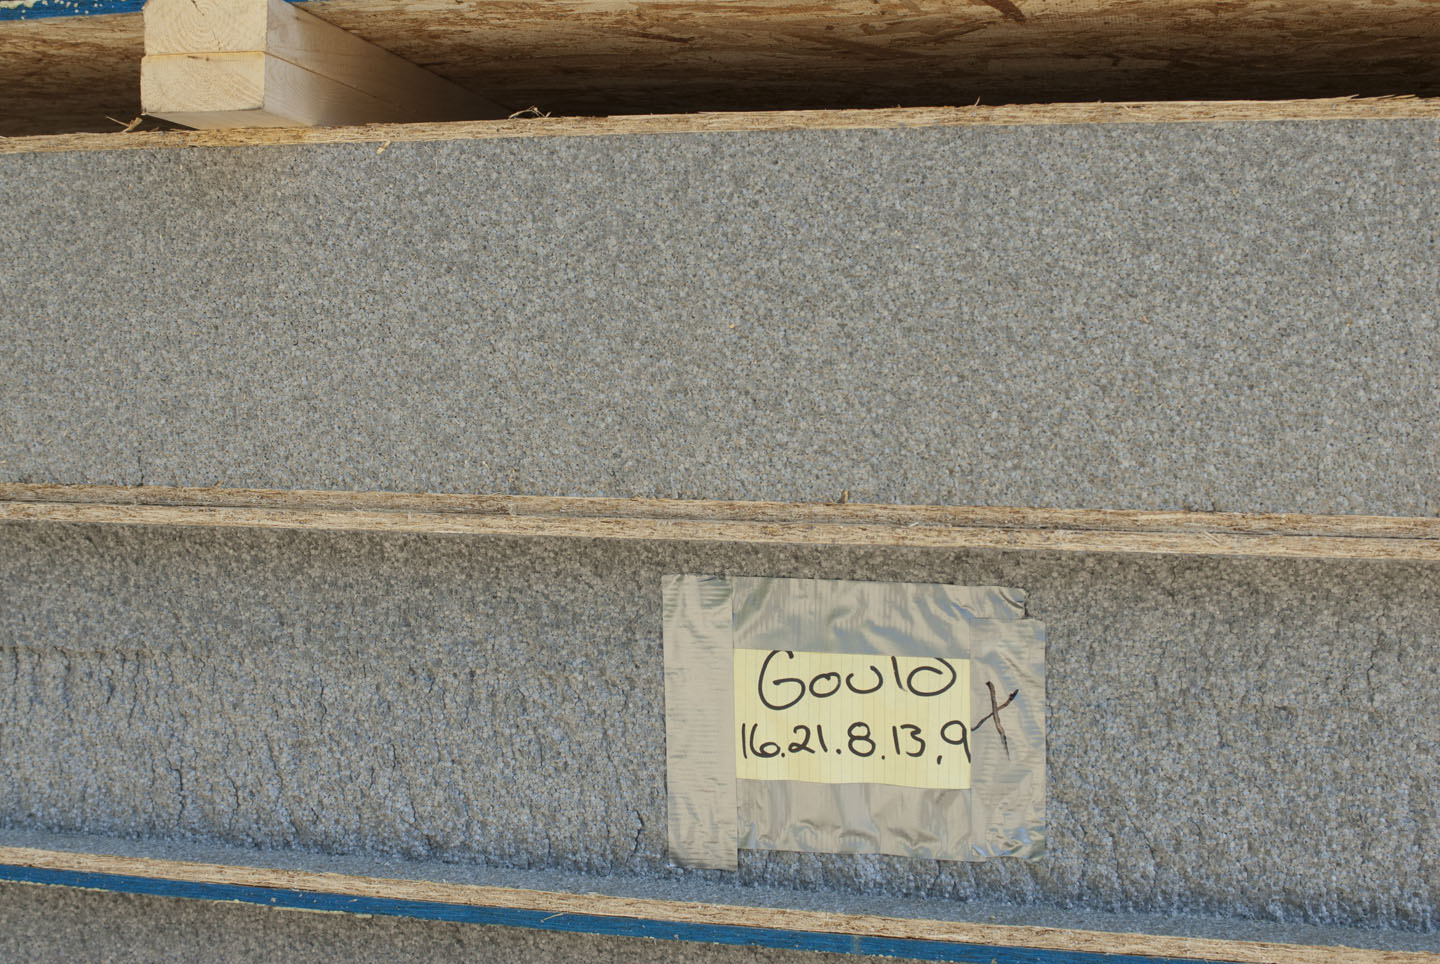
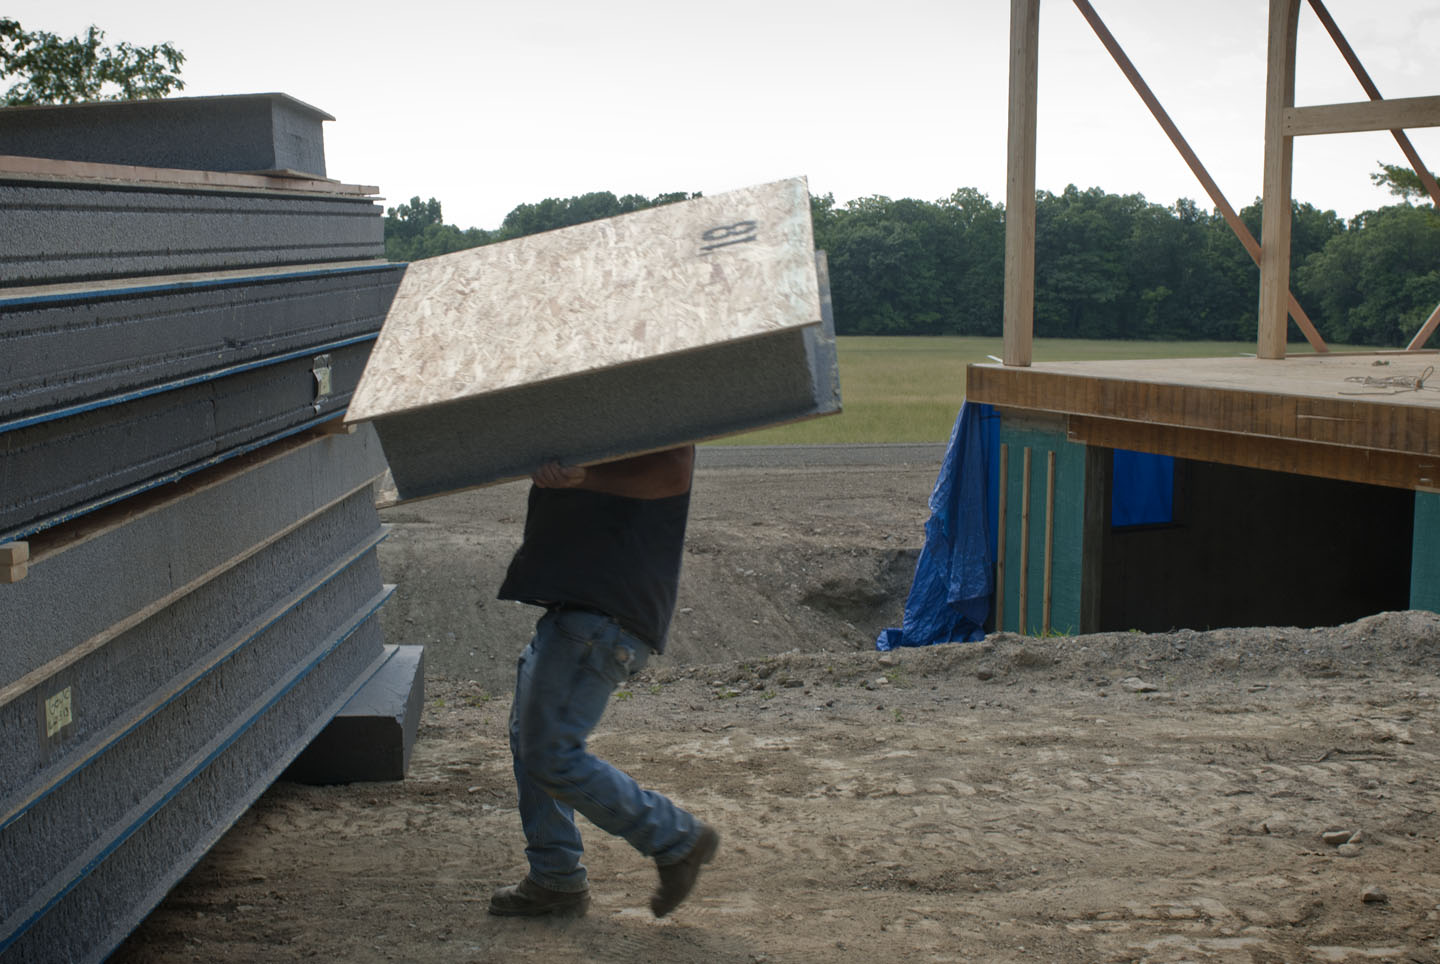 Structural insulated panels (SIPs) fabricated by Vermont Timber Frames will become our walls and roof. Each panel is numbered to match the assembly plan.
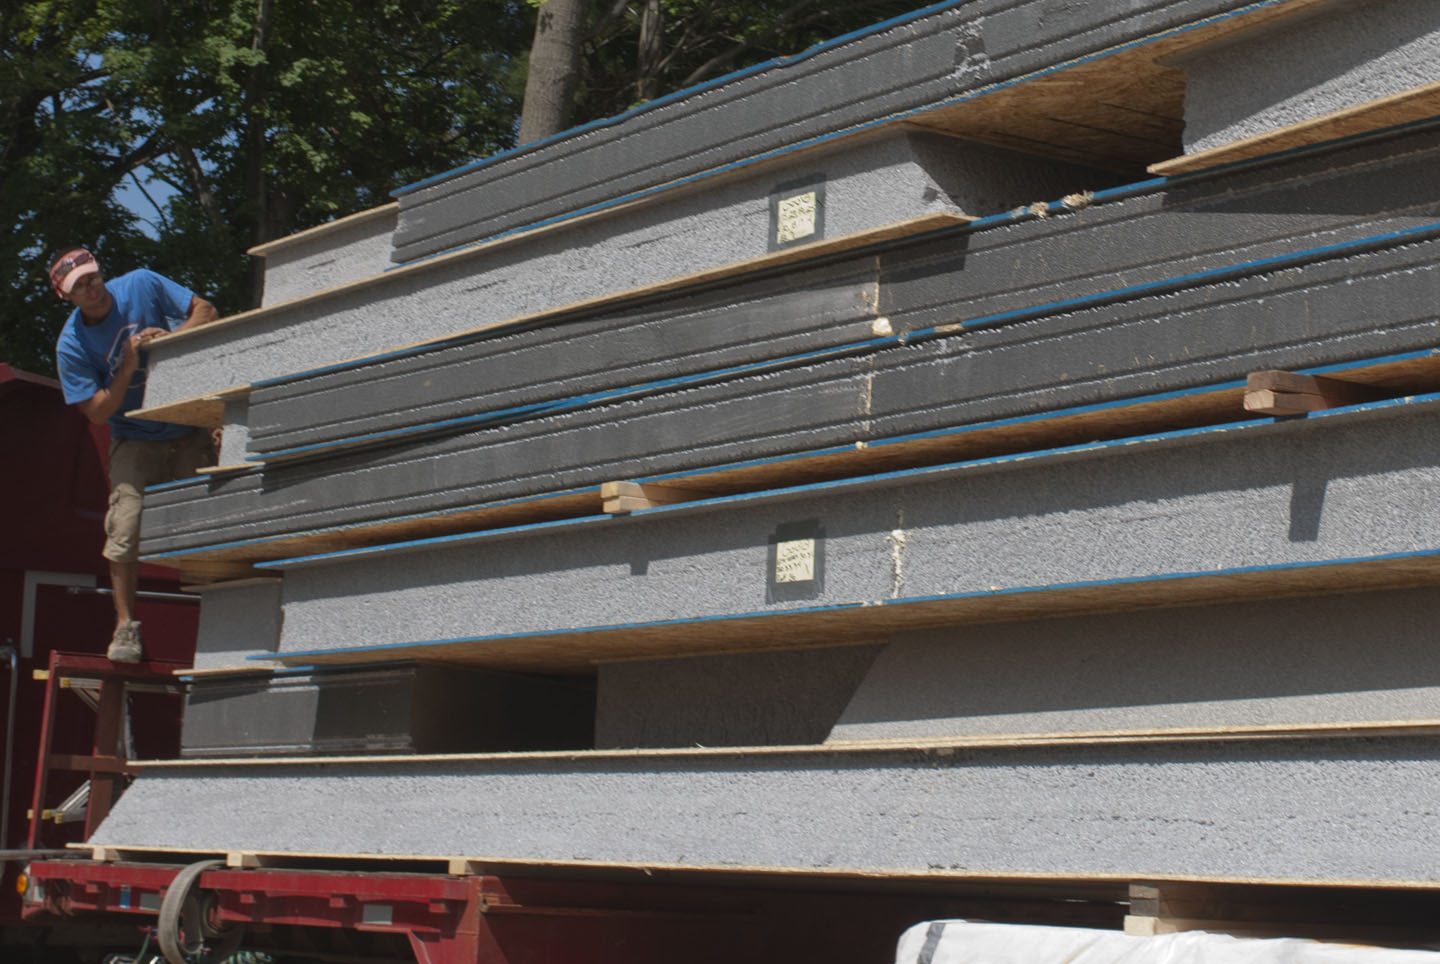 Neopor rigid foam insulation sandwiched between oriented strand board.
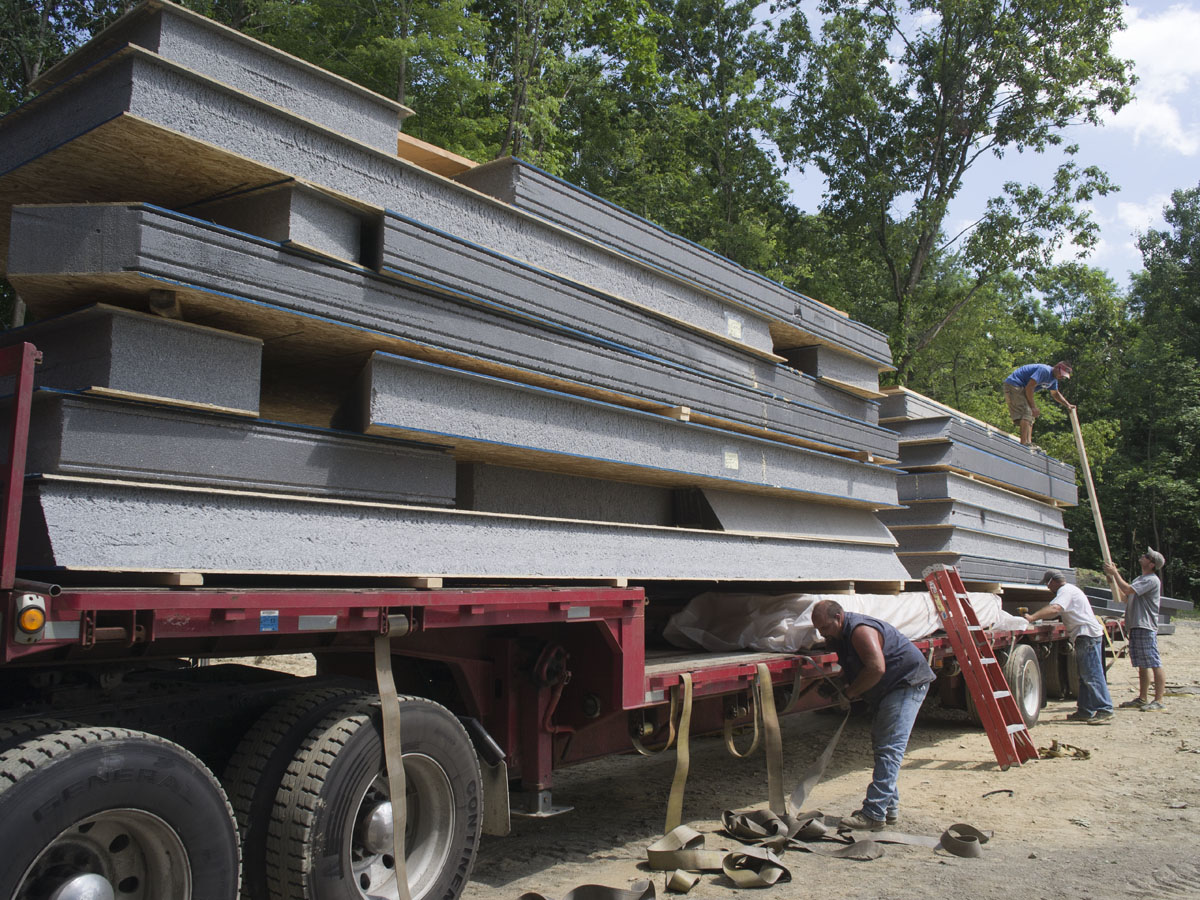 The wall panels arrived one day, followed by the roof panels the next day — for a total of two 30-foot truck loads delivered directly to the site.
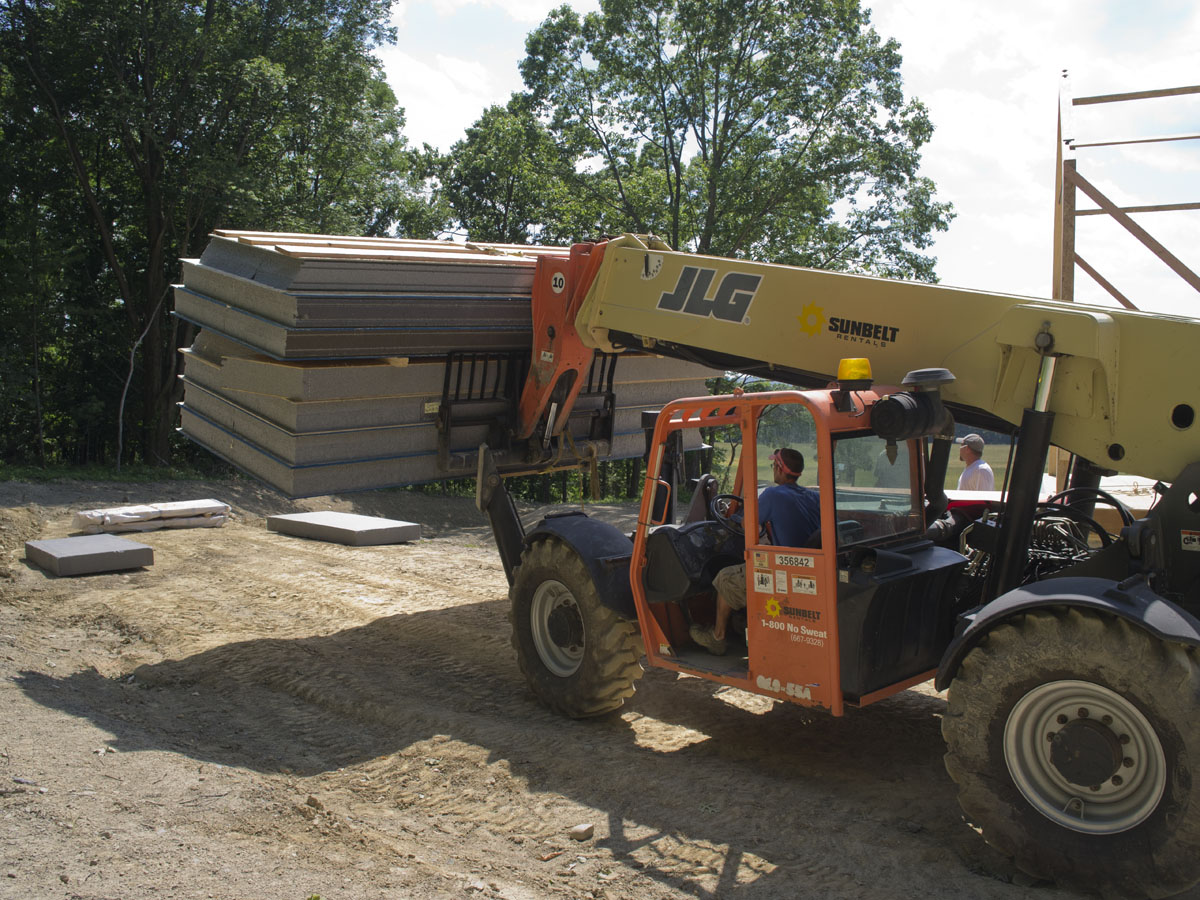 Unloading the SIPs with the boom forklift.
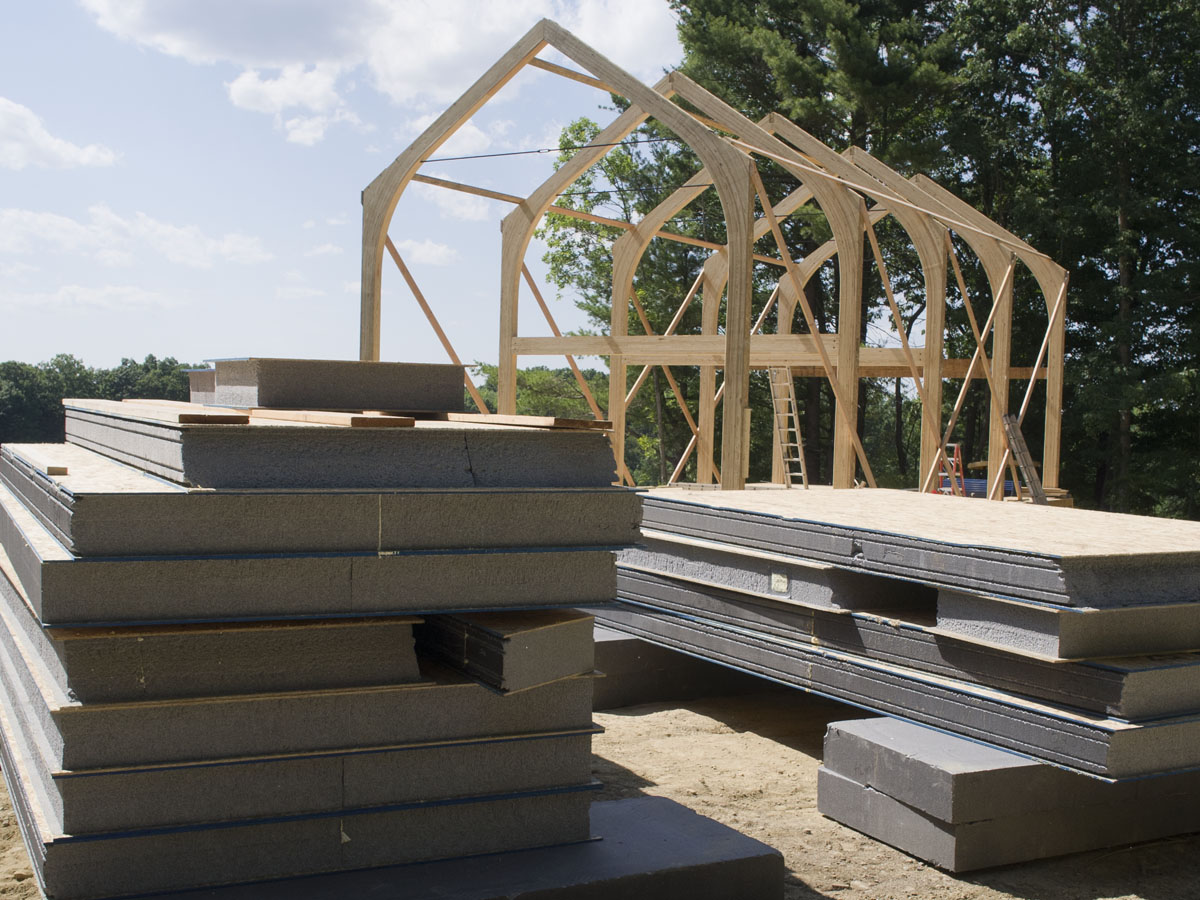 Tidy stacks of SIPs staged for preparation and assembly.
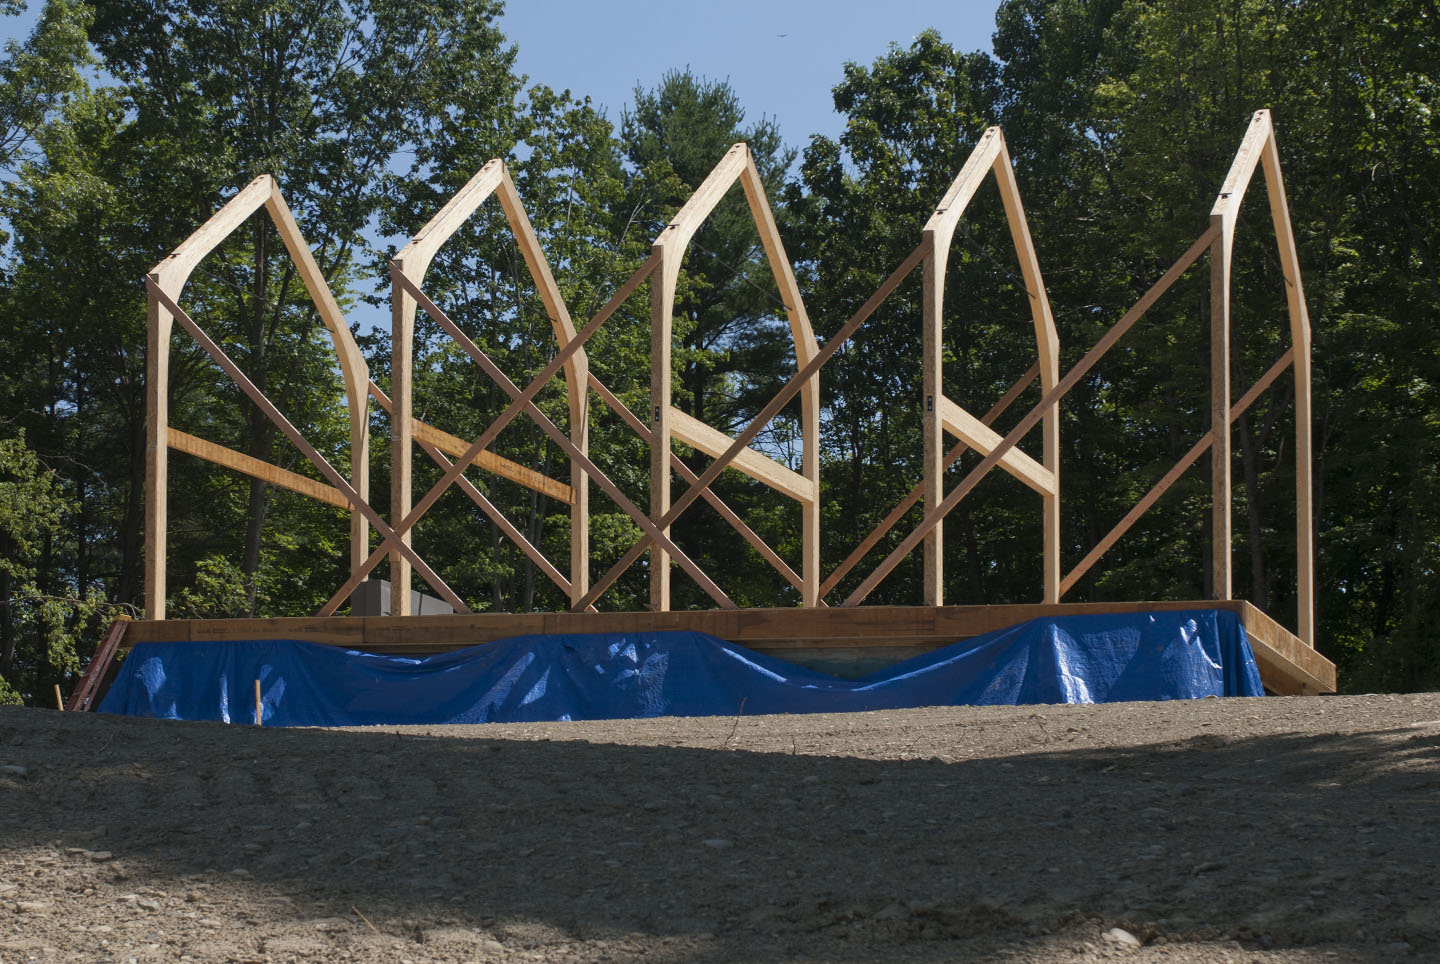
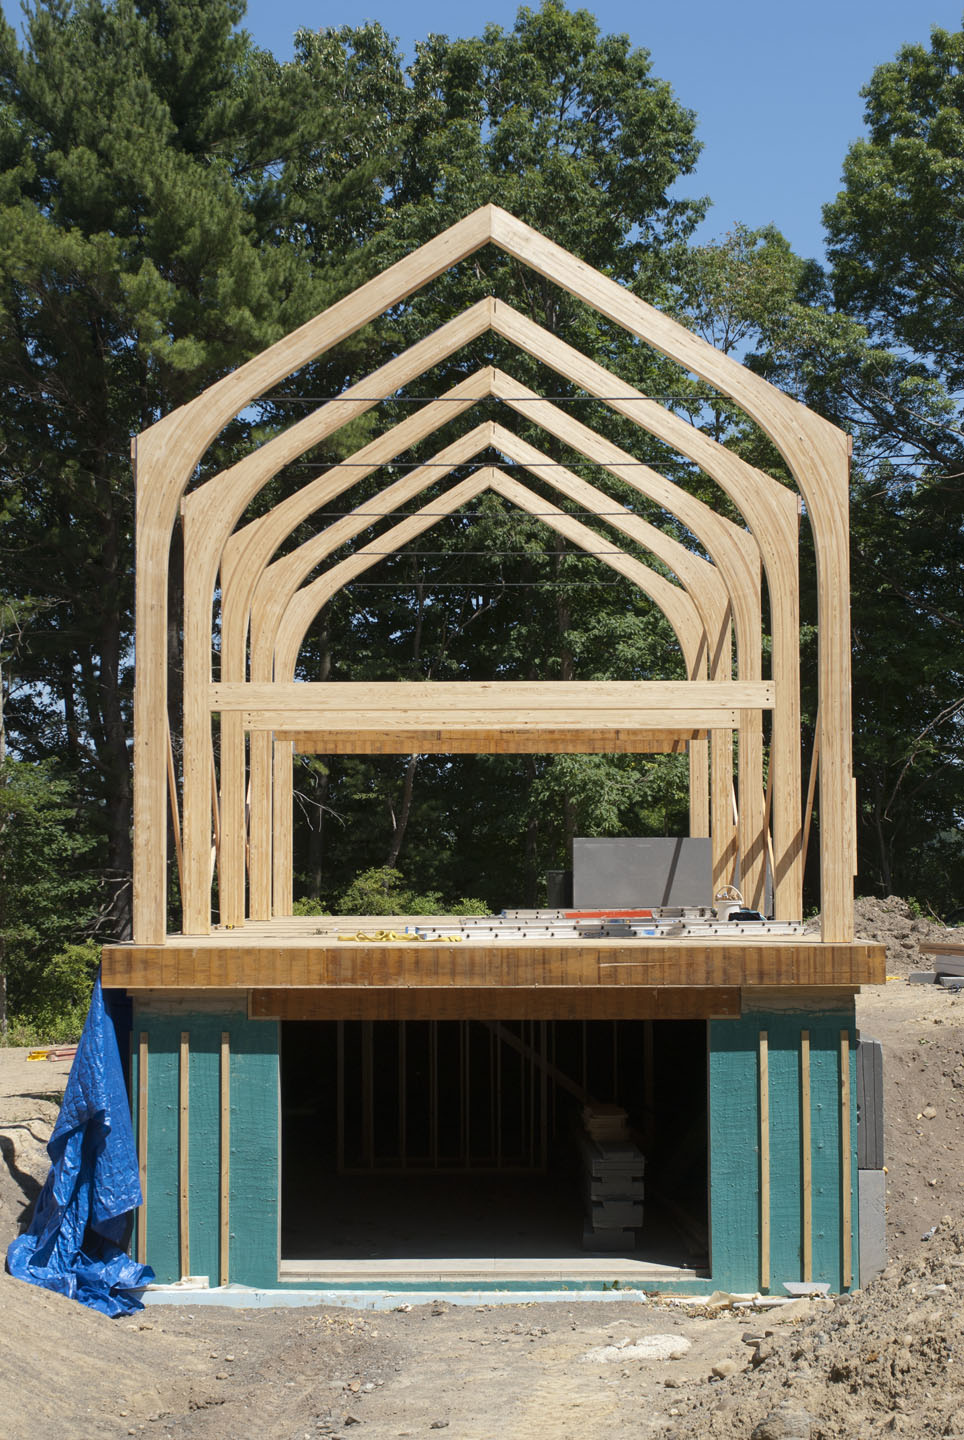
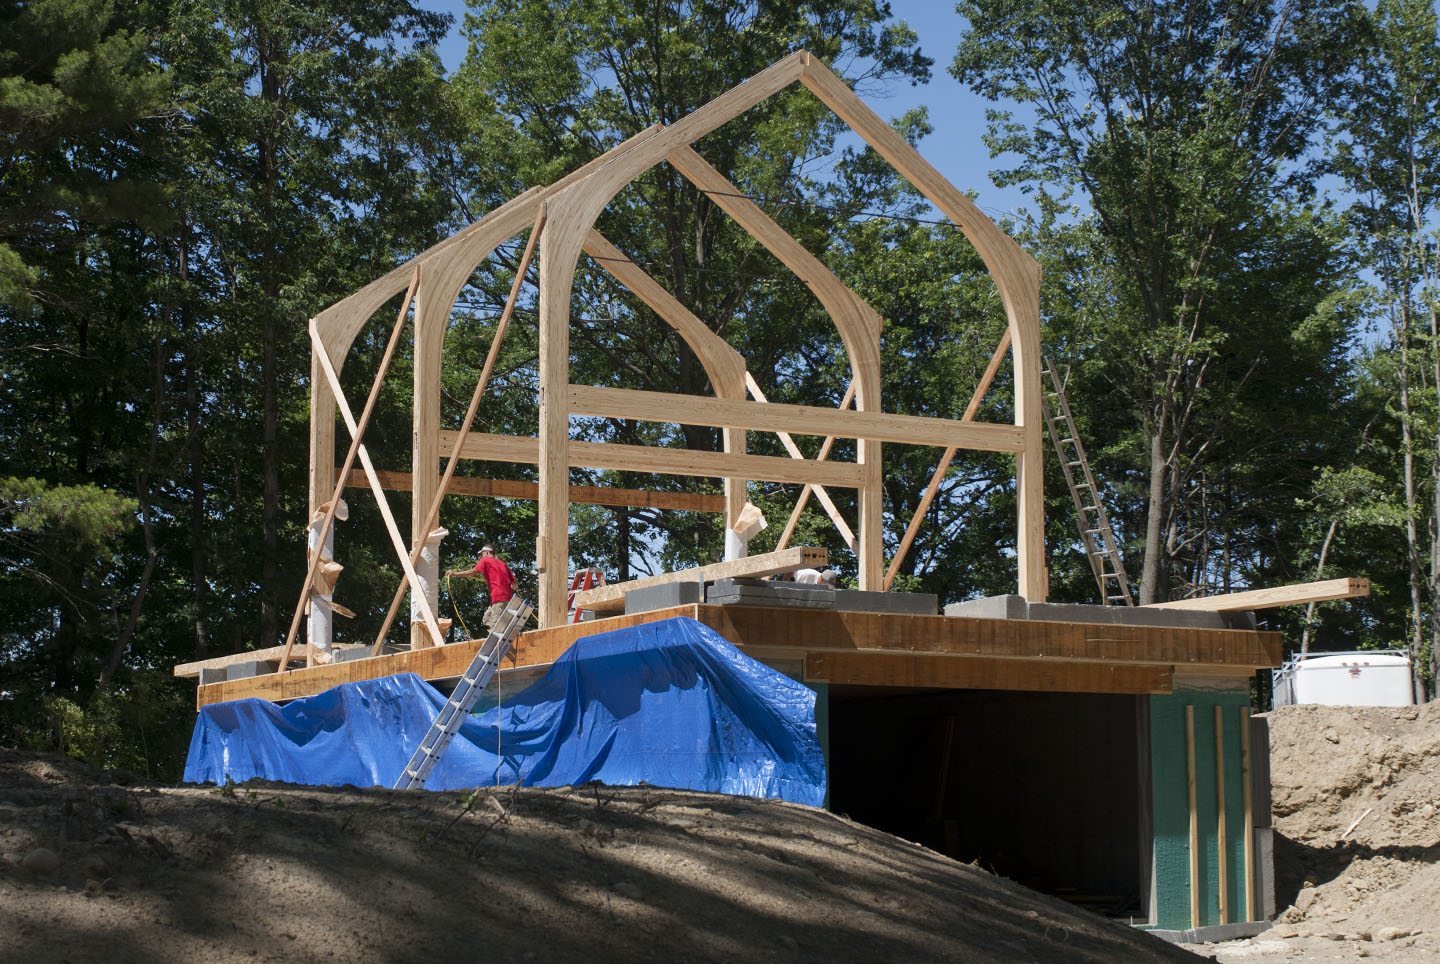
Completing a cathedral in the morning
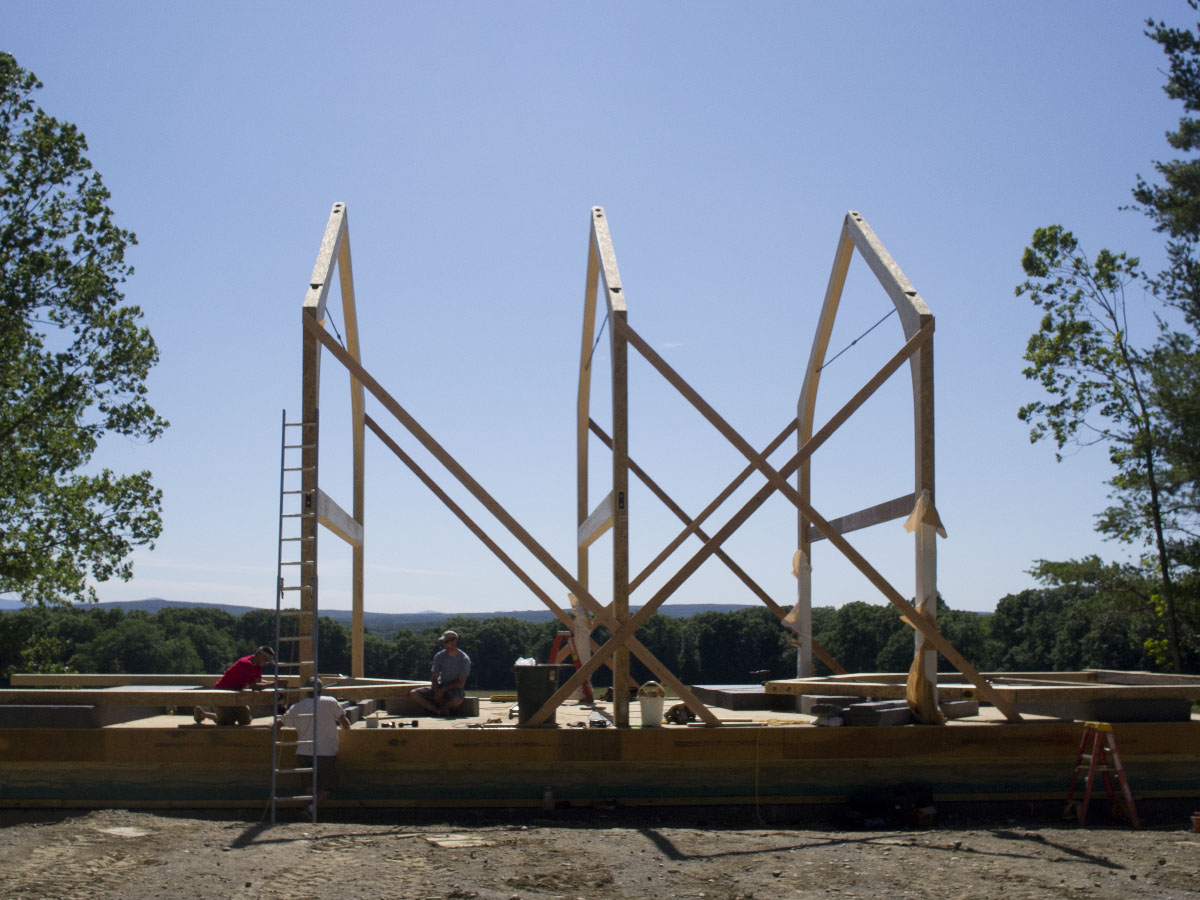
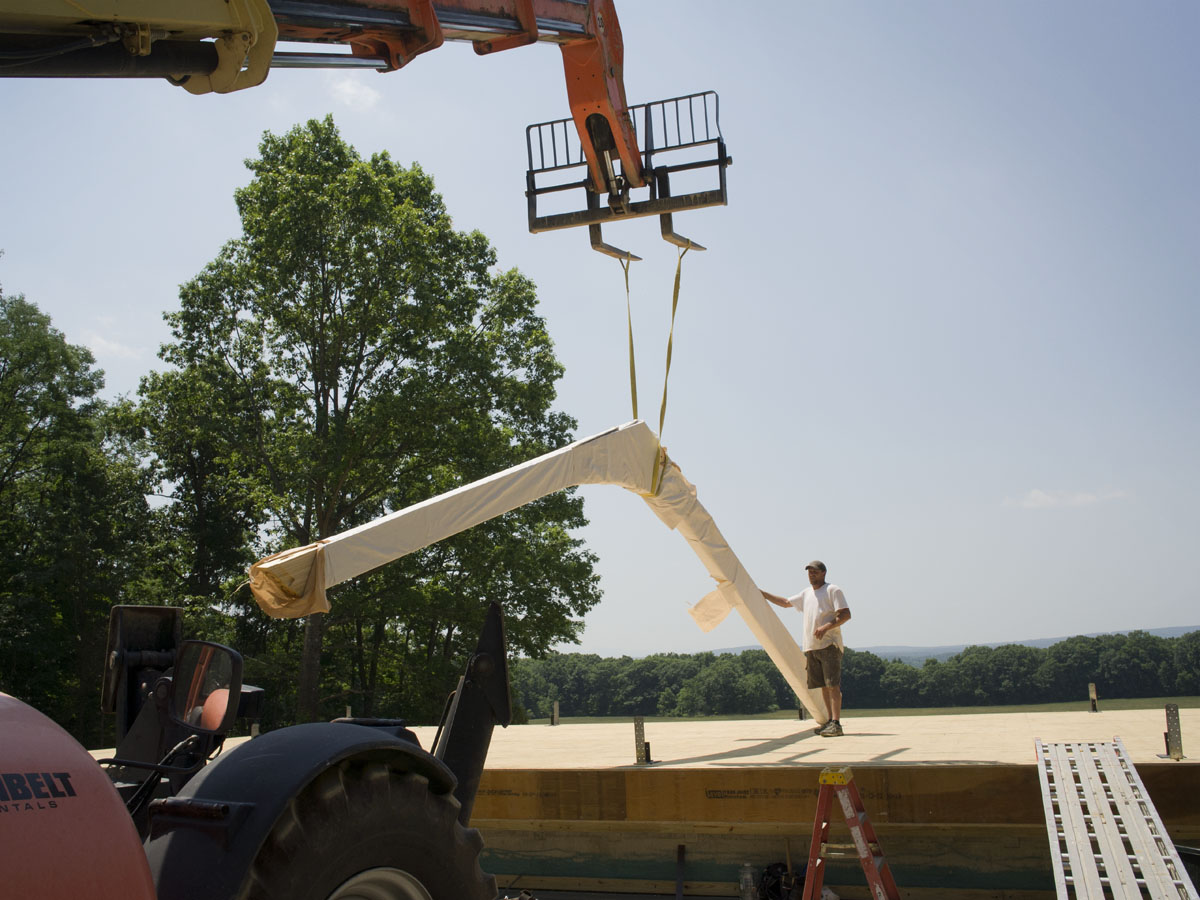
Raising more beams
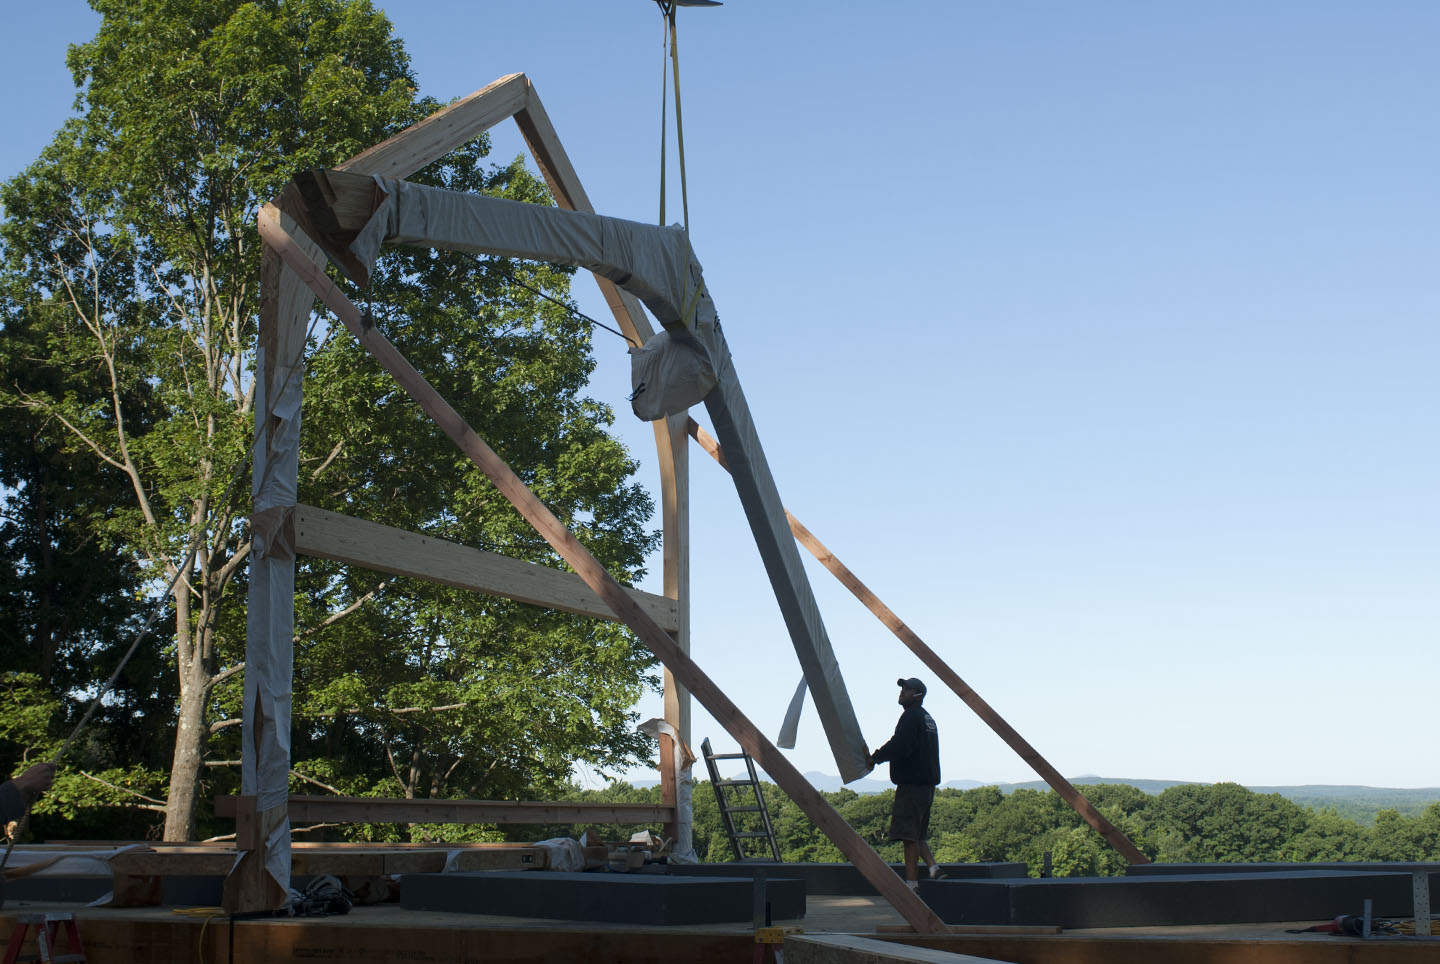
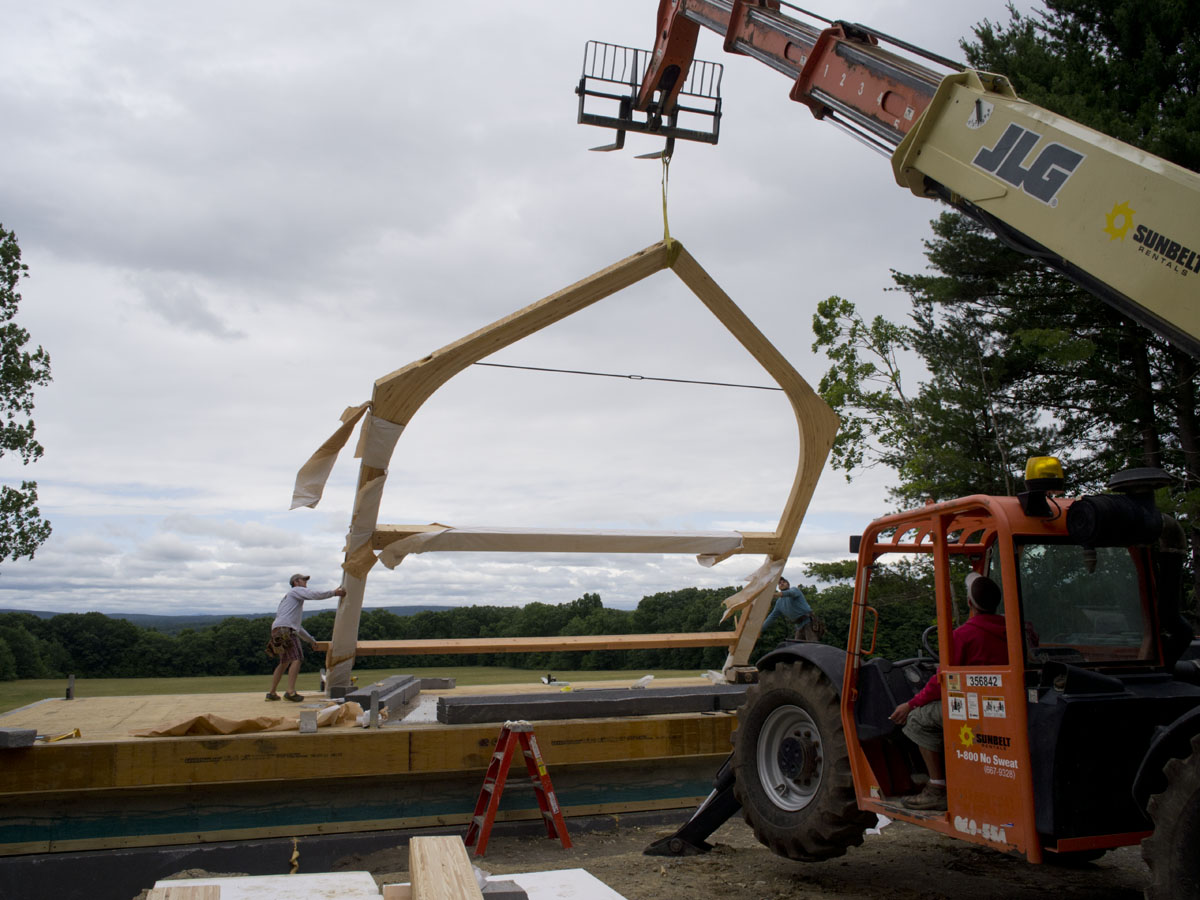
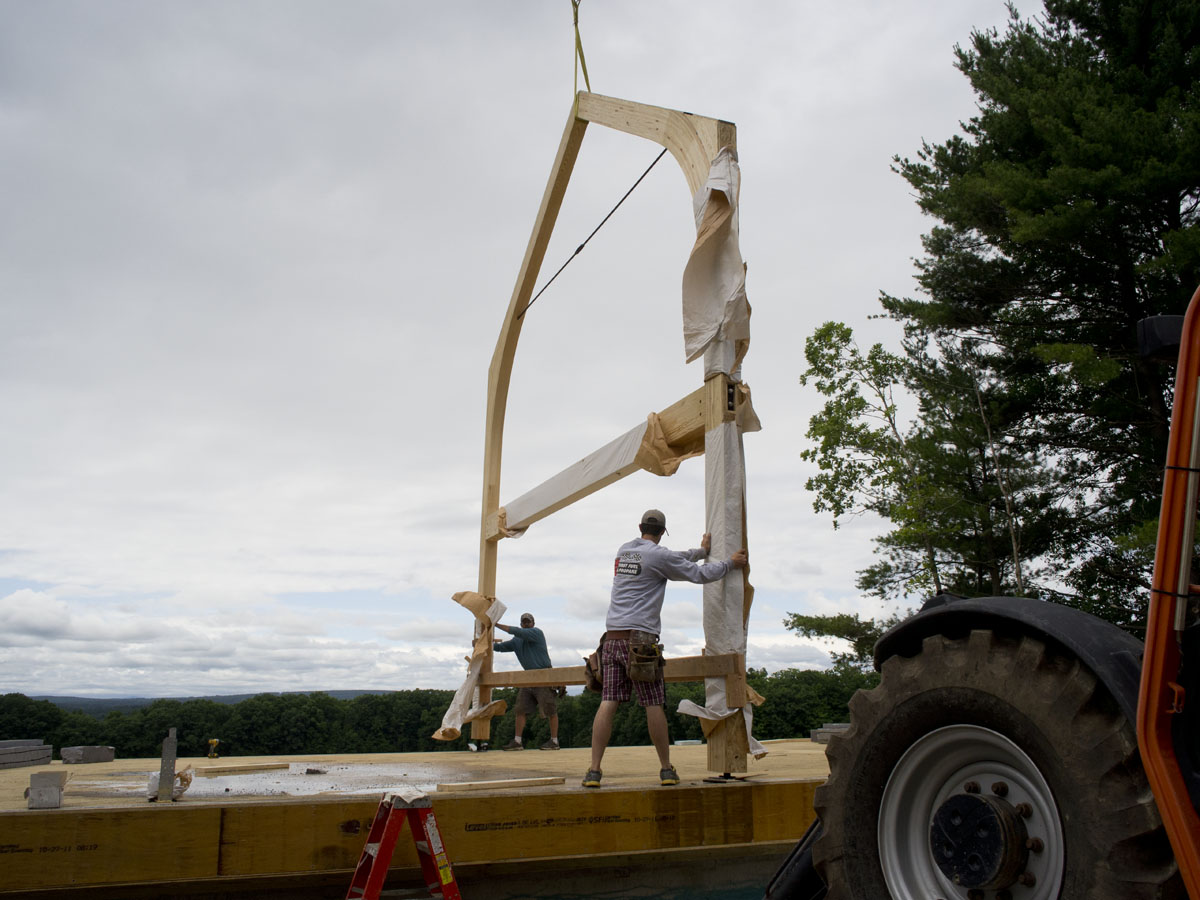
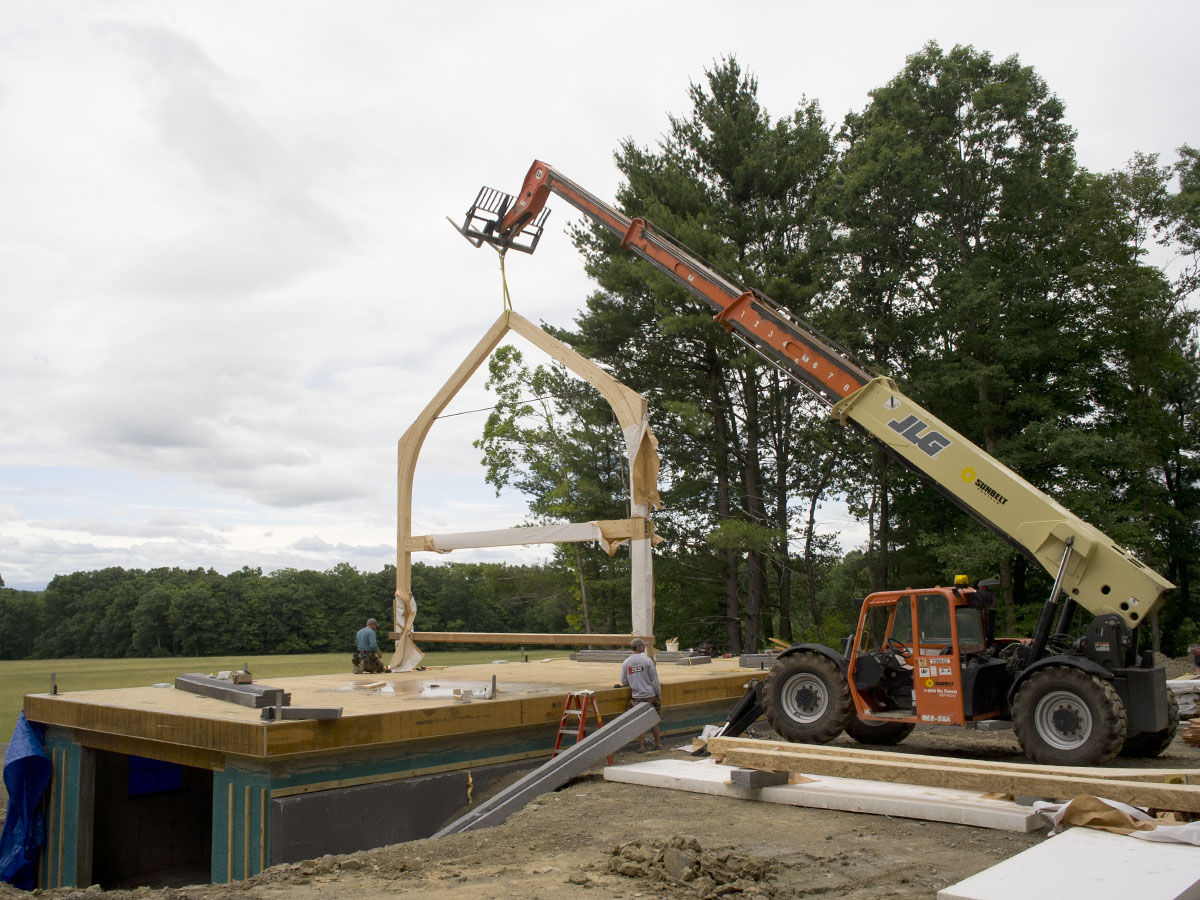
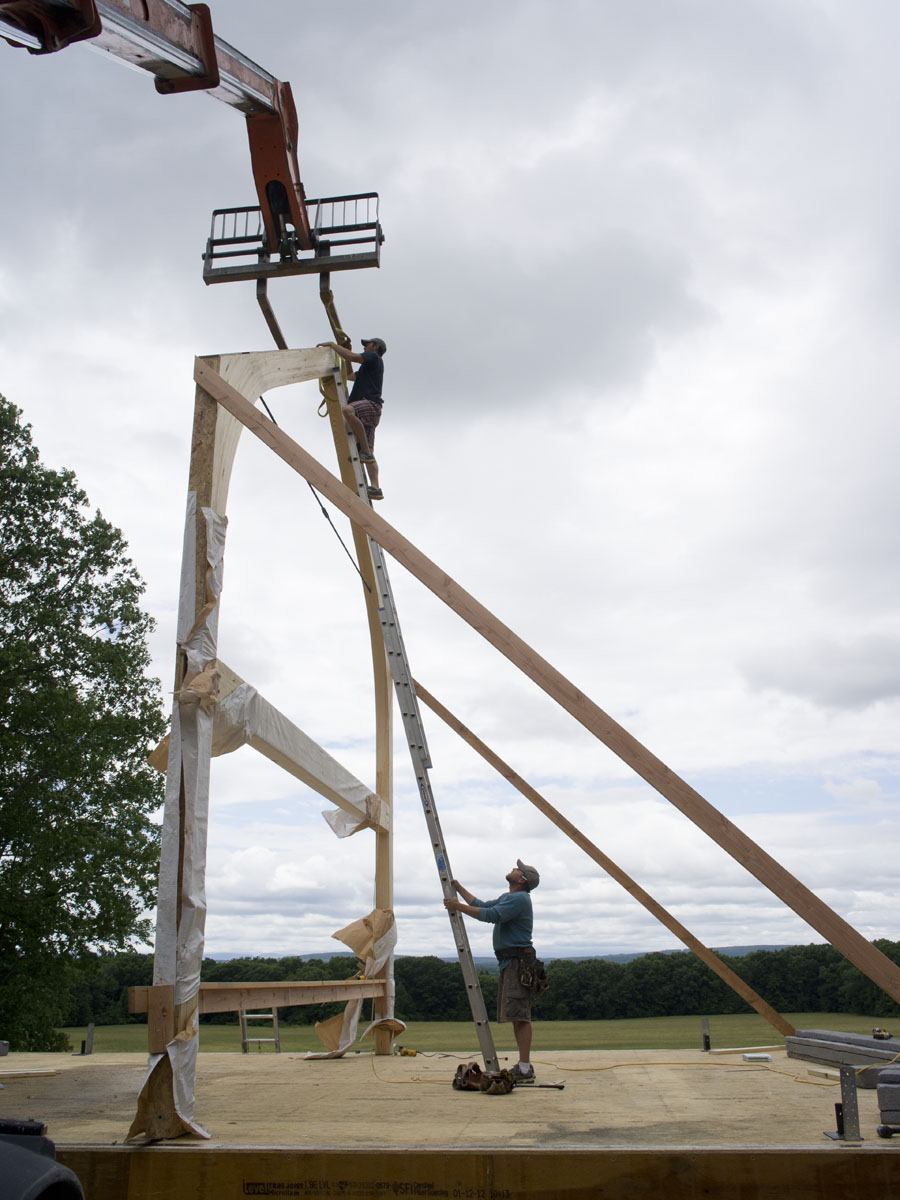
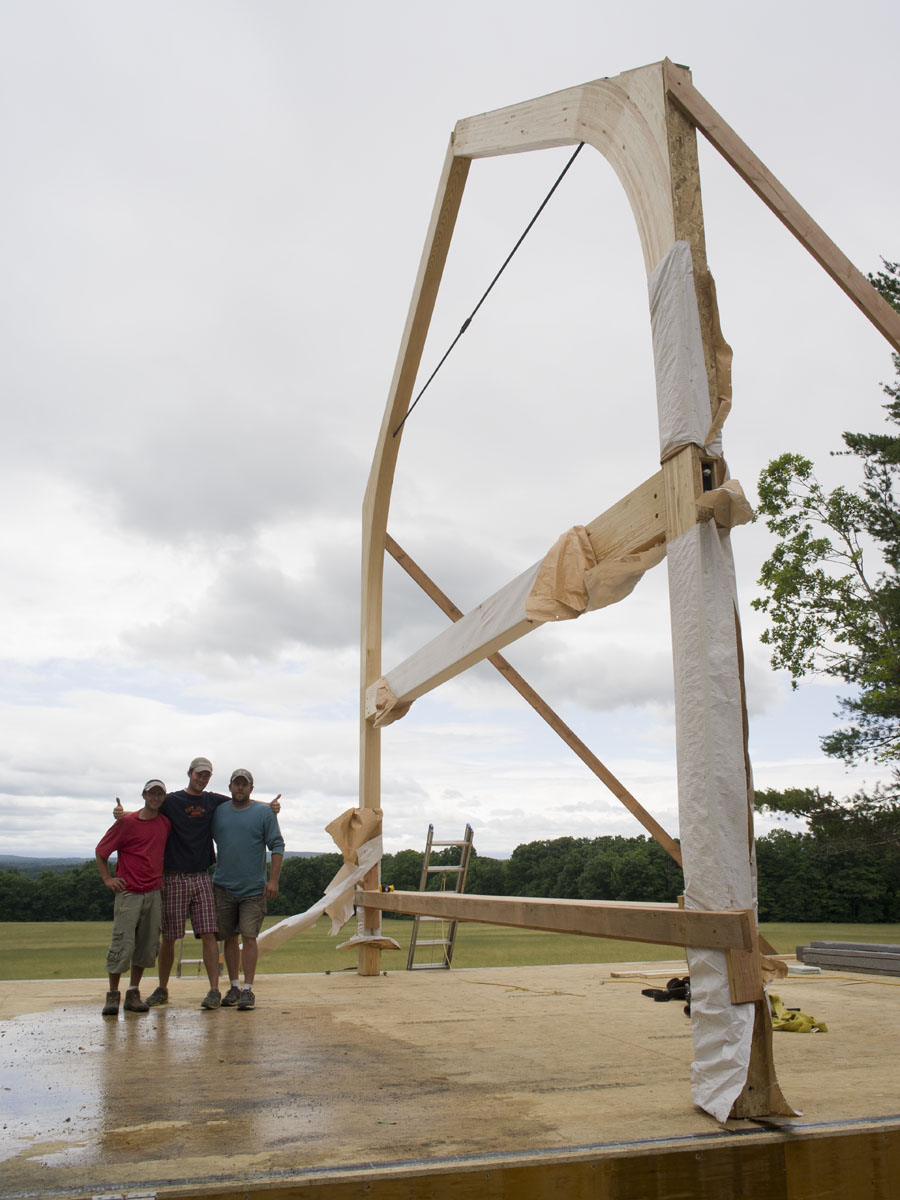
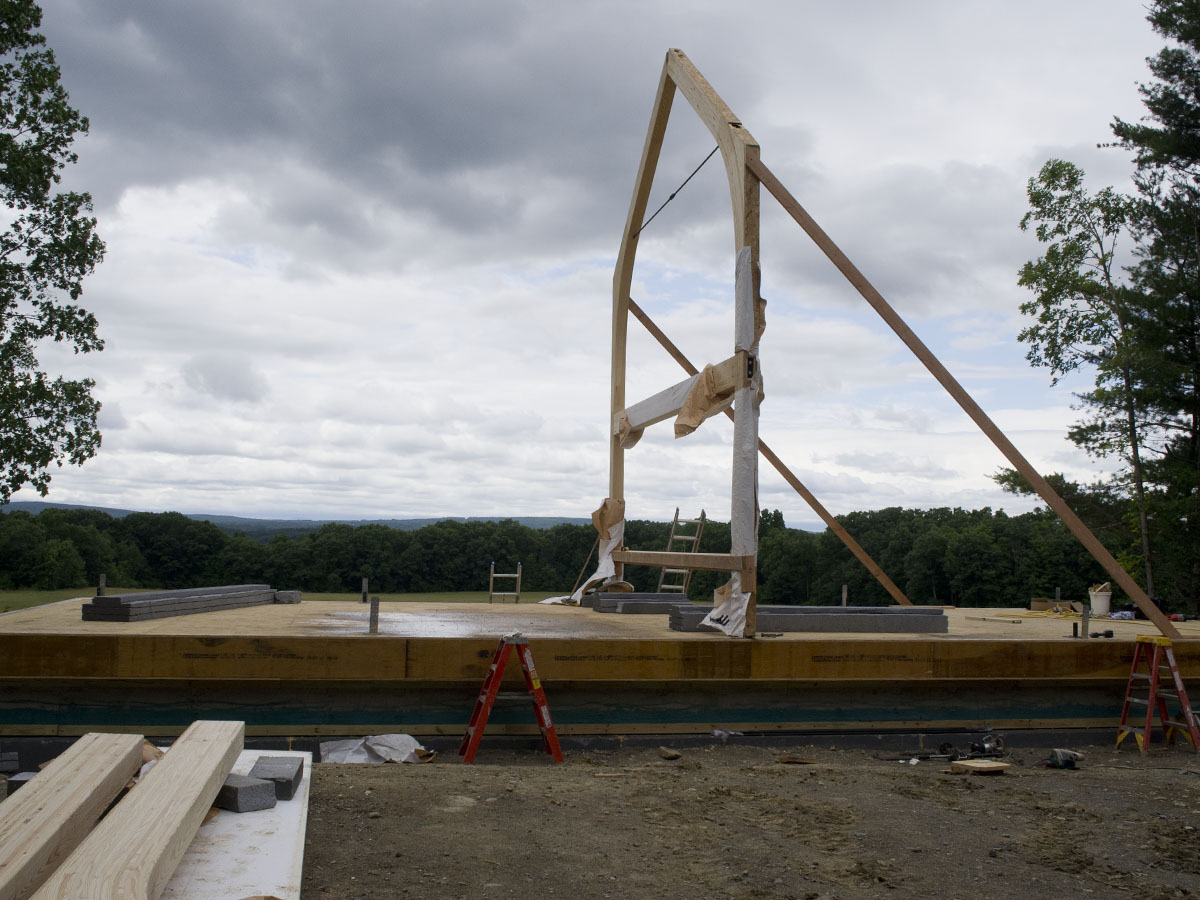
Raising the first glulam: June 26th
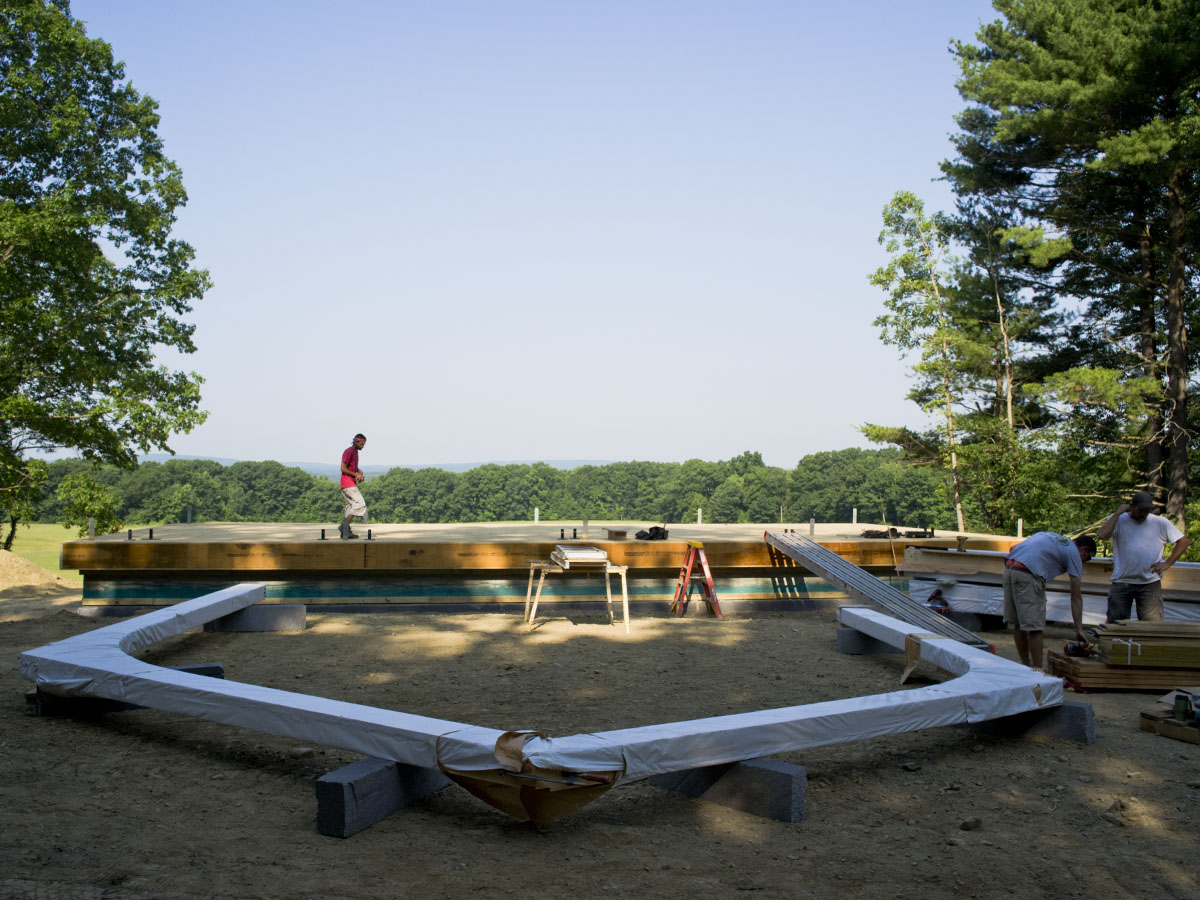
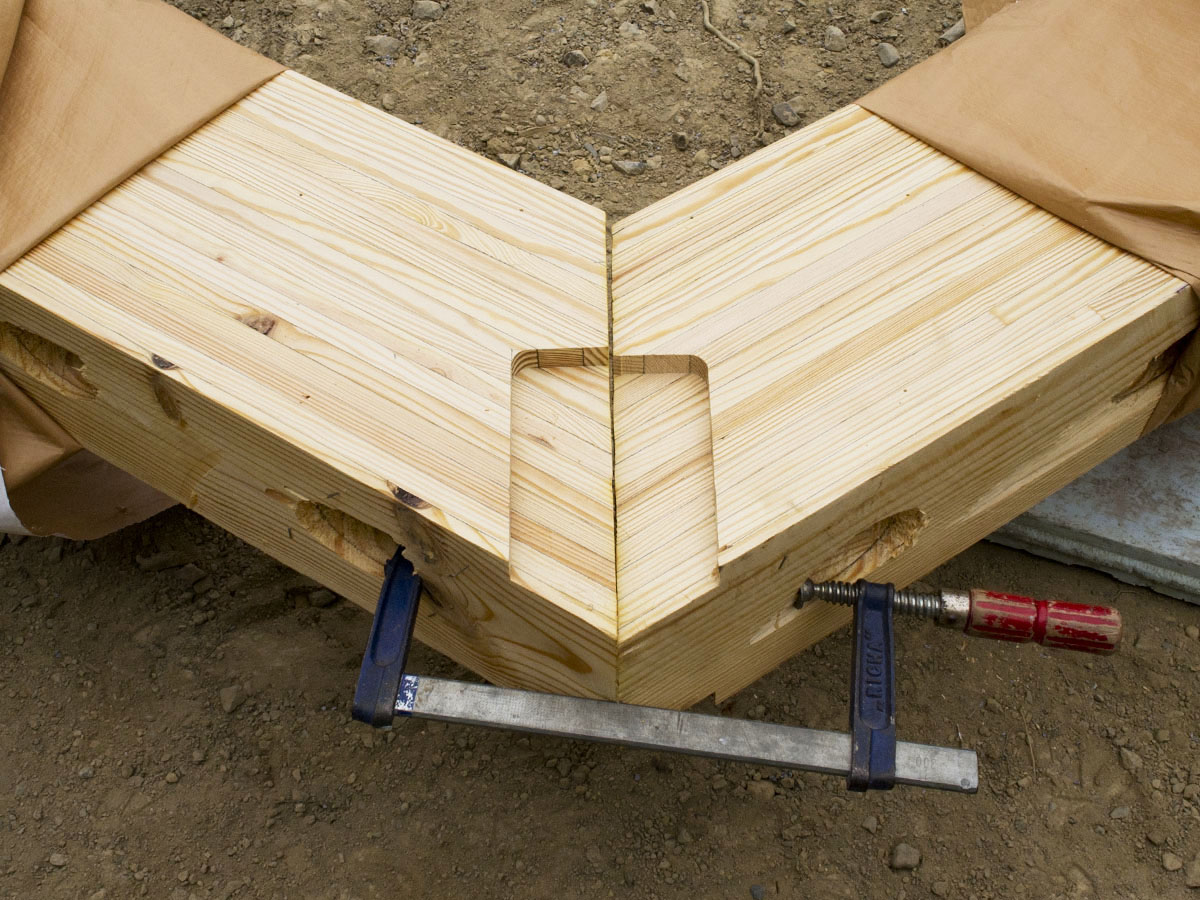
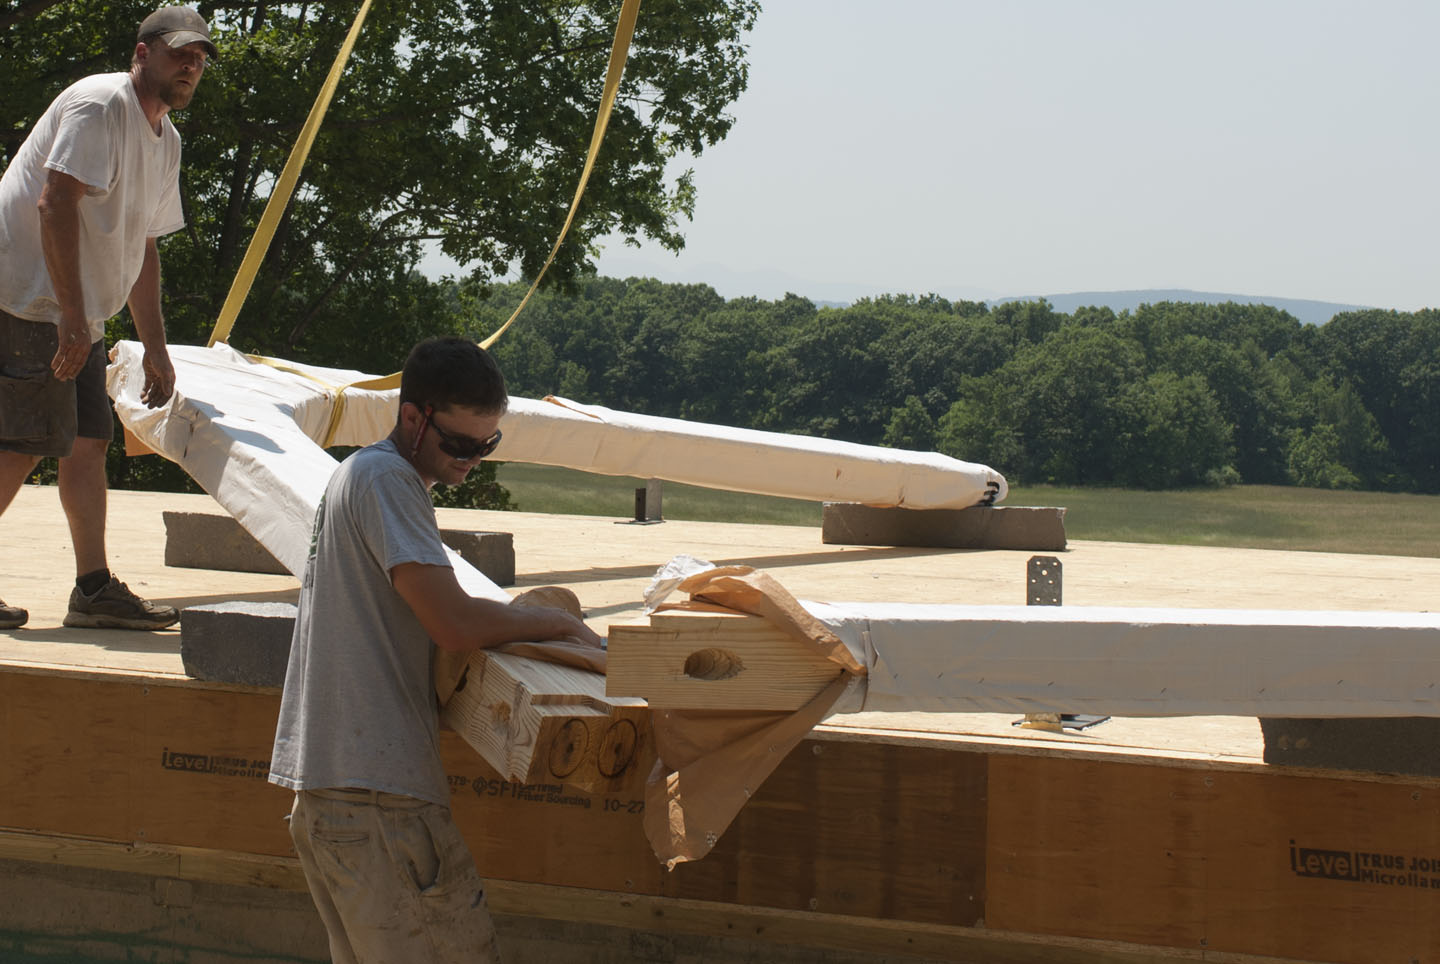
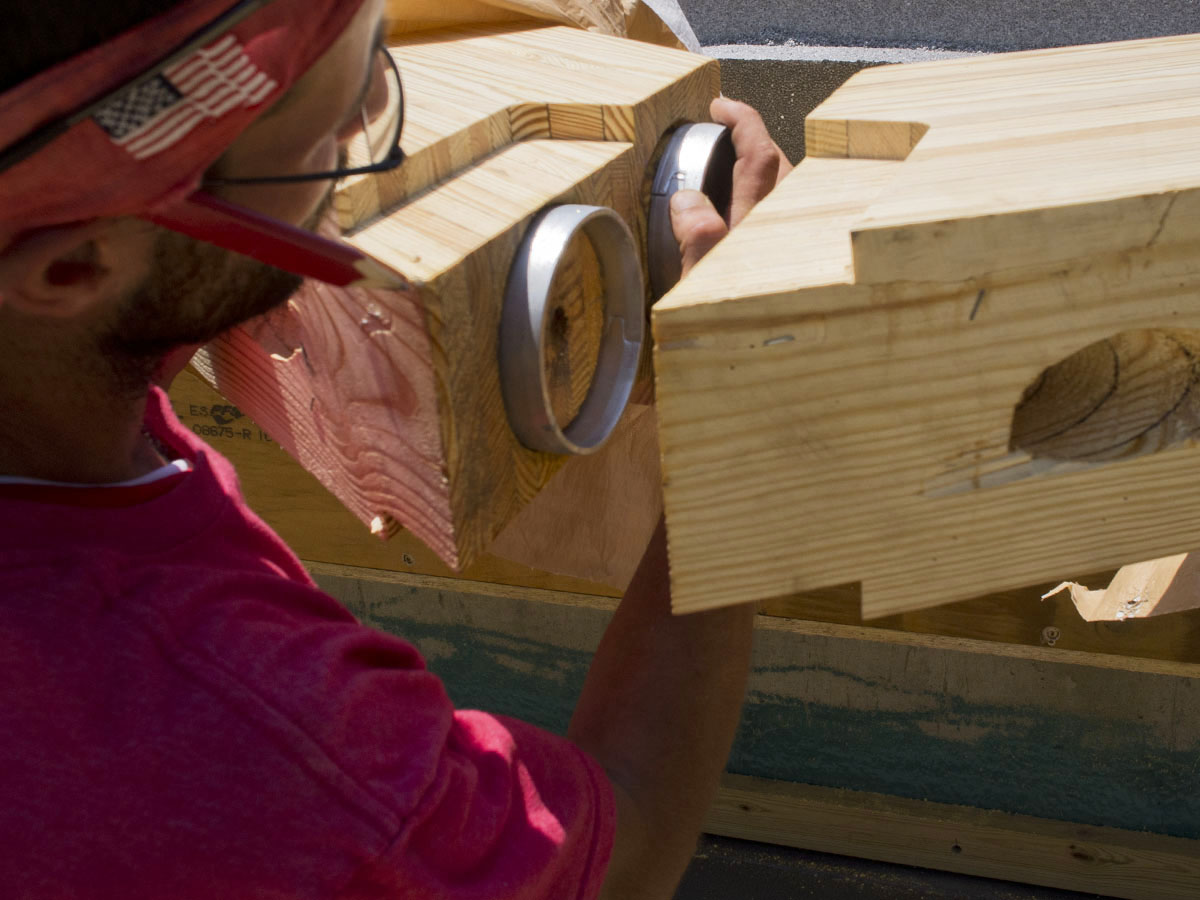
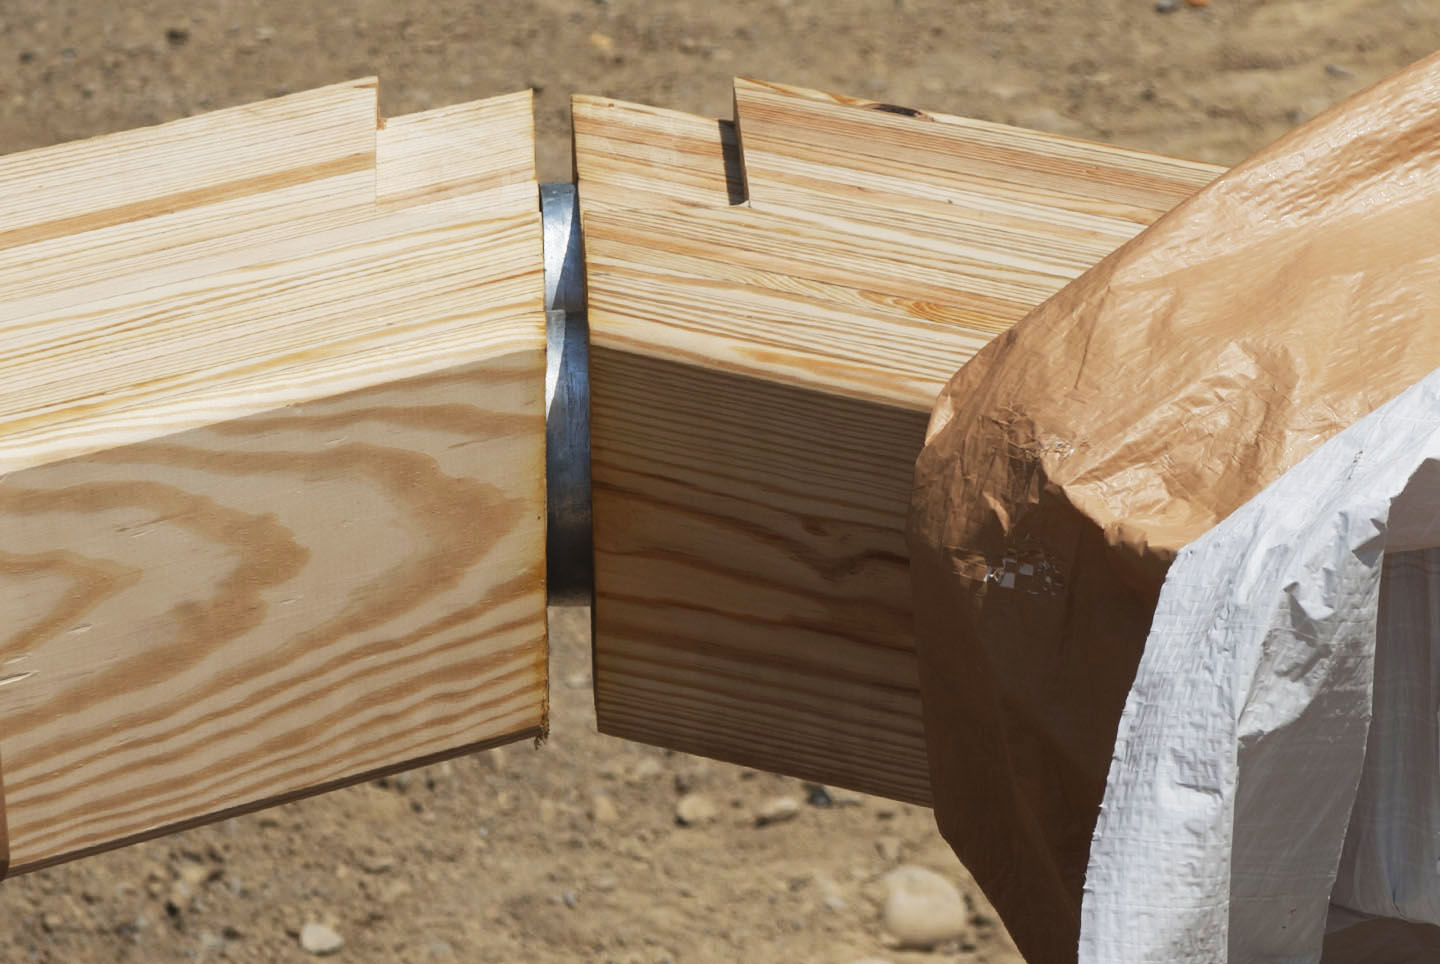
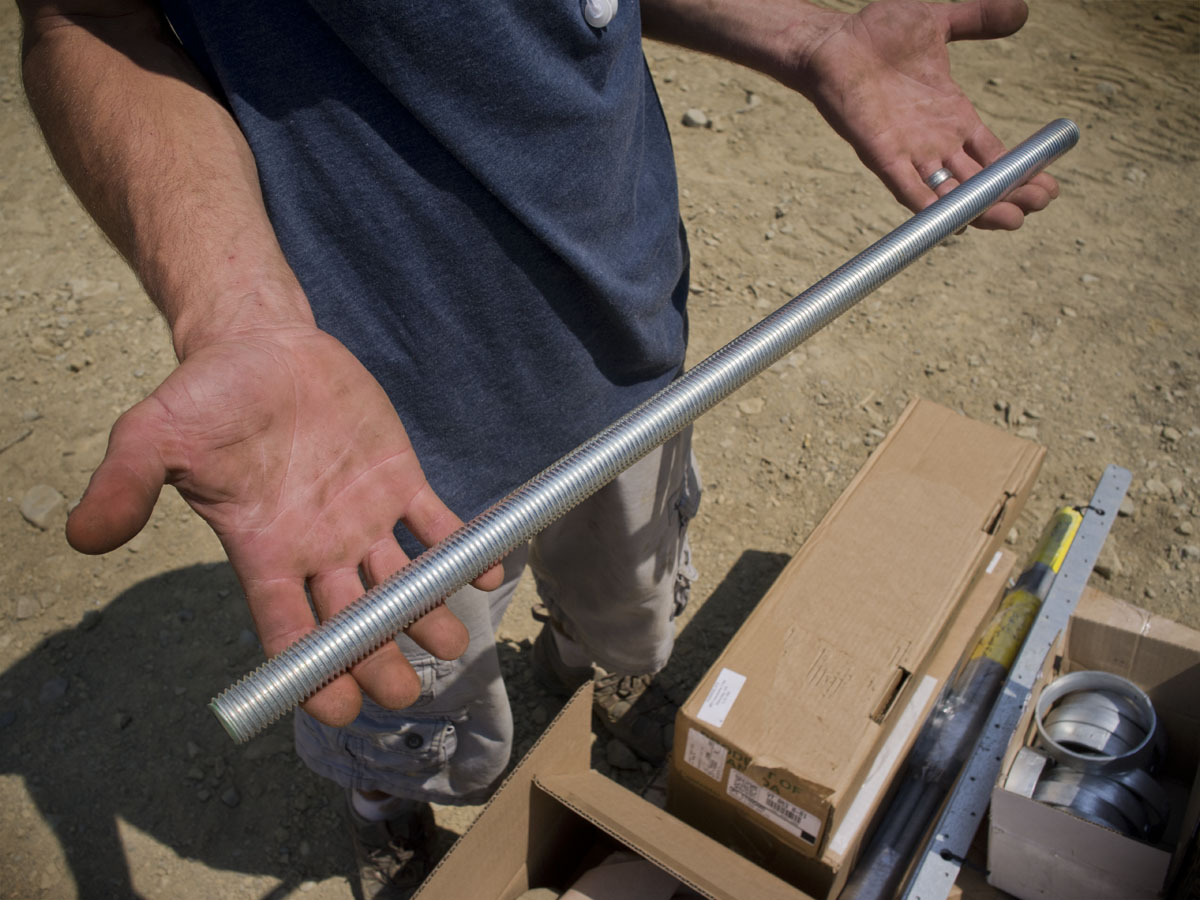
Assembling the glulams
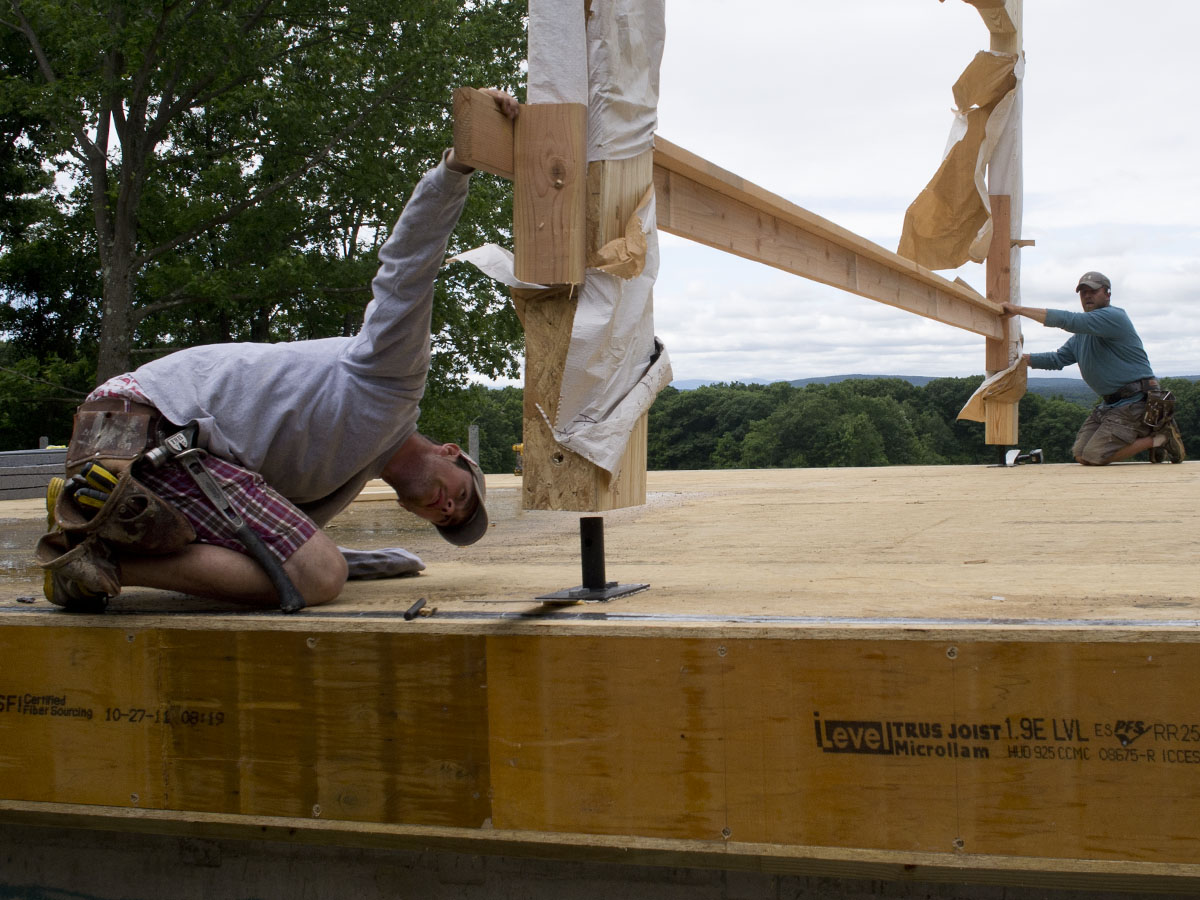
Attaching glulam base plates to the deck
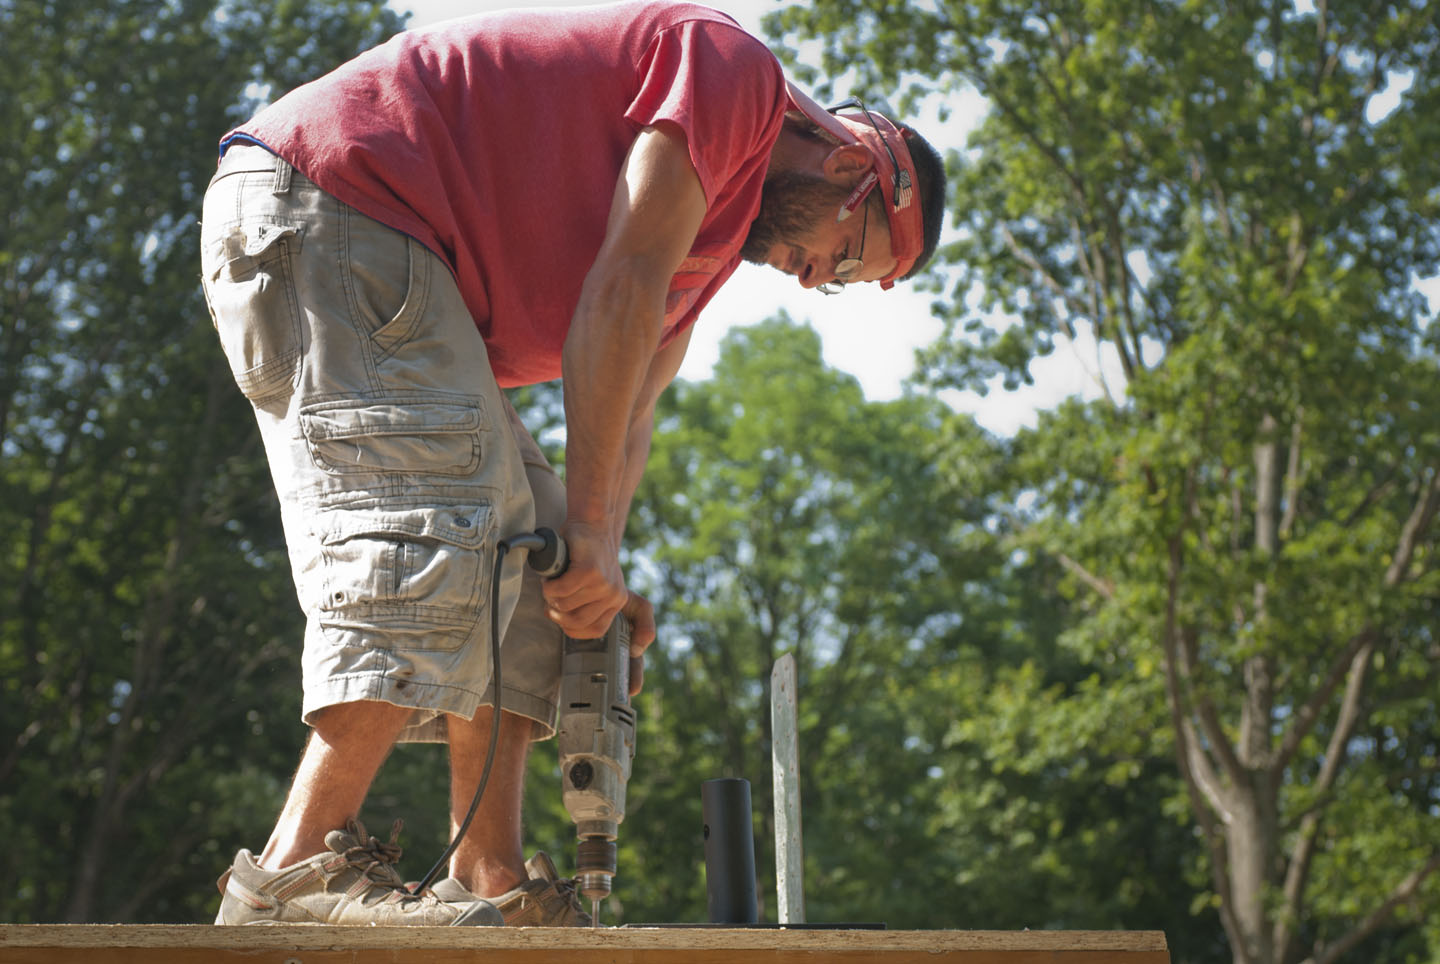 Drilling bolt holes to mount the base plate to the deck.
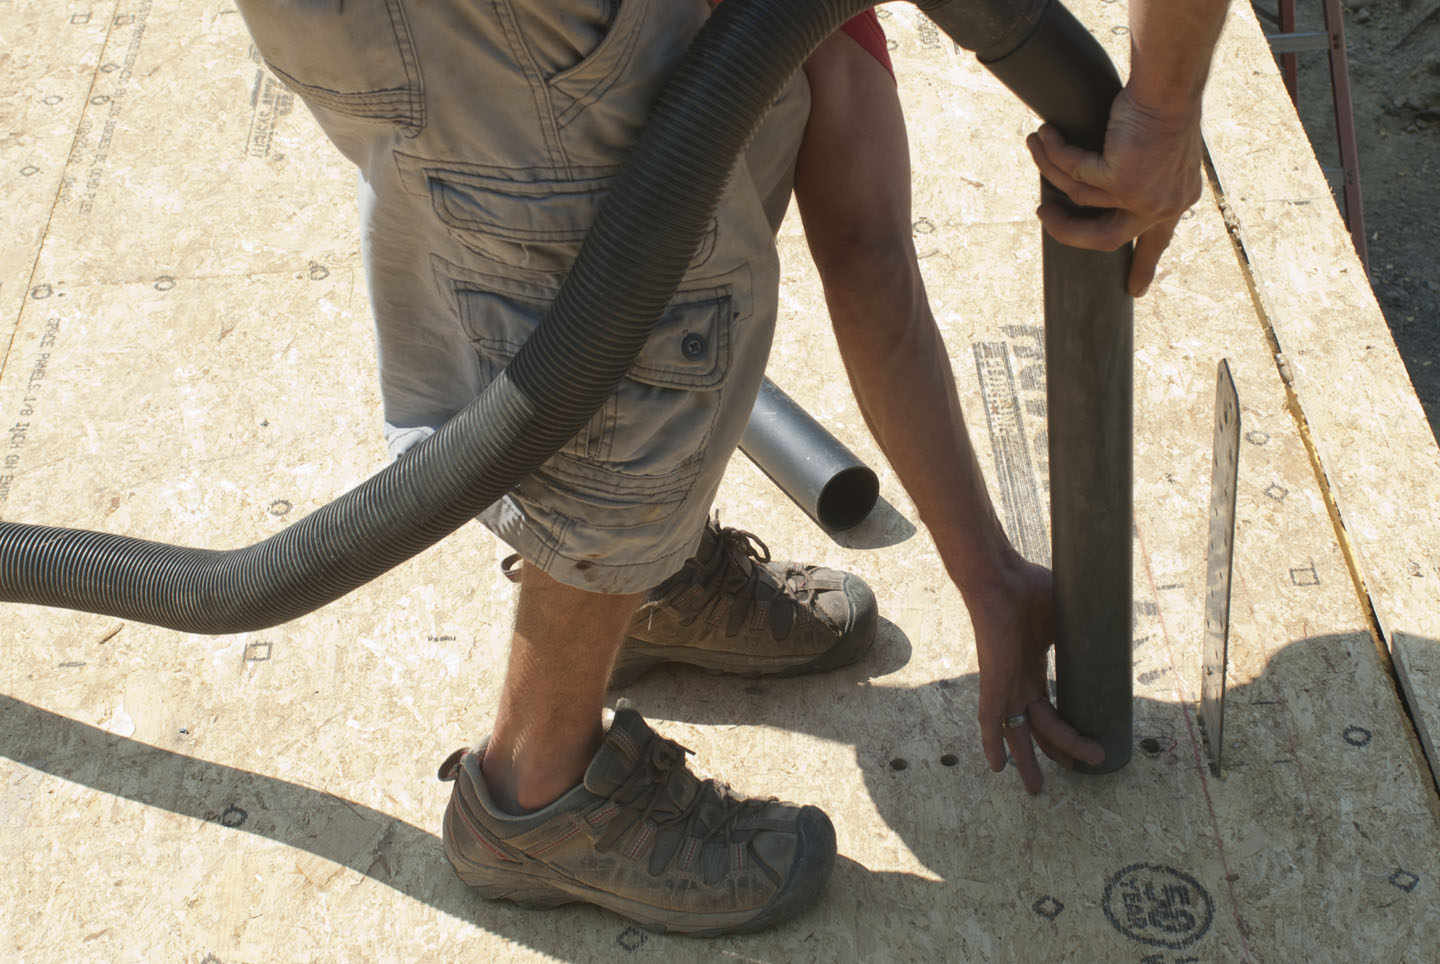 The bolt holes and surrounding deck are vacuumed out for the clean air-tight connection required of the Passive House.
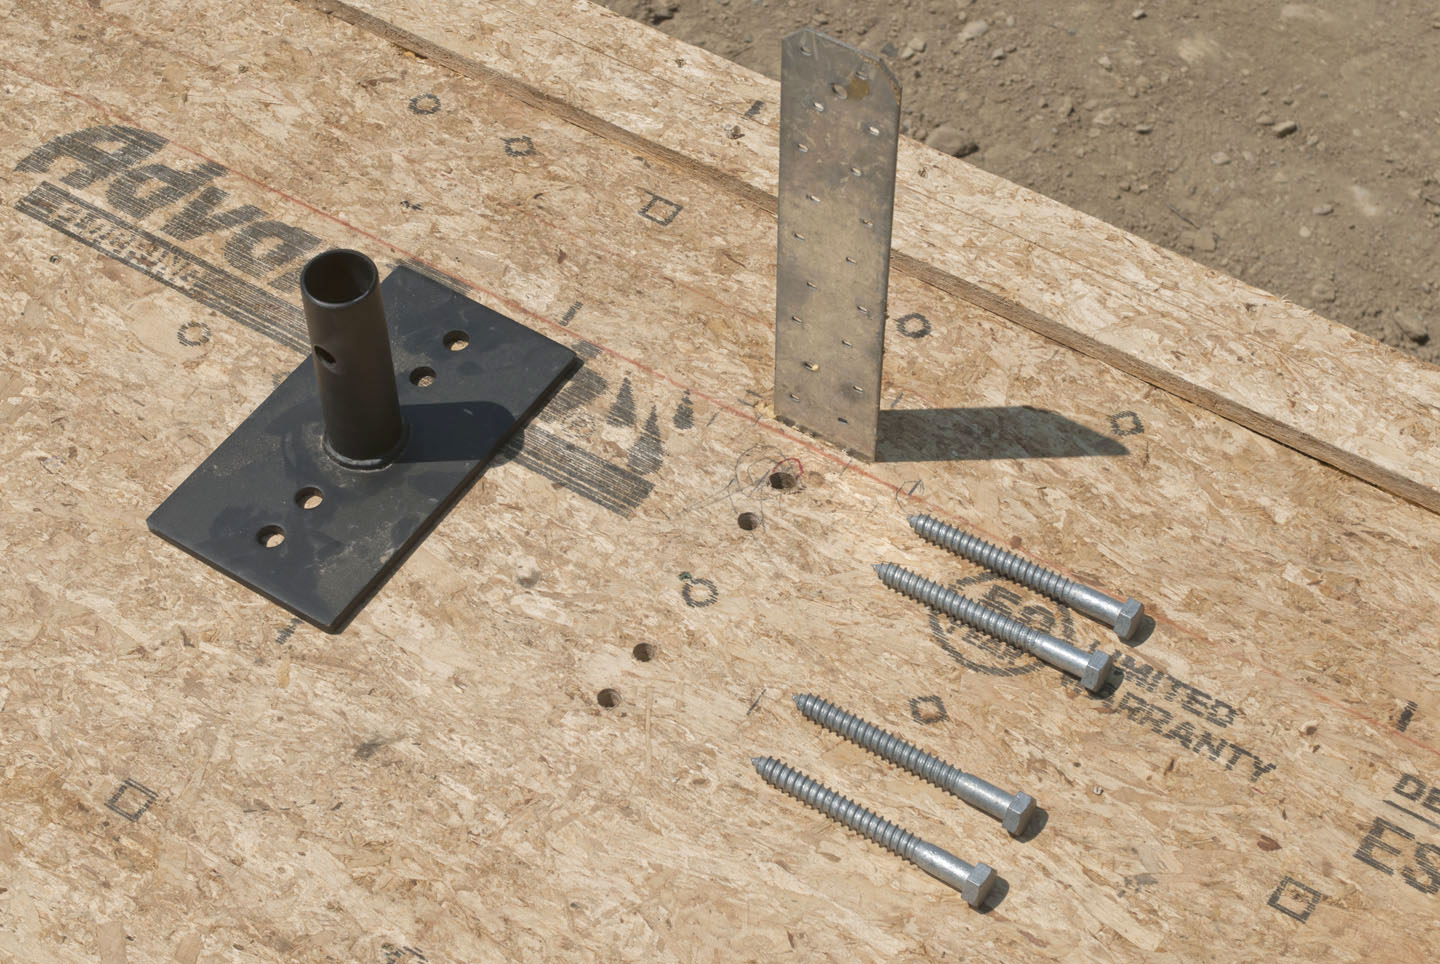
Glulam base plate ready to be mounted to the deck with four 5/8″ lag bolts.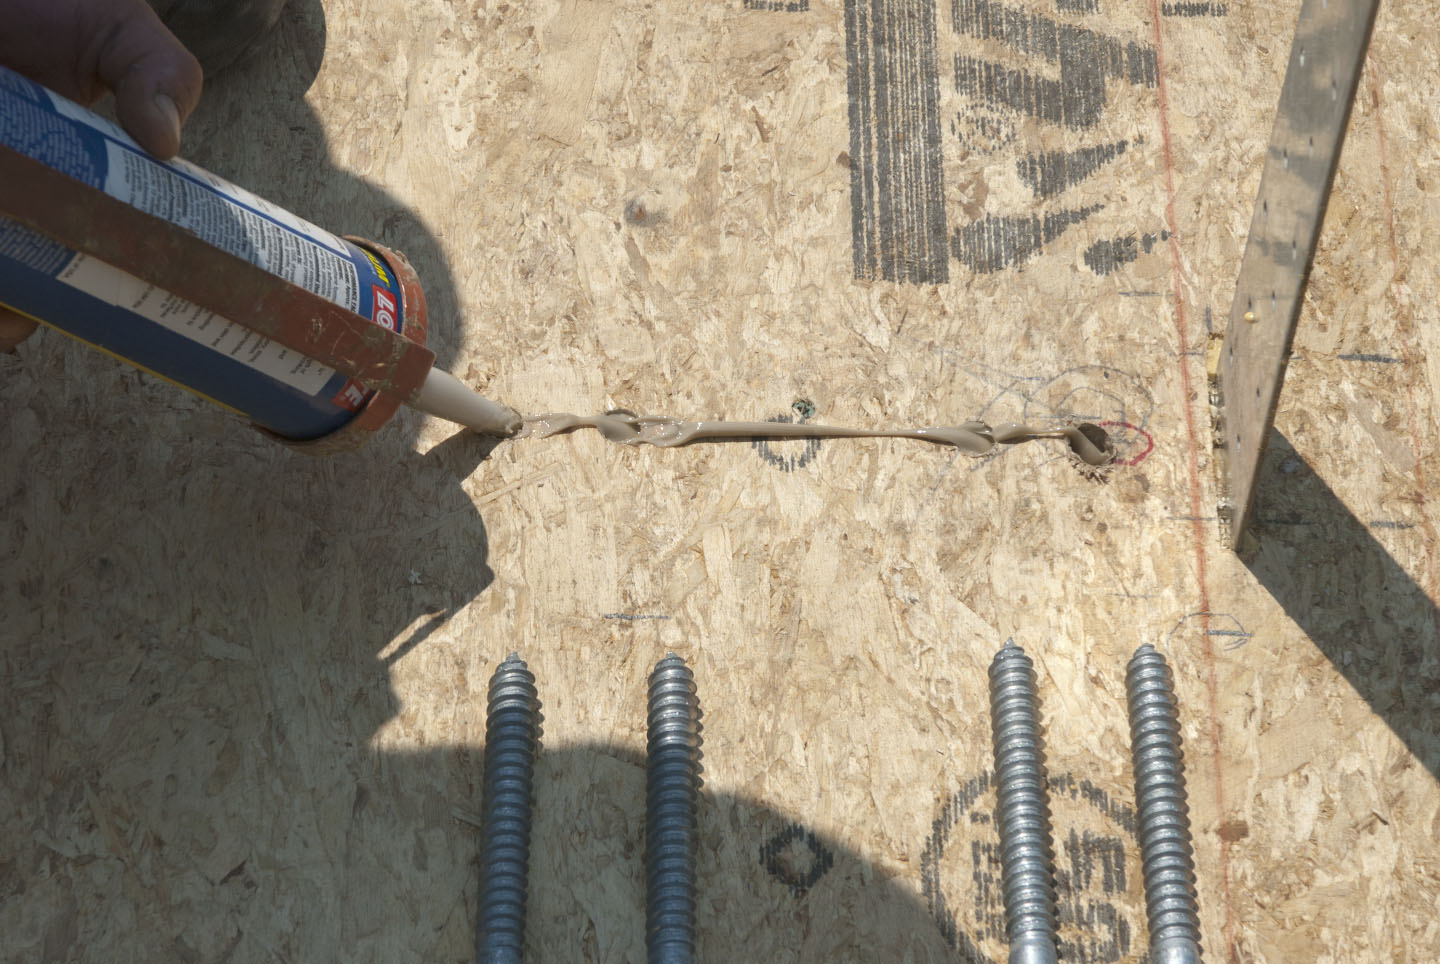 Pre-filling the bolt holes with Locktite Premium PL adhesive.
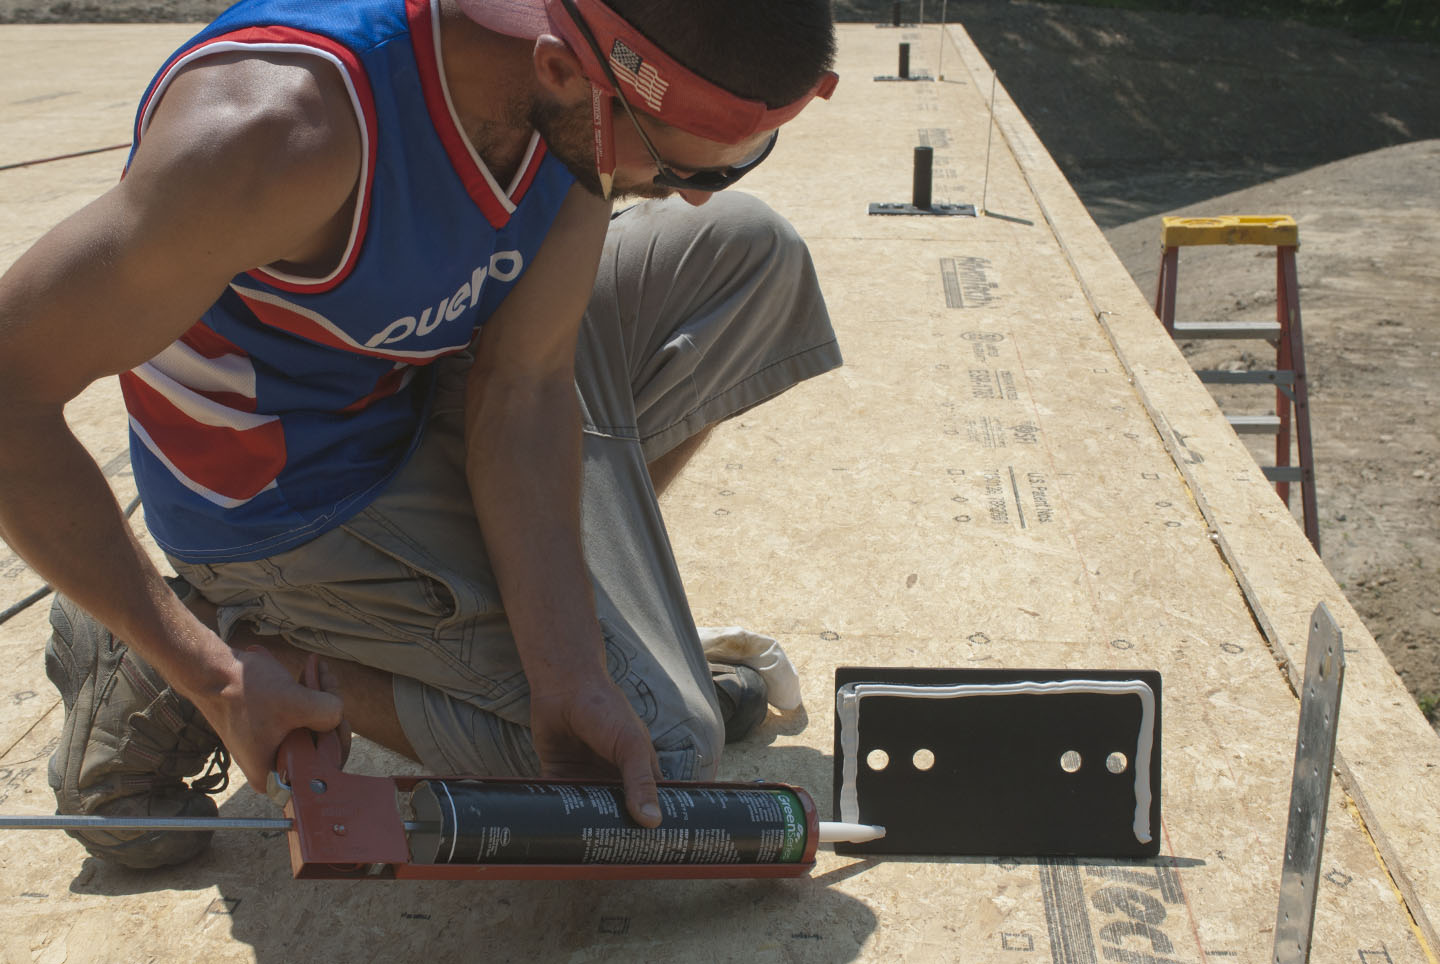 Sealing the perimeter of the mounting plate with OSI SF-450 adhesive.
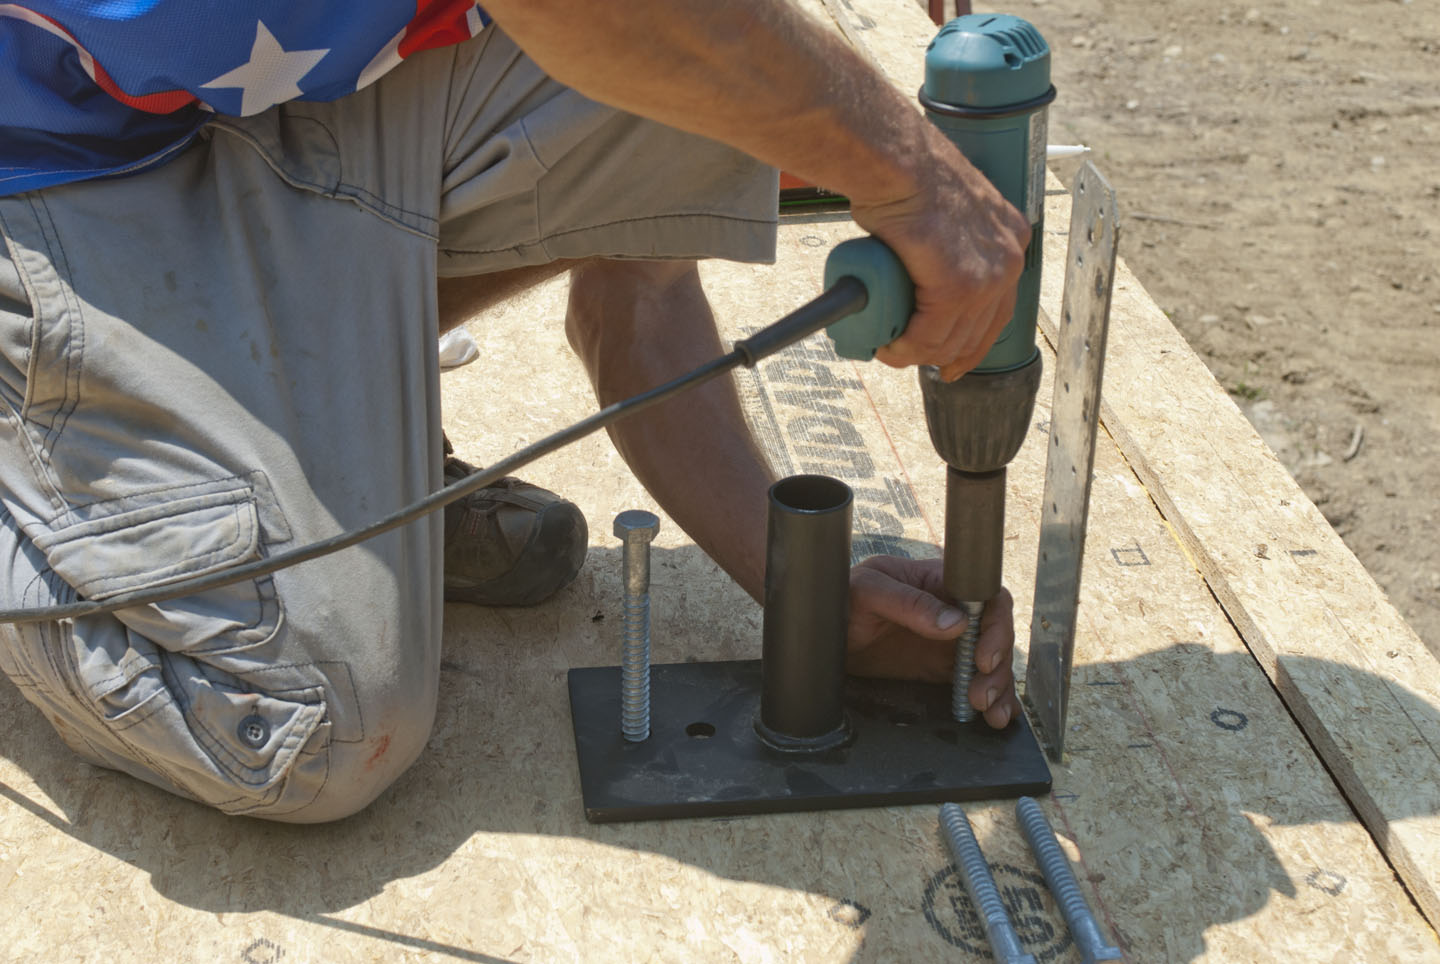 Attaching the lag bolts.
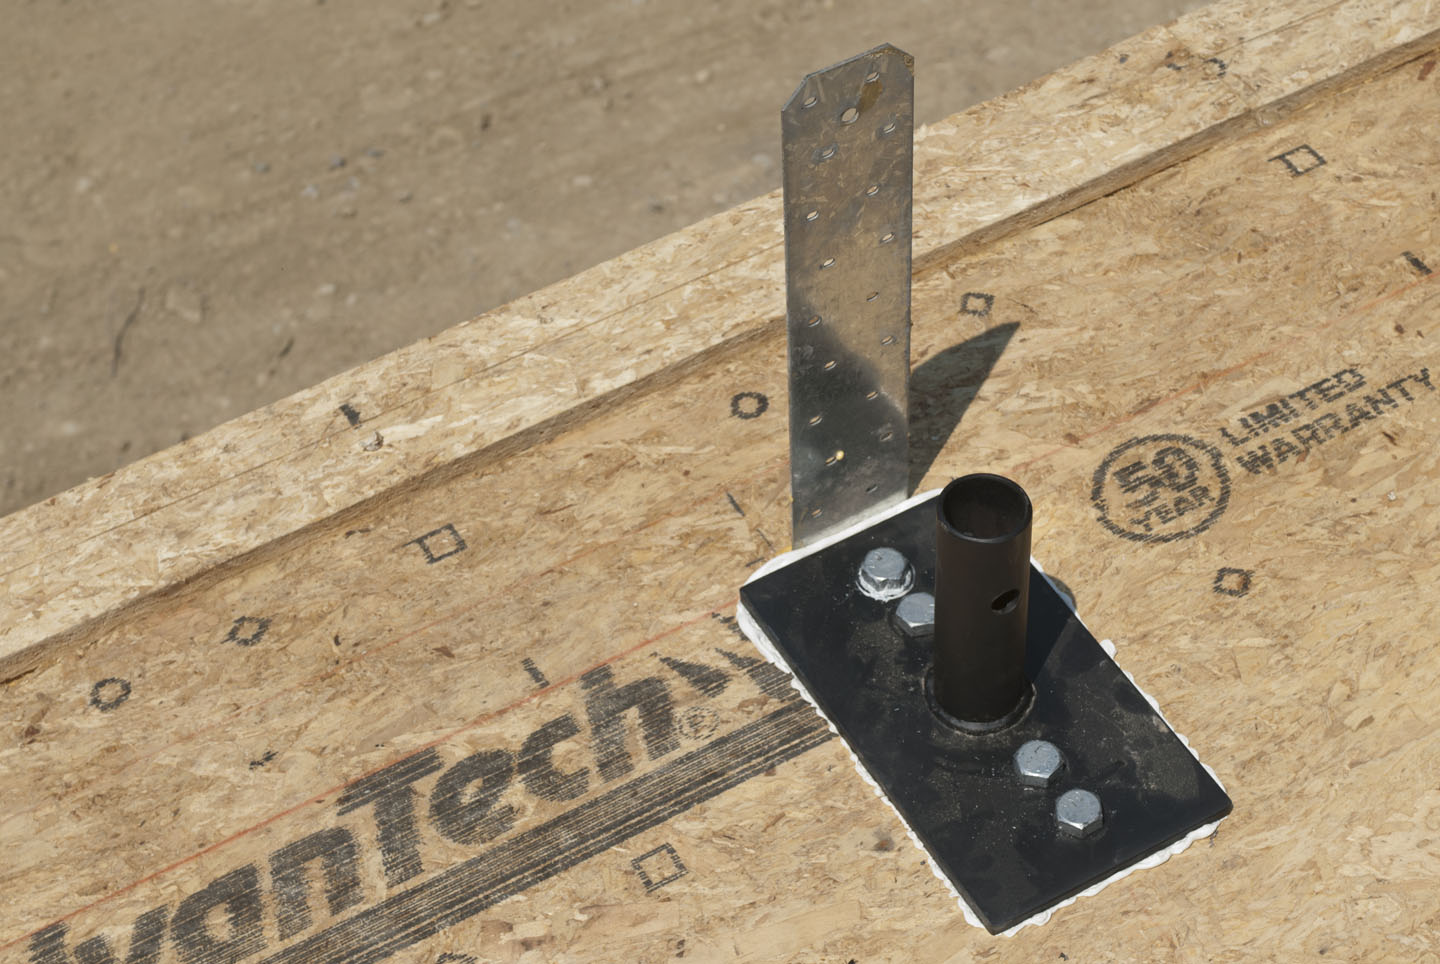 Glulam base plate sealed and attached in place.
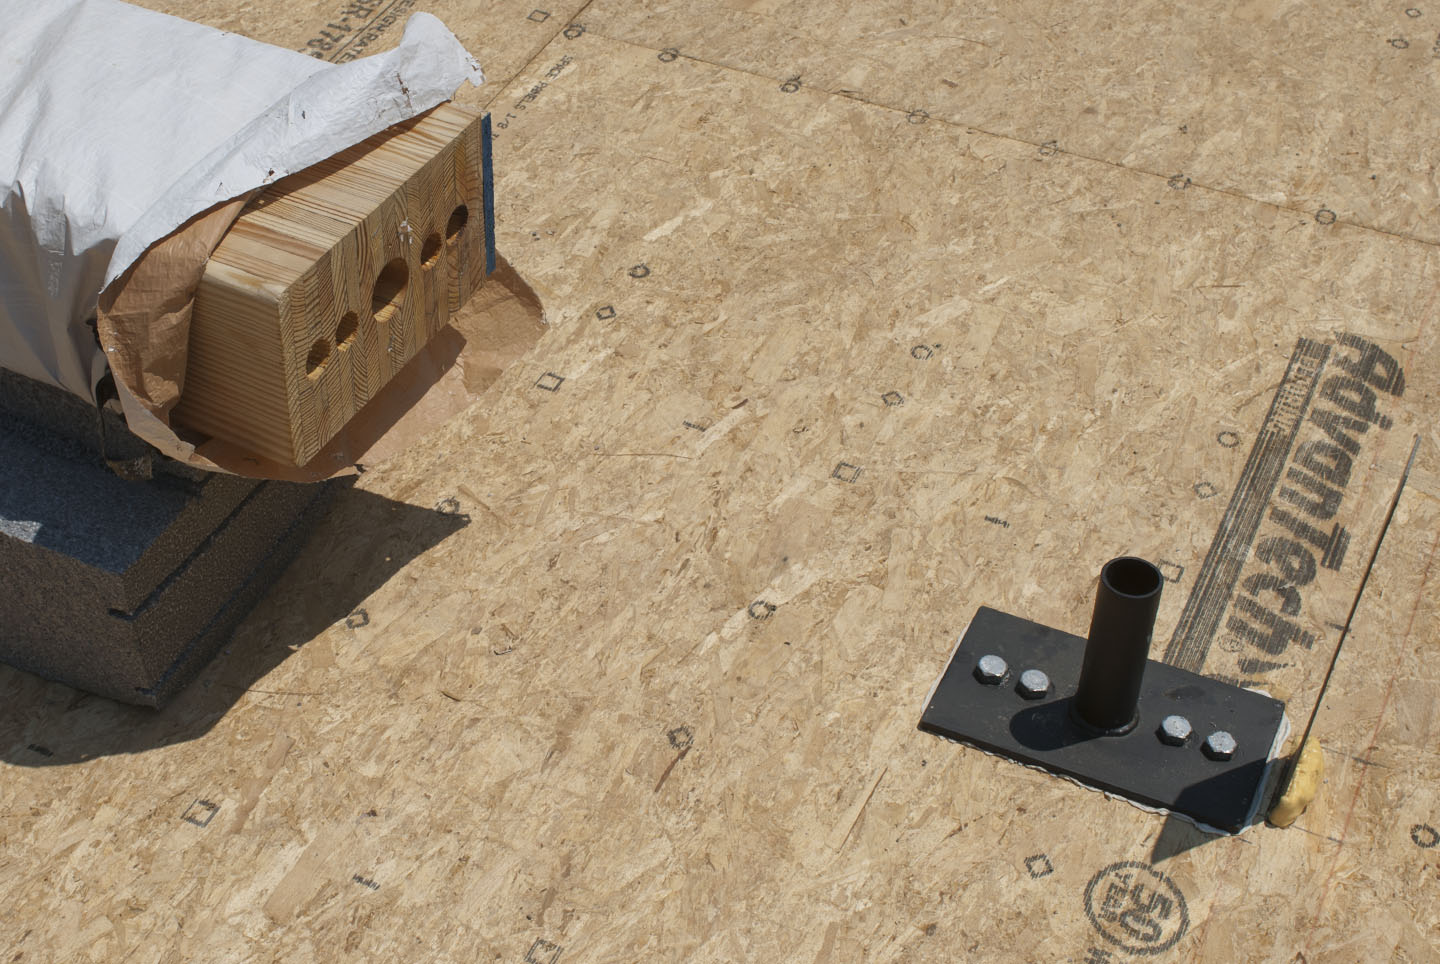 Showing the connection points at the base of the glulam.

